Continuing with the assembly of Lego Creator No. 31010 Tree House after the previous posting. ^^
The unfinished base from the previous posting. ^^
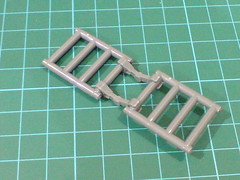
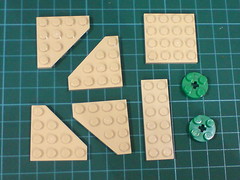
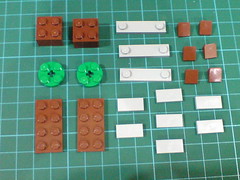
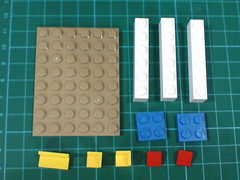
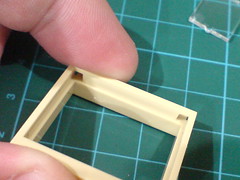
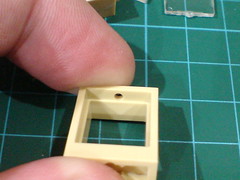
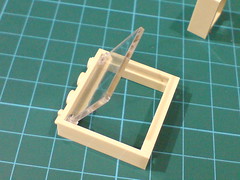
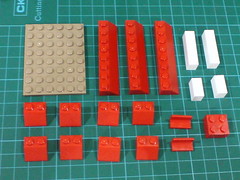
First set of parts that form the playhouse's frame, which also contain trapdoor with the fold-down ladder.

Parts that form the trapdoor, and fold-down ladder.
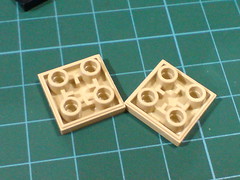

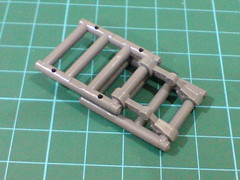
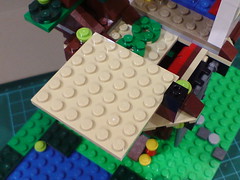
(Left) Interesting-looking 4-by-4 plate-type piece featuring a flat surface, with the protruding studs being its bottom face. ^^
(Right) The bottom face of the trapdoor.
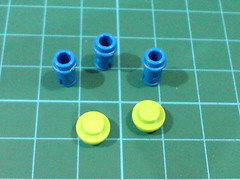
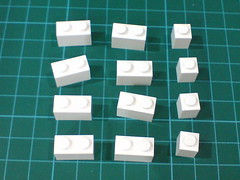
A pair of gripper-type pieces connects the ladder parts.
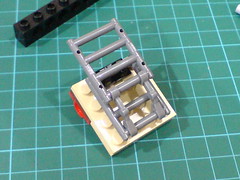
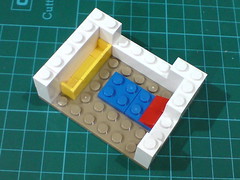
The ladder is assembled onto the trapdoor.
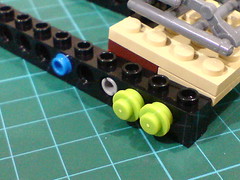
Decorative pieces (?) for the trapdoor.

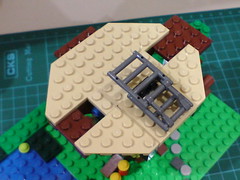
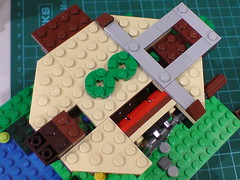
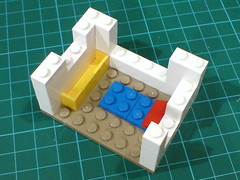
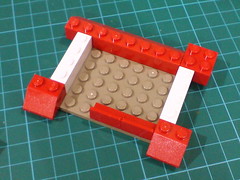
The entire frame component is appended to the base.
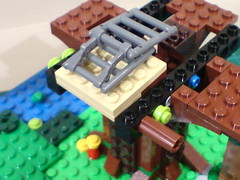
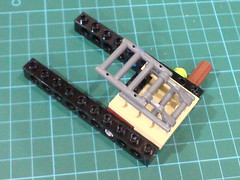
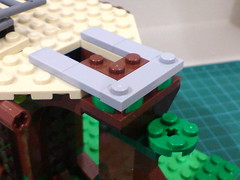
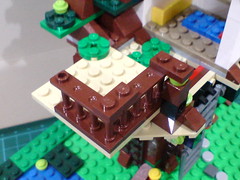
The trapdoor is held in place by the rod beneath it (right image).
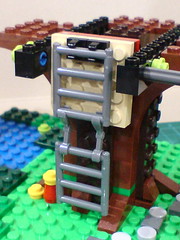
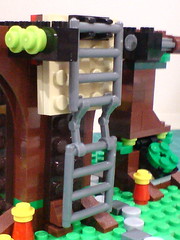

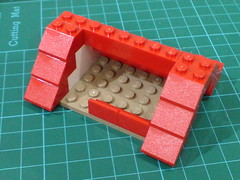
When the rod is slid outward, the trapdoor will be lowered.
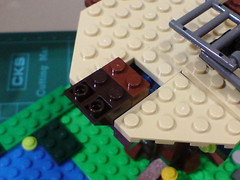
The ladder needs be expanded manually though.
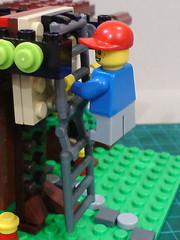
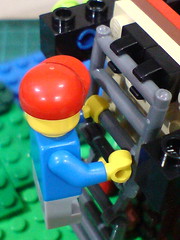
The minifigure assembled in the previous posting can be posed climbing up/down the ladder. Interestingly, the ladder isn't wide enough to allow both of the figure's hands to be clipped onto a single rung. However, since the side rail is also of the same rod-type design, the other hand can be clipped onto that to show the figure climbing the ladder using both hands. ^^

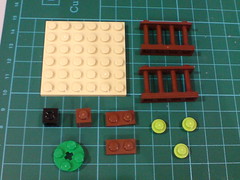
More parts of various colors are added to build up the tree top base for the playhouse, and balcony.
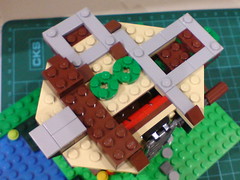
Adding on more parts to complete the base.
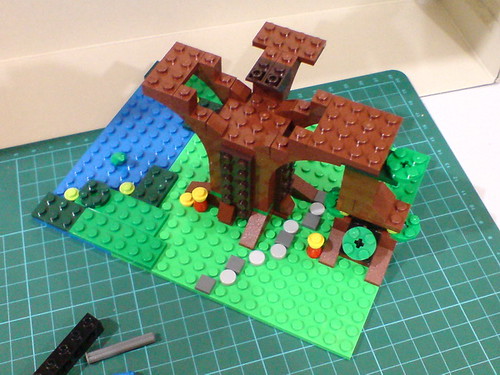
A look at the completed model so far.

Long light gray plates with fewer studs on each of them that would allow the entire house unit to be detached more easily later on.

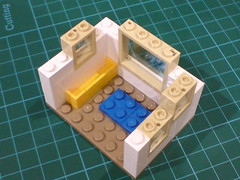
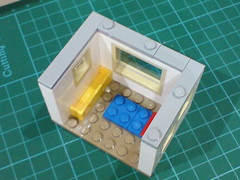
Assembling the small-size playhouse.
Despite its small size, details like the sleeping bag, and a yellow box attached to one of the walls look really interesting.
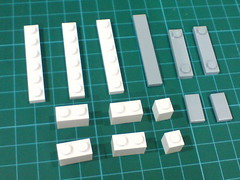
Adding on more parts to build up the walls.
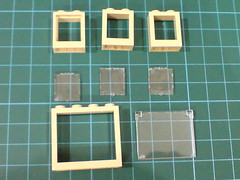
Four sets of parts to form the windows.
Tiny pins on the clear parts to connect the pieces to their respective frames. The pair on the larger clear part even allows it to be opened. ^^
The connecting points for the clear parts behind the frame parts.

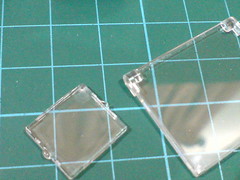
(Left) Done for the four windows.
(Right) As mentioned before, the larger window can be opened. ^^
The windows are equipped to the playhouse.
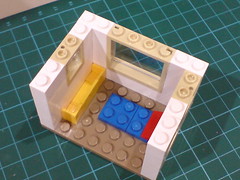
Adding on more parts to complete the playhouse's assembly.
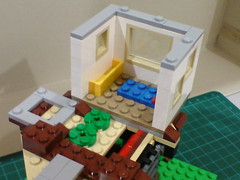
The house is attached to the tree top base.
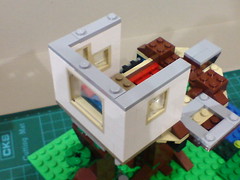
Much like the base it's sitting upon, the uppermost row of the wall, consisting the same long light gray plates with fewer studs on each of them allows an easier removal of the roof. ^^

An assortment of brown and green pieces to form the top of the front tree.

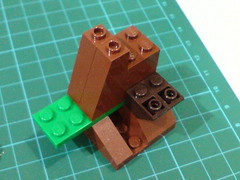


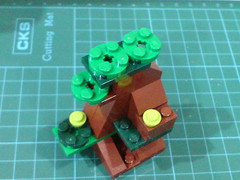
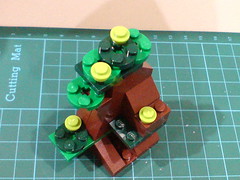
The rather polygonal tree top is completed. ^^
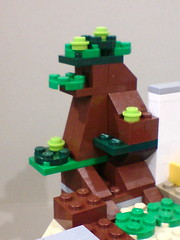
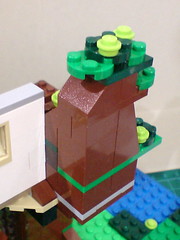
The completed component is attached to its designated position in front of the playhouse.
Mostly red parts that form the roof.
The roof with a small open space is completed.


The roof is assembled onto the top of the playhouse.


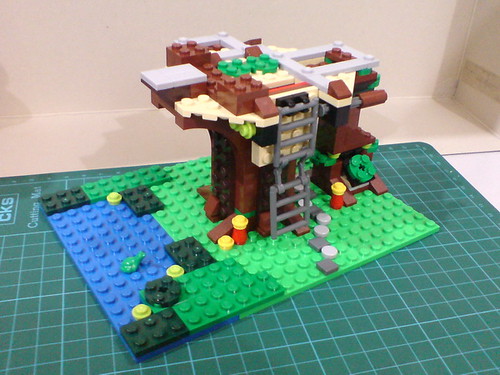
The entire model is almost complete now. ^^
Adding on parts that form the balcony.
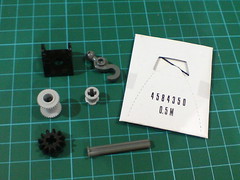
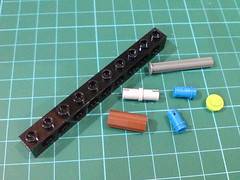
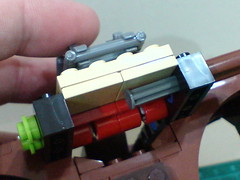
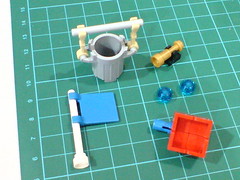
Parts that form the hooked winch.
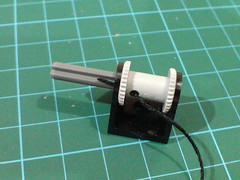
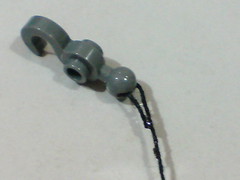
(Left) No tied knob is needed to keep the head of the thread in place. It can be kept in place when it's sandwiched between the thread wheel and connector piece later on.
(Right) Instead of tying it into a knob to secure the thread to the hook, I applied superglue to the thread to make the connection more natural-looking. ^^
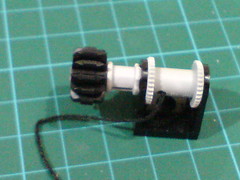
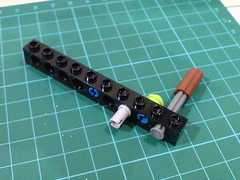
The button can indeed be used to extend/retract the thread. ^^
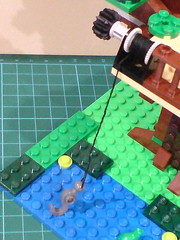
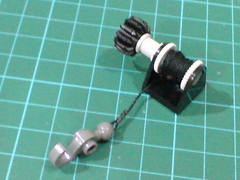
The winch is attached to the side of the balcony, and then tested of course. ^^
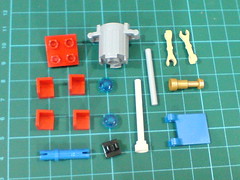
The last bunch of parts that form various accessories for the playhouse.
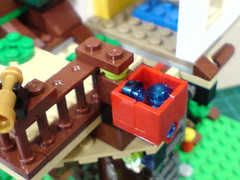
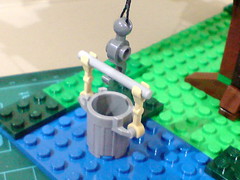
The red bucket on the other side of the balcony, and the (somewhat shown ^^;) telescope on the railing.


The bucket can be tilted manually. The clear blue pieces inside are supposed to represent water actually. ^^
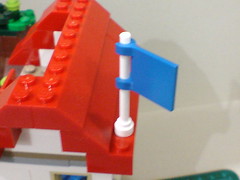
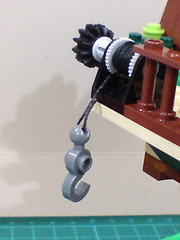
The flag on top of the roof, and the supply bin that is connected to the hook.
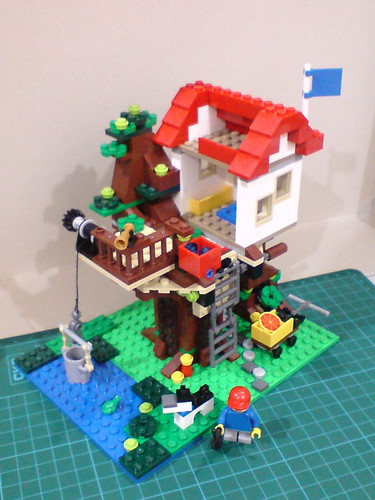
All done for the main model of this Lego set.
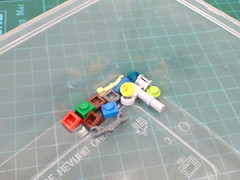
A couple of small-sized leftover pieces for the assembly. ^^
More images of the entire model to be shown in the next posting. ^^


No comments:
Post a Comment