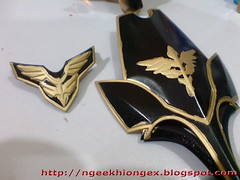
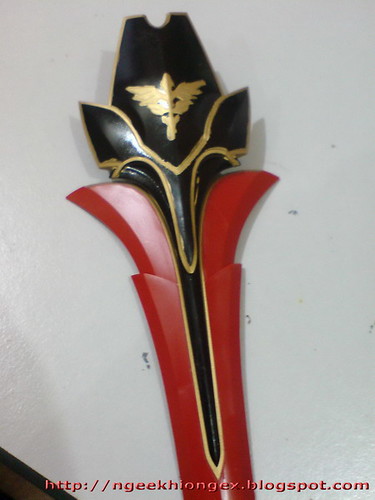
Friday, September 30, 2011

Random (4)

Captcha 奇谭

你... 你... 你到底是哪里跟我过不去?

HGUC Sazabi Part 6

Compound spirit: Shiny shiny shield

Picking up the work on the remaining components of HGUC Sazabi, which was left incomplete for about two weeks now. ^^;


The two pipes on top of the Beam Shot Rifle part need to be painted.


Painted using Gundam Marker Red.


Panel lines are applied to the entire part after the paint has dried.


Speaking of which, Sazabi's Beam Shot Rifle really reminds me of the Pulse Rifle from "Alien 2". ^^
"Char's Counterattack" came out two years after the release of "Alien 2" (1986), so I wonder if the weapon design from the latter had some influence in the anime. ^^


Painted the middle portion of the beam tomahawk/sword's body black using Gundam Marker.


Simple panel lining for the line details inside the shield part.


Since the joint on the red shield part is supposed to snap to the black mecha component (left), the exposed area on the red part is painted black using normal marker (right) to conceal its base color.


(Left) The red interior of the joint is no longer detectable. ^^
(Right) The black mecha component is panel lined as well.


The original black portion in front of the shield has a stress mark that is quite an eyesore to this important part that would be bearing the Neo Zeon insignia. ^^;
It would be great if this part becomes shinier or glossier to make it even more outstanding in my opinion, and I've just the right tool for the task. ^^


Mr. Compound Super Fine 8000 from Mr. Hobby, first used on the display base of MG Gundam F91.
This is an image from that particular posting on the display base as well.


The result after many, many rounds of rubbing using Mr. Compound.
The main emphasis is to get rid of the stress mark, which is successful to some degree - the glossiness of the surface after the whole work makes the stress mark less detectable. ^^;


Painted the vertical bar at the bottom of the shield part yellow using Gundam Marker. Its straight and uniform shape allows the flat tip of the marker to be used on it directly. ^^
Just need to shake the marker well and paint steadily. ^^


Was thinking of painting those (obvious) hydraulic pipes behind the upper arm gold and silver as I always do with such part (I painted them so for Sazabi's distance brother - BB Senshi Sangokuden Shiba-I Sazabi XD), but at the same time, I don't feel like having such exposed component on the kit to be stealing the limelight of the overall red appearance of Sazabi.


And so the hydraulic pipes behind the upper arms are not painted, just like how they are shown on the manual. ^^


The hydraulic pipes inside the ankle joint parts are going to be painted though. I had no problem finalizing on that decision XD


Painted the hosts gold using Gundam Marker first.


The tiny silver pipes are done using tiny pieces of foil stickers.


Retouch a little bit on the panel lines, especially for the golden hosts after the paint has dried.


Simple panel lining for all the other leg parts, including the long curvy line details inside the armors. ^^
The large parts make the entire work extremely enjoyable. ^^

The black shield part just receive a level-up in appearance, ^^ but the work is not over for him. Putting on the decal of the Neo Zeon insignia will be next. ^^

Thursday, September 29, 2011

MG Sinanju Ver. Ka Part 4

Unsteady hands

Time for highly "ceremonial" portion of the work on MG Sinanju Ver. Ka - painting the golden emblems on all the black parts completed in Part 3. ^^

As mentioned in Part 2, I don't have any spray can gold prepared for this kit, so I'll have to depend on hand painting to get the job done. For that, I'm not aiming for 100 percent accuracy for all the details, since the work to bring out all the details can wait till the next posting. ^^


Bottle paint, paint brush and thinner.


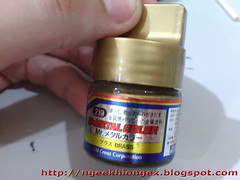
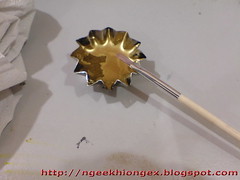
(Left) Color used is Mr. Metal Color 219 Brass, which was the same bottle painted used for the hand painted parts on MG Shin Musha Gundam.
(Right) The main paint brush to be used is Tamiya Modeling Brush fine type.


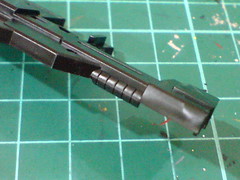
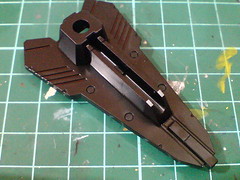
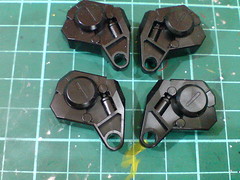
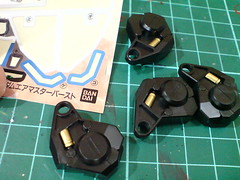
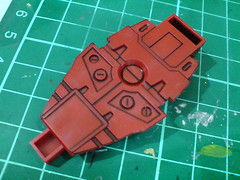
Starting with all the vent parts that don't require any delicate maneuvering whatsoever. ^^


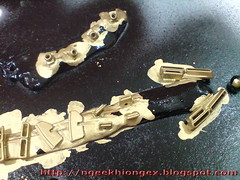
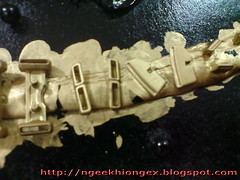
Since they are pinned on the paper board, all the parts can be painted with ease.
Just have to make sure that all the corners are covered. ^^


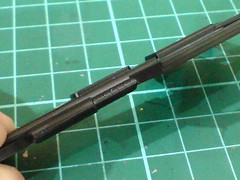
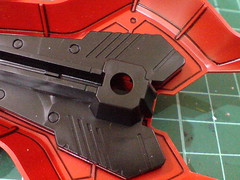
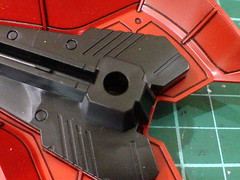
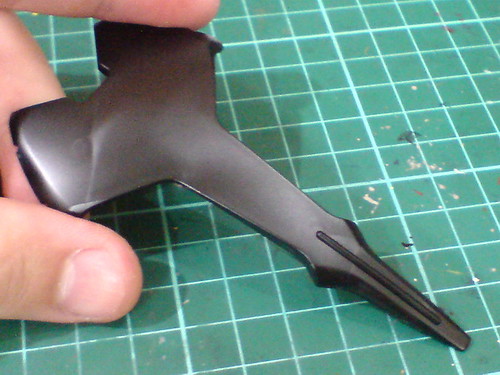
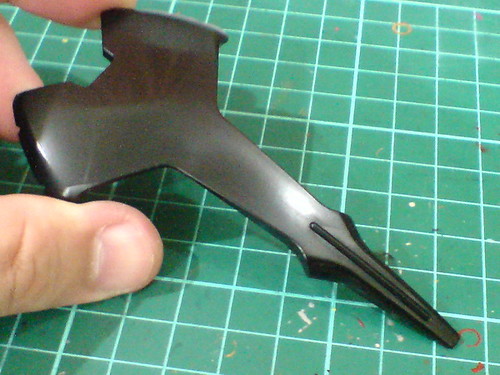
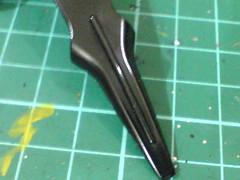
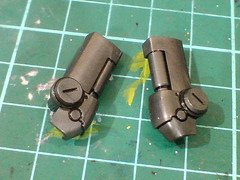
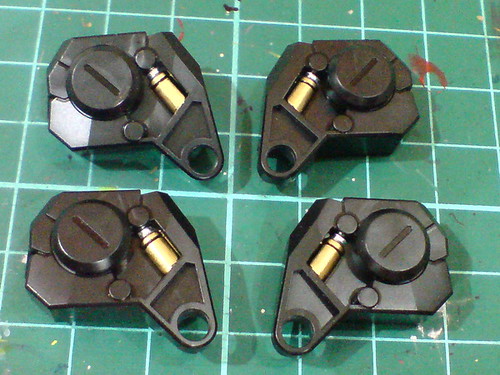
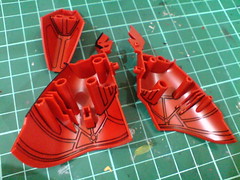
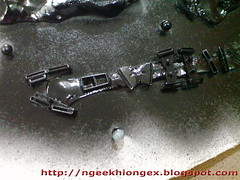
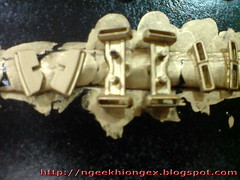
Moving on to all the black parts with emblems. ^^
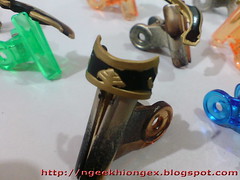
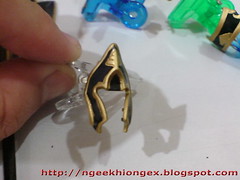


All painted. ^^
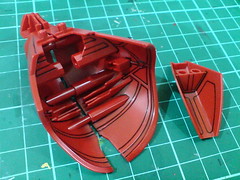
As mentioned earlier on, little care was taken to avoid spilling the golden paint onto the black area, since there's this constant reminder in my mind that the paint work would be refined in the next part of the work. ^^;


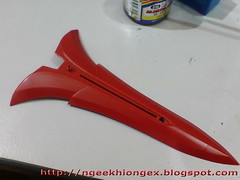
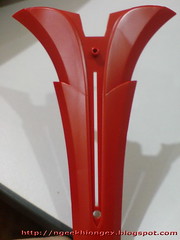
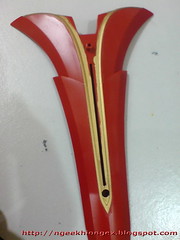
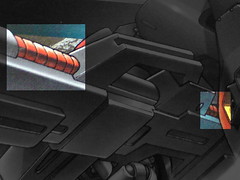
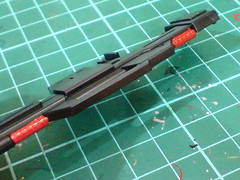
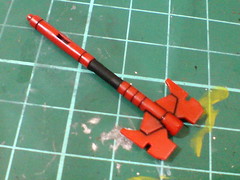
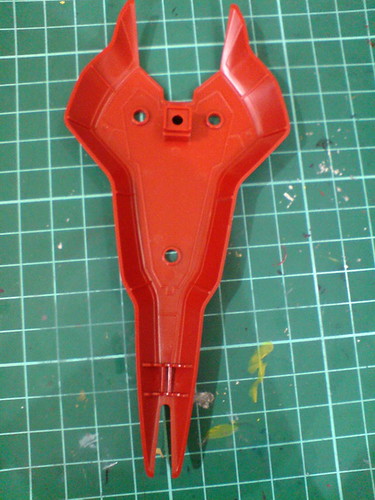
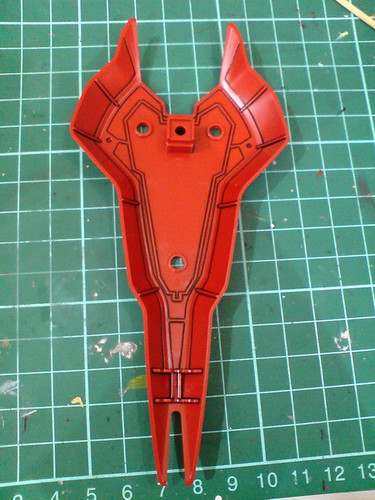
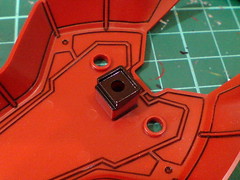
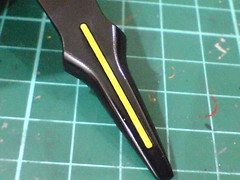
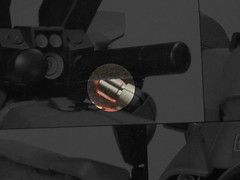
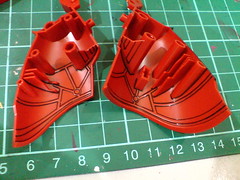
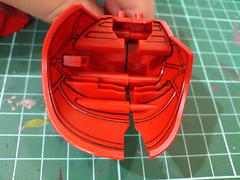
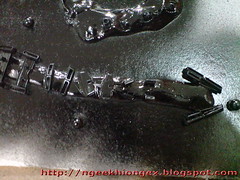
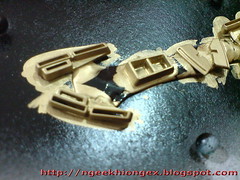
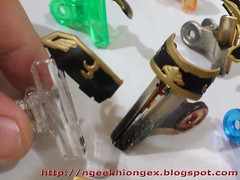
The curvy lines on the red bottom part of the shield are also painted using the same bottle paint and method. ^^


Being a bit adventurous there to try out how the shield would look like when it's completed. ^^


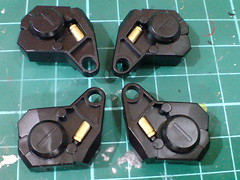
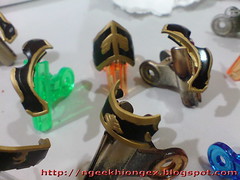
All the parts are placed inside paper boxes to let the paint dry before the next round of detailing. ^^

The most significant feature of this MS is slowly coming to form, but I'm not celebrating yet, not until all the details are refined in the next posting. ^^