As mentioned in the previous posting, two more components to go before the completion of my MG Gundam AGE-1 Normal. ^^
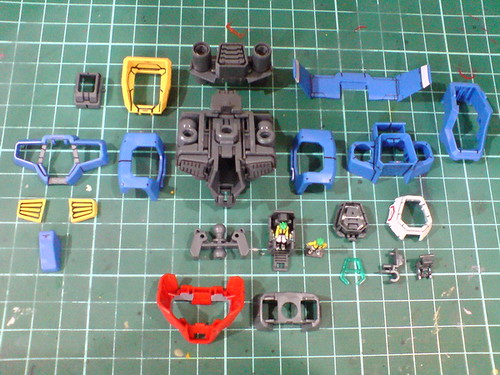
Armor parts of the body.
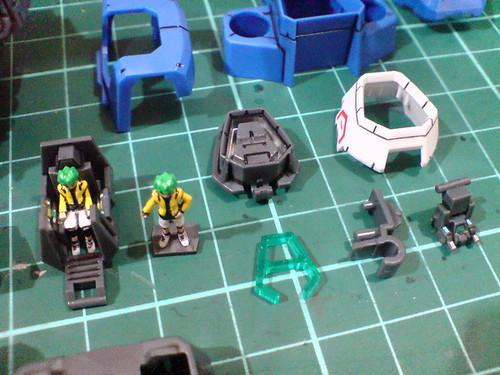
Parts of the cockpit hatch, including the little front monitor part which didn't get to be assembled in Part 9.
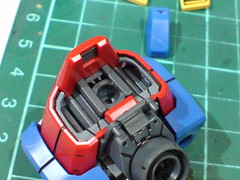
The gray area inside the red abdomen part painted in Part 5 is "integrating" well with the body's inner frame.
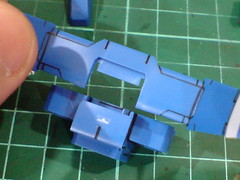
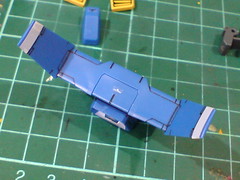
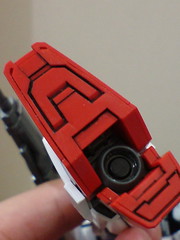
Very smart assembly design for the giant "spoiler" on the backpack that convents the parting line into natural-looking panel line. ^^
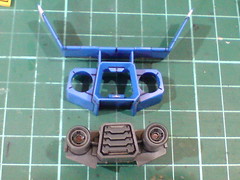
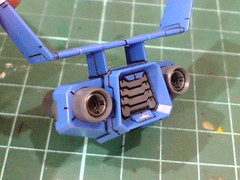
The accurate fitting for the two straight thrusters to go through the blue armor part is very fun to assemble as well. ^^
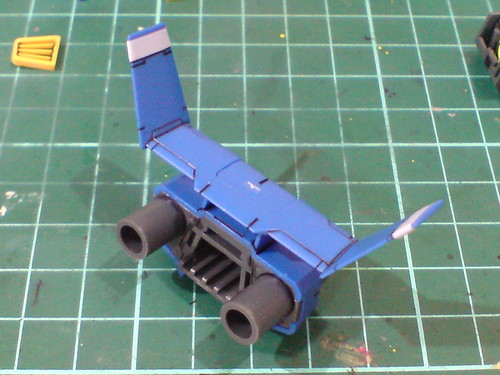
Just three parts in total for the backpack is quite an amazing design in my opinion. ^^
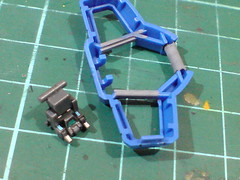
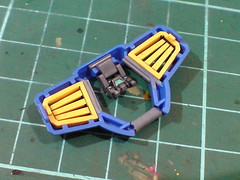
As mentioned in Part 9, the little front monitor part is to be fitted onto the chest armor's joint.
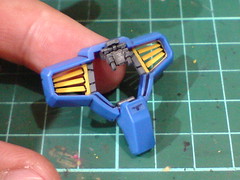
(Left) The lower blue abdomen part is added, and as shown in the previous image revealing the chest armor, it seems to be movable as it's hooked to a bar.
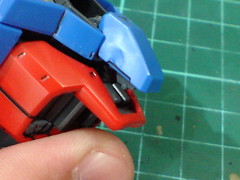
(Right) It's probably not too clear in the image, but there's a pair of very small pegs to be fitted into the waist's inner frame.
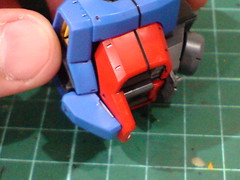
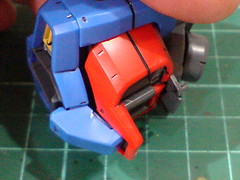
As the abdomen is bent to the back, the lower blue abdomen part will be pulled backward for a slight degree.
It might be somewhat insignificant, but this little linked movement design is totally unexpected, so it's mighty exciting to see when the parts are put together. ^^
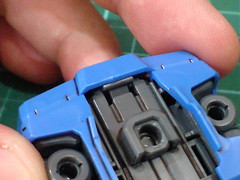
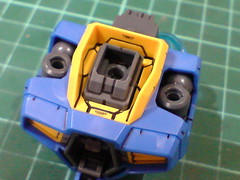
(Left) The little front monitor's joint is locked by the tight connection between the chest armor and the body's inner frame.
(Right) The neck joint cap and yellow one-piece collar are added.
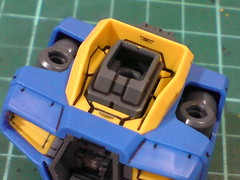
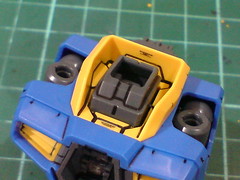
The neck joint cap is designed to be movable, but instead of independent movement, it's supposed to compliment the polycap inside the neck area.
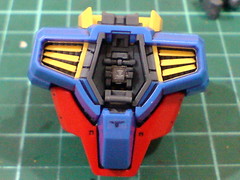
Front view of the chest before the cockpit hatch is attached.
The monitor part completely covers up the pilot figure inside. ^^
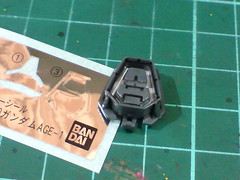
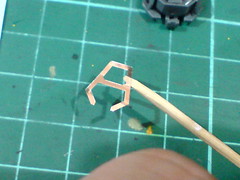
Attaching the shiny silver foil sticker into the A-crest part.
The accurate cut of the sticker is quite a marvelous to see. ^^
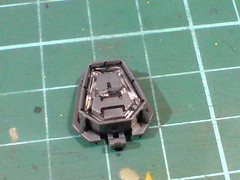
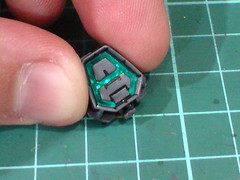
While the space inside the gray part seems just right for the silver sticker, it's very difficult to get it positioned correctly. ^^; Then again, maybe the wrinkles from the uneven placement is the factor behind the sticker's shininess from behind the clear green part. ^^
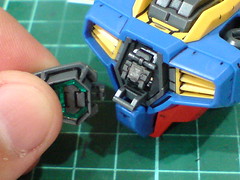
The cockpit hatch is hooked onto a bar at the edge of the cockpit module inside the chest.
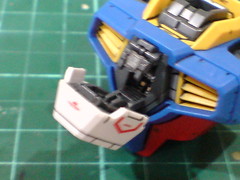
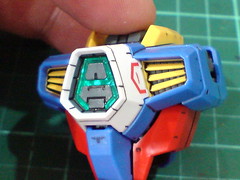
The white armor part is added last before the hatch can be closed completely.
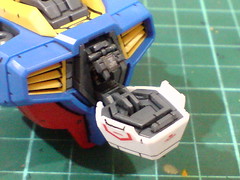
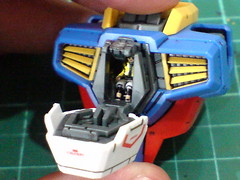
(Left) When the hatch is flipped downward completely (90 degrees), it'' cause the cockpit module inside the chest to be pulled outward for a slight degree, which in turn pushes the front monitor part upward a tiny bit. Not the most advanced linked movement feature, but a clever design nonetheless. ^^
(Right) The cockpit module can still be pulled outward to reveal the pilot figure. ^^
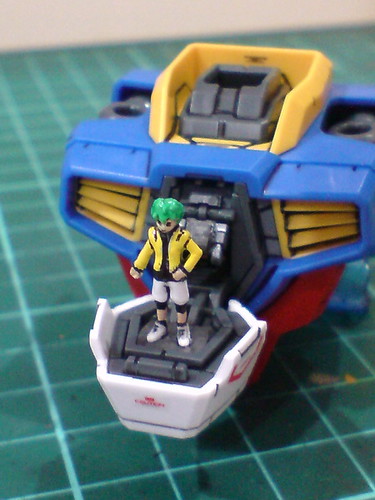
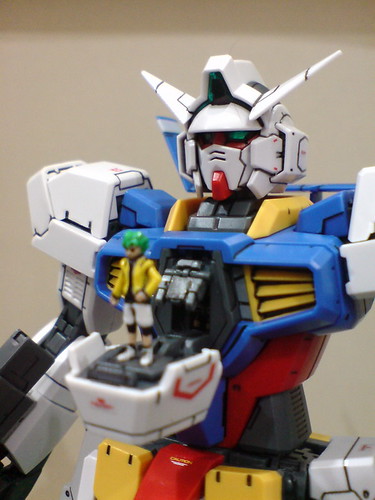
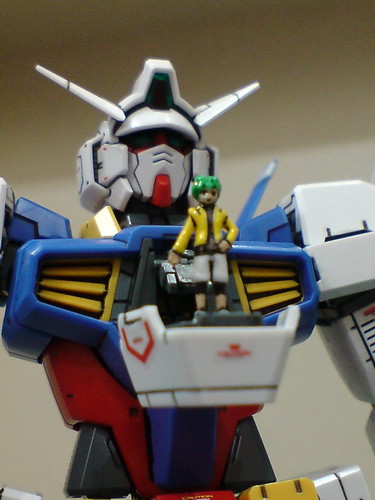
As shown in Part 4, the standing figure's base can fit inside the middle area of the cockpit hatch to show Flit standing outside his Gundam. ^^
With the monitor hiding the pilot figure inside the chest, there's no awkward display of two figures (of the same person some more) shown next to each other. XD
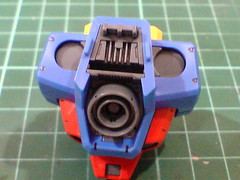
A look at the back before the backpack is mounted.
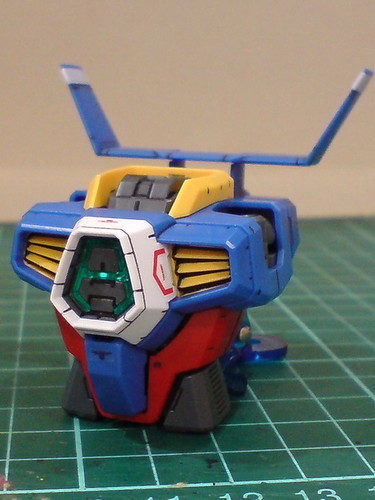
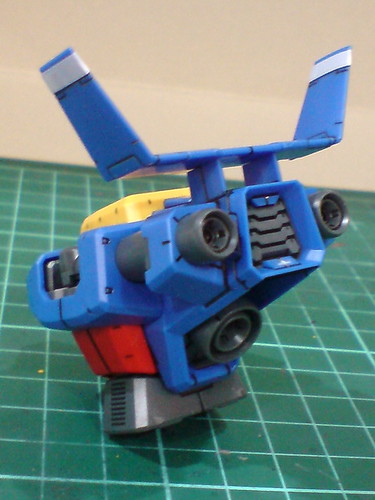
The body unit is completed.
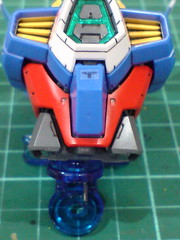
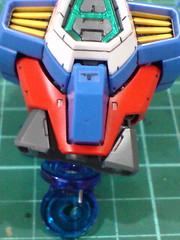
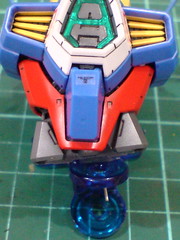
Side-to-side movement of the waist.
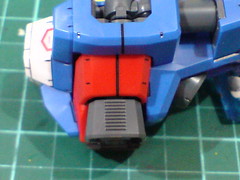
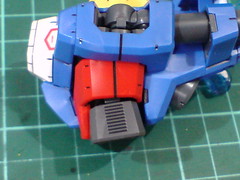
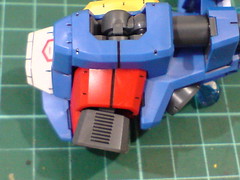
Frontal and backward bend of the waist.
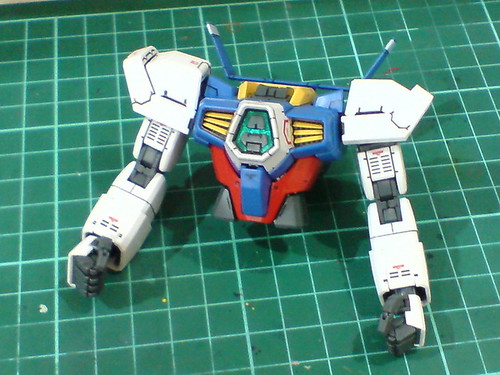
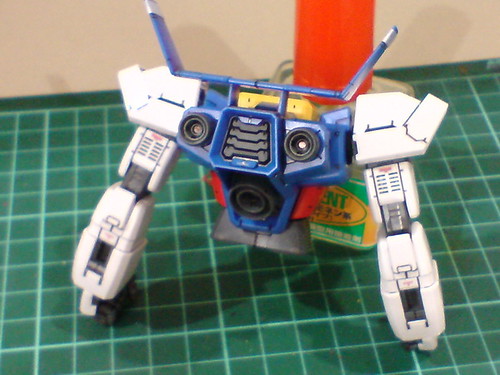
Together with the completed arms from the previous posting, the upper body is now done.
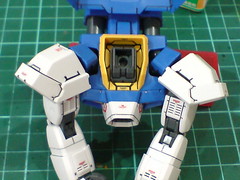
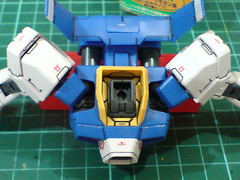
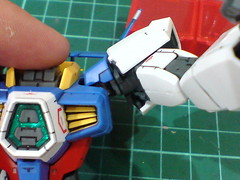
Very wide articulation range of the shoulder joint demonstrated again. ^^
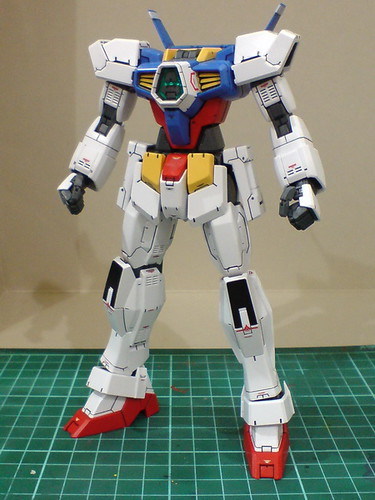
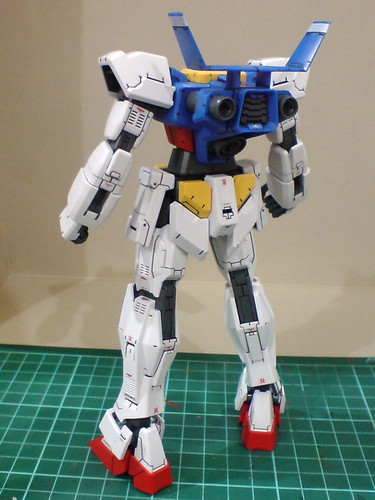
The entire body is now done.
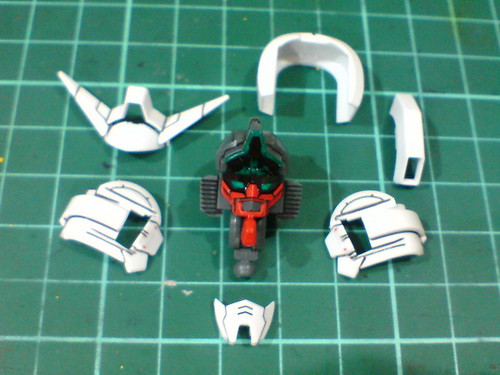
Armor parts of the head.
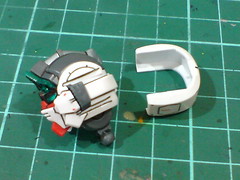
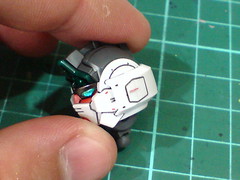
One-piece helmet part shown in the images above is quite a unique design even in the Master Grade series. ^^
Its real function is to hide the seam line of two white parts behind the head.
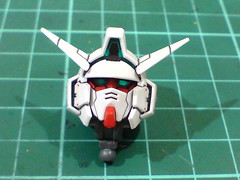
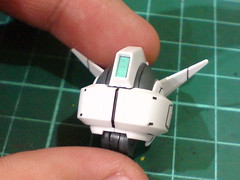
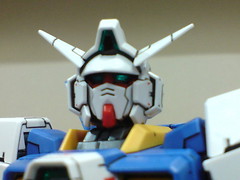
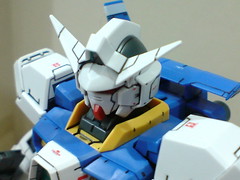
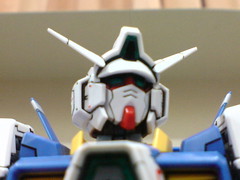
Done for the head. ^^
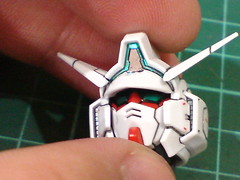
The shininess of the forehead sensor can be seen, but not really for the eyes. ^^;
Maybe it wasn't a good idea to paint the interior of the forehead/V-fin part black in Part 6. ^^;
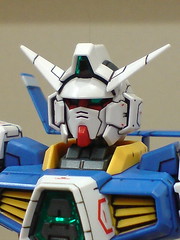
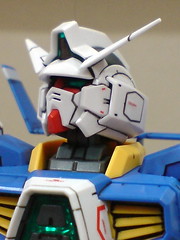
The head is assembled onto the neck joint.
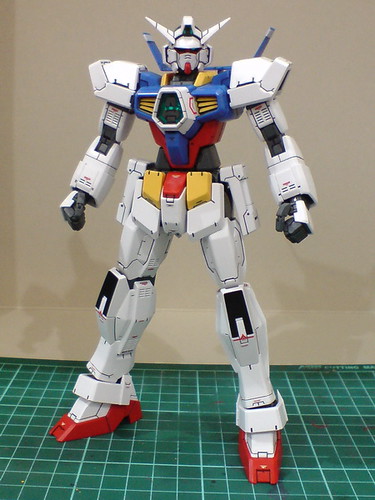
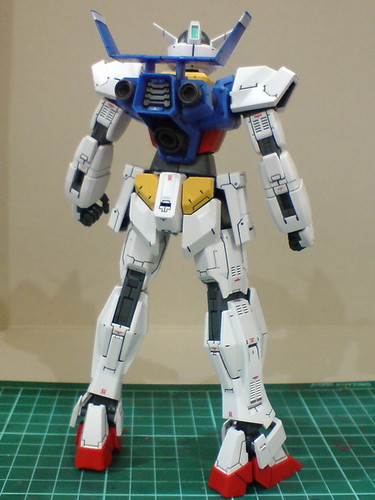
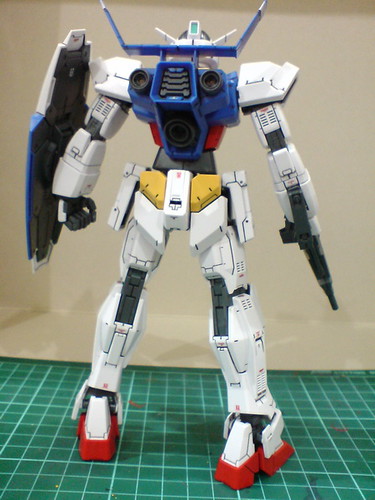
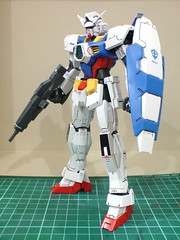
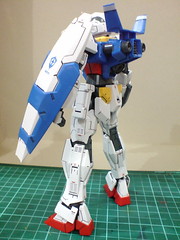
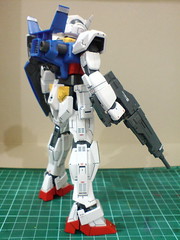
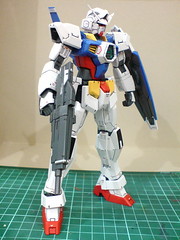
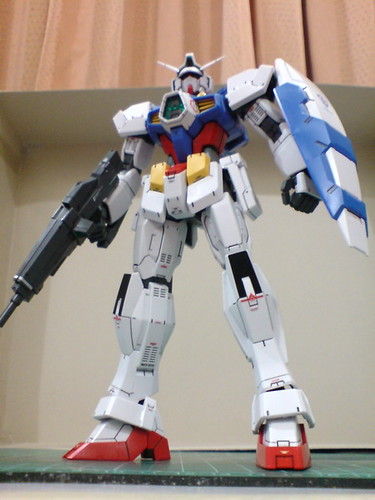
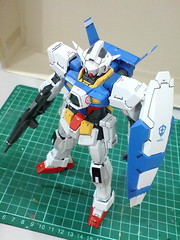
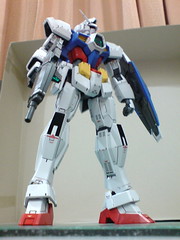
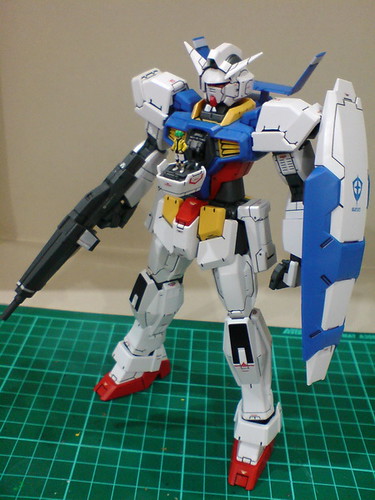
MG Gundam AGE-1 Normal is done. ^^
More images of a fully-equipped MG Gundam AGE-1 Normal: ^^
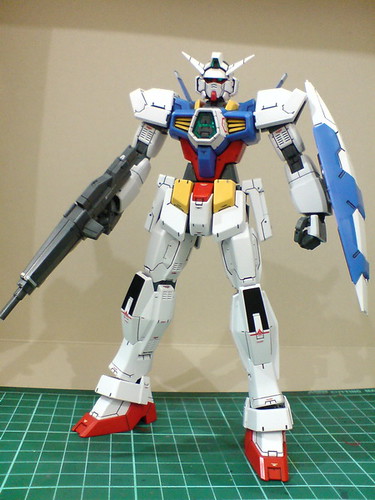
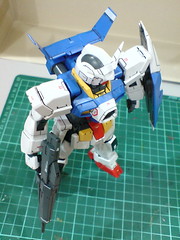
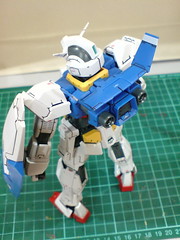
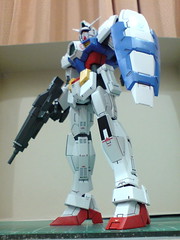
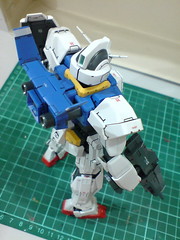
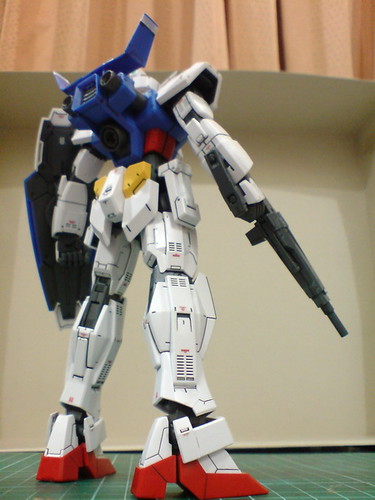
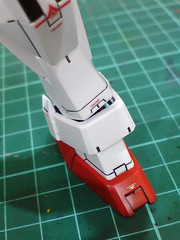
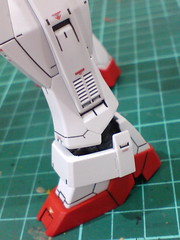
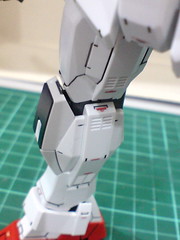
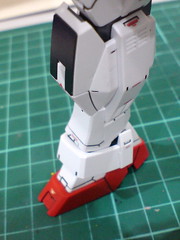
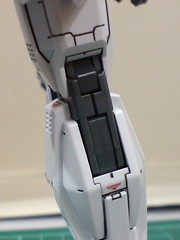
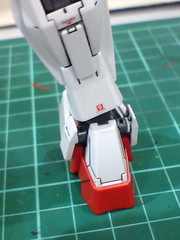
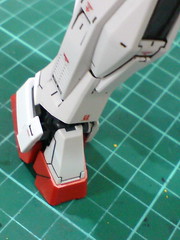
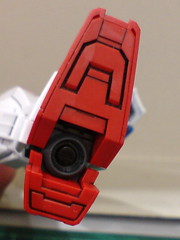
Closeups on the details: ^^
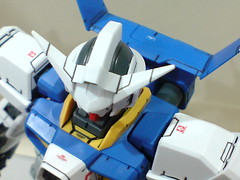
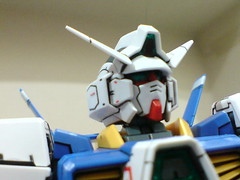
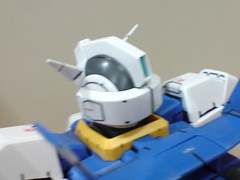

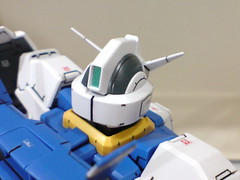
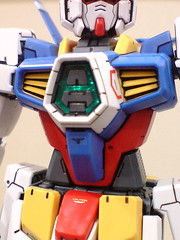
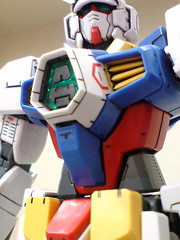
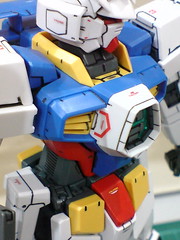
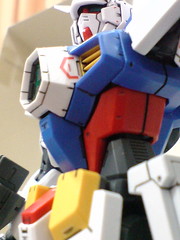
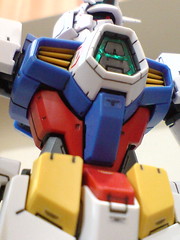
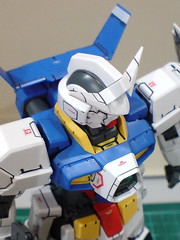
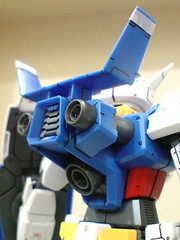
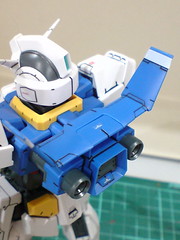
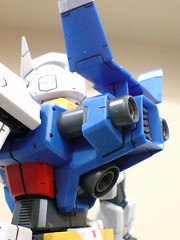
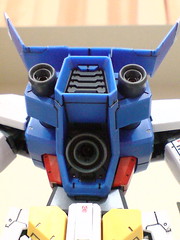
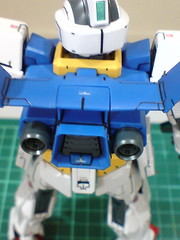
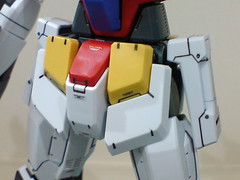
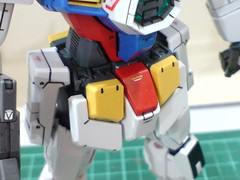
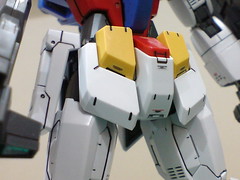
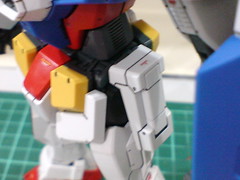
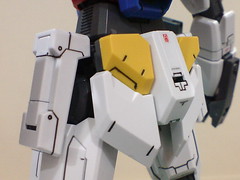
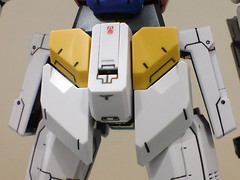
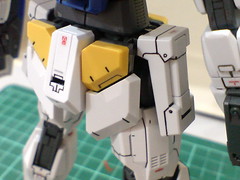
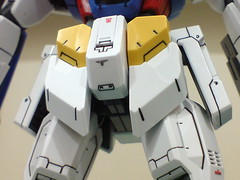
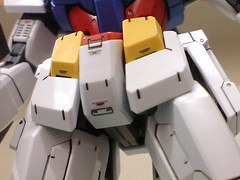
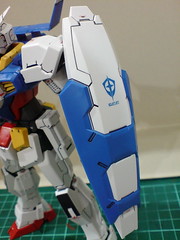
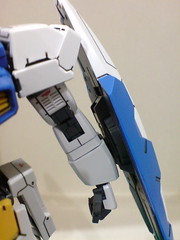
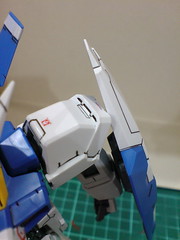
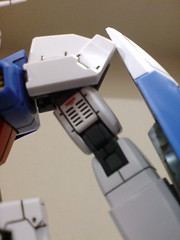
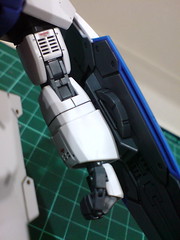
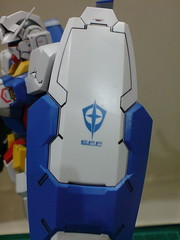
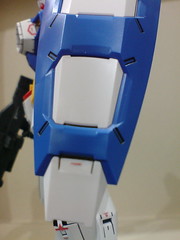
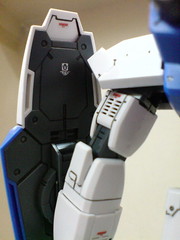
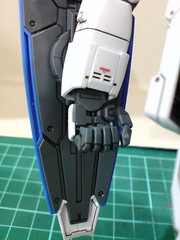
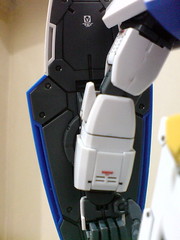
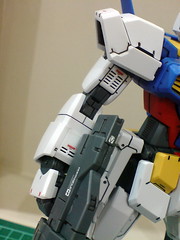
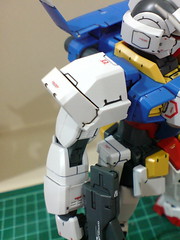
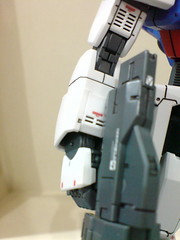
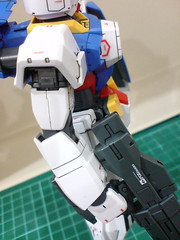
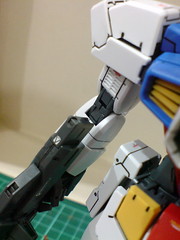
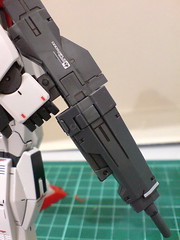
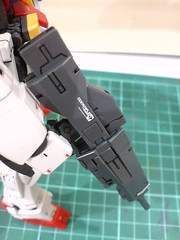
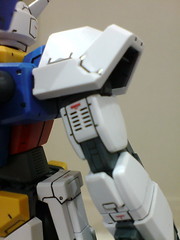
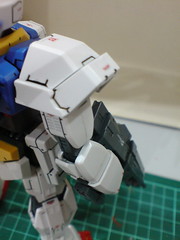
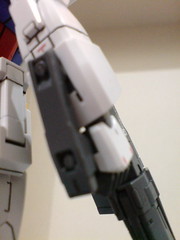
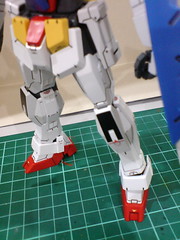
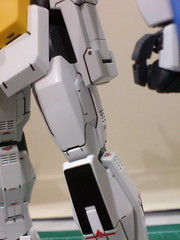
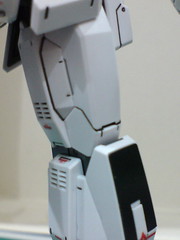
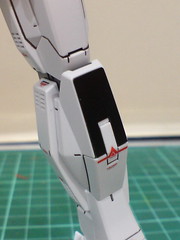
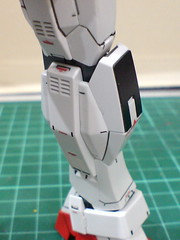
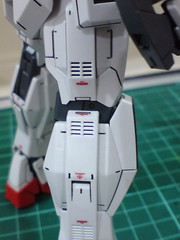
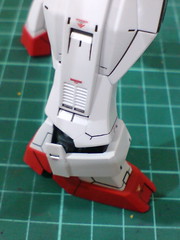
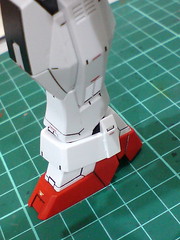
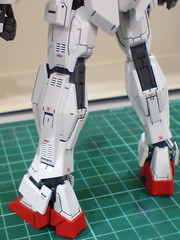
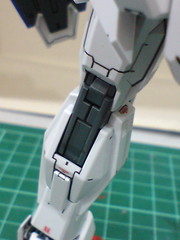
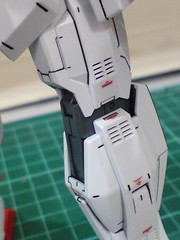
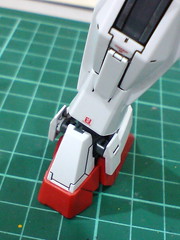
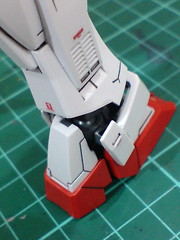
Displayed with the standing figure of Flit.
Putting the articulation design of this MG kit to the test with the first round of action poses in the next posting. ^^


