Finishing up the work on MG Gundam AGE-1 Normal with the head parts in this posting. ^^
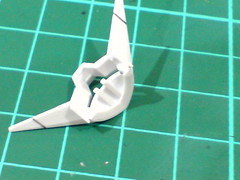
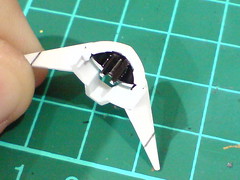
Painted the interior of the forehead/V-fin part black using Gaia Color 022 Semi Gloss Black to give it more depth.
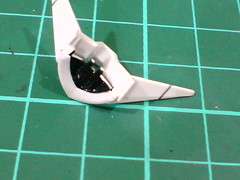
With excessive paint scratched away using a knife.

Simple panel lining work on all the head's parts.

Painted the sunken areas behind the cheek black using normal marker to give them an extra sense of depth.

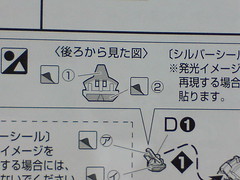
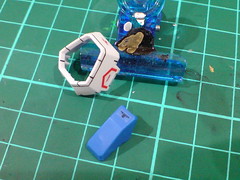
Just like the "A" crest on the chest piece, the forehead sensor and eyes which are located on the same clear green part have shiny silver stickers included to give the two said components an extra look of shininess when viewed from the front.
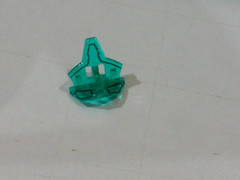
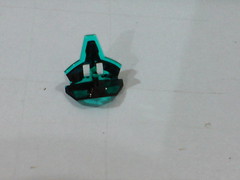
If the shiny silver stickers are chosen, foil stickers can't be used for the sensor and eyes anymore as they would block the bling-bling. ^^;
For that, the areas beneath the sensor and around the eyes have to be painted black instead.
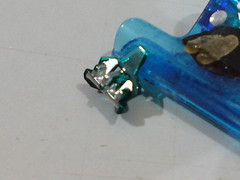

For convenience, the area behind the eyes is painted using Pilot Super Color Silver Extra Fine, and the effect on the eyes can be spotted immediately. ^^
The forehead area has a larger piece of shiny silver sticker, which is perceivably easier to apply, so the same paint work is omitted for it.
Given the rather simplistic appearance of this kit as shown in the manual, adding some markings would be good to enhance the look I believe. ^^ So unlike most other Master Grade kits I've completed in the last few years, Gundam AGE-1 Normal is going to have plenty of markings applied onto it. ^^

My interest in applying markings has been "revitalized" after the work on 1/100 scale Zaku Warrior with Blaze Wizard and Gunner Wizard packs, ^^ but I don't think I'll go nuts this time and applied as many stickers onto Gundam AGE-1 Normal as that 1/100 kit. ^^; The marking guide in the manual is going to be mighty useful to stop me from overusing all the stickers and decals. ^^

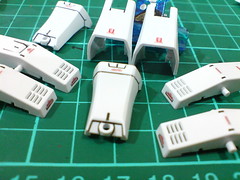
[Legs]

[Feet]
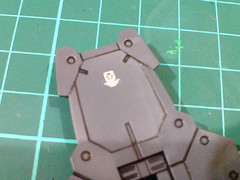
[Shield]
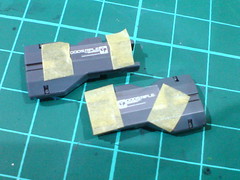
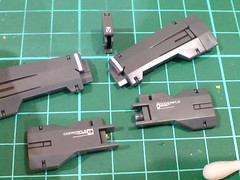
[DODS Rifle]
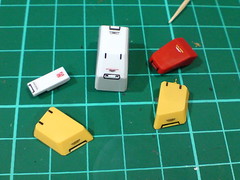
[Hip and skirt armors]

[Arms]

[Body and backpack]

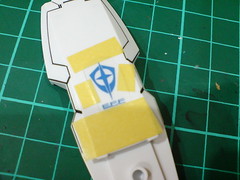
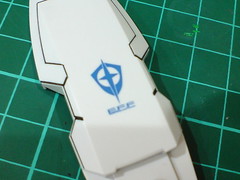
Decals of super-duper small white bars for the chest are really crazy design. ^^;
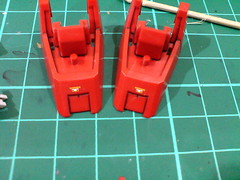
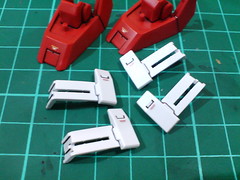
The red ones for the hand armors applied earlier on are pretty mind boggling, but they are clear stickers instead of decals, which are somewhat easier to manage.
I think I'm getting too old for this sort of dry transfer decal. ^^;

[Head]
Overall, the panel line work was made easy by Tamiya's Panel Line Accent Color (Black) (Part 2). All the tiny narrow line details were taken care of like nothing at all. ^^ Plus, some molded areas that weren't supposed to be inner frame details were panel lined very easily as well.
Overall, in terms of the work before the final assembly, the simplicity of the inner frame parts which are somewhat lacking in details is another special feature of this Master Grade kit. Due to the molding design to create parts with no seam line, many of the arms' and legs' parts have no mechanical details around them. That's why a lot of the molded areas were panel lined instead, to make up for the lack of "regular" mechanical details. As with most other Master Grade models I built and reviewed in the past, I like to assemble the inner frame first before adding on the armors. The inner frame view is going to be really different with Gundam AGE-1 Normal I believe.
With that said, I kind-of suspect that inner frame details is not a feature explicitly available on this kit. Yes, you can build the entire frame first, but its intended purpose is just a frame for joints and connection points for all the armor parts, not a mechanical frame like those on other MGs like Char's Gelgoog Ver. 2.0 or Force Impulse Gundam. That lack-of feature would put the design in between Master Grade and the 1/100 scale series in my opinion. While the kit does have MG features like higher part count, pilot cockpit, figures, great articulation and others, but the simplicity in part design and lack of obvious mechanical details would relate it more to the 1/100 scale series instead.
Maybe this hybrid design is the most significant feature of this Master Grade sub-series for "MS Gundam AGE". ^^
As usual, there'll be a bit of offset time between now and when I revisit all the parts again for the final assembly. ^^


No comments:
Post a Comment