Thursday, June 30, 2011

MG Force Impulse Gundam Part 8

MG Destiny Gundam... Eh?!

Starting the work on components from the Gundam itself for MG Force Impulse Gundam. ^^

"Consistent" with the "tradition" of Master Grade designs from "Gundam SEED/SEED Destiny", ^^ all the parts - from either the inner frame or armors have tons of mechanical details, which are very elaborate, with their functions totally up to your imagination too. XD

Starting with the legs first:
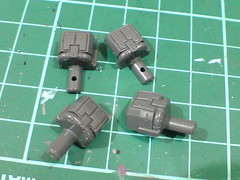


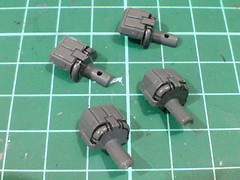
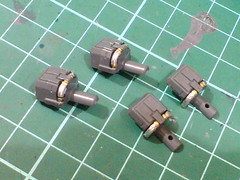
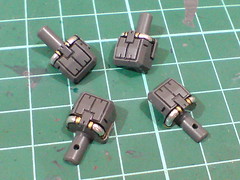
Painted the little tubes on the thigh joints in gold and silver using Gundam Marker and Pilot Marker respectively.
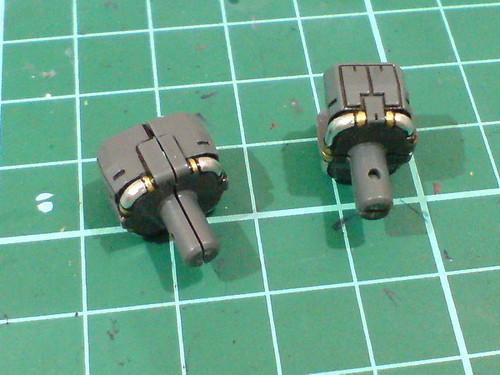

The design really reminds me of the same component as seen on MG Destiny Gundam. ^^


Hydraulic pipe sets are painted using Gundam Marker Gold and silver Zebra marker.
Gold and silver as usual. ^^


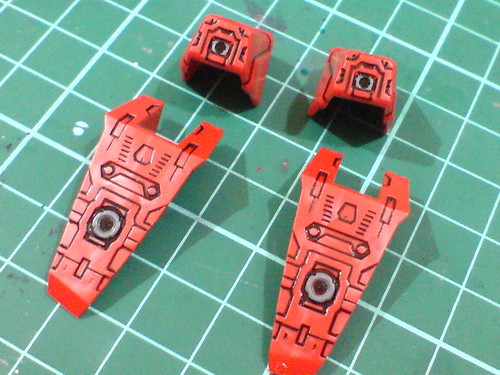
Added gray for the thrusters beneath the feet using Gundam Marker.
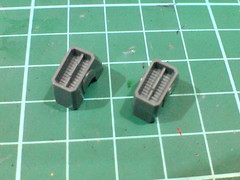

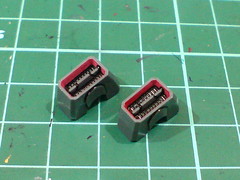
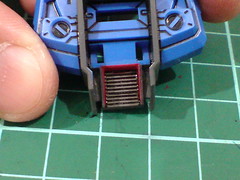
To be consistent with the backpack thruster (Part 3) and backpack adapter (Part 7), the inner wall of the thrusters on the calf are painted red as well, using Gundam Marker.


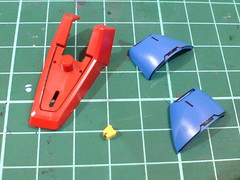
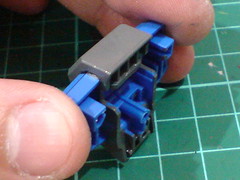
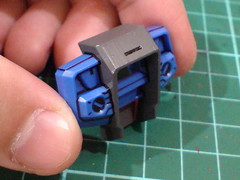
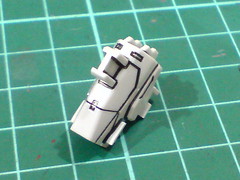
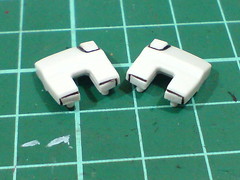
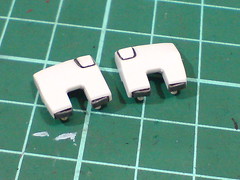
Another two parts that remind me of MG Destiny Gundam - the knee armors that have some area to be exposed when the parts split up.


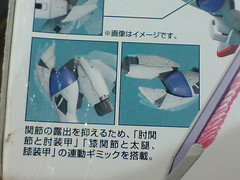
Unlike MG Destiny Gundam, which didn't show that component to be painted, the split area is set to be in gray for Force Impulse Gundam, as shown on the box side intro of the kit and in the manual, so there's not much pondering necessary for the task. ^^


Painted gray using Gundam Marker.


Corresponding area behind the armors is not painted though, since it's right next to the joint (making it really difficult to paint in whichever way ^^;).


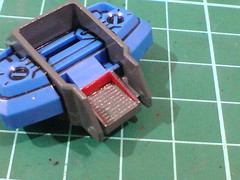
And this is how the split area would look like when the knee is bent.
The paint work makes it looks like there's some mechanical component beneath the knee armors, even though it's just one white part sliding out from the other one. ^^


All the other non-repetitive parts for the left leg.
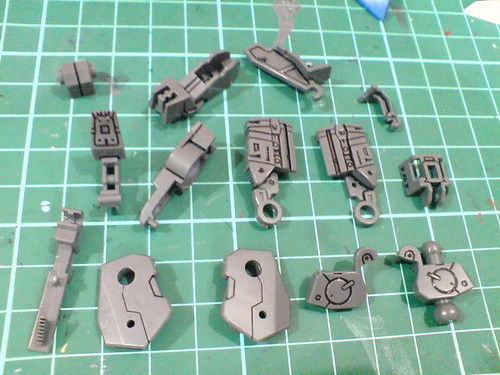


Just simple panel lining for the inner frame and armor parts.

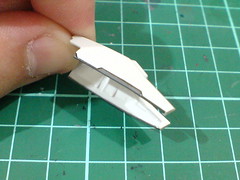
The split between the thigh armors are painted in gray using Gundam Marker to highlight the moving parts.


Simple panel lining for all the white armor parts.
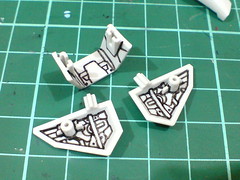

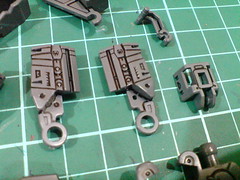
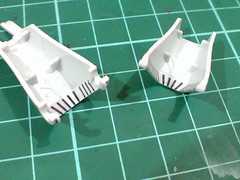
(Left) Crazy details behind the ankle guard parts, ^^
(Right) Just panel lined a set of line details near the opening of the leg armors, since they may be exposed in MA mode. The rest of the details behind the parts are omitted.

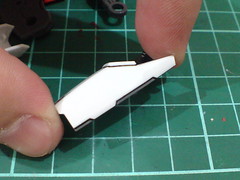
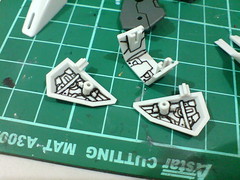
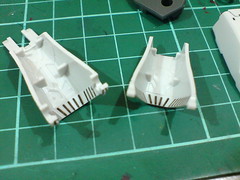
And repeat all the work for the other leg. ^^

I like the connection of some of the design with MG Destiny Gundam, since Force Impulse Gundam is somewhat like the predecessor unit to that Gundam in "Gundam SEED Destiny", at least in terms of show appearance. You can somewhat get the feeling of, "Yeah, the design works on Force Impulse Gundam, so they inherited it onto Destiny Gundam." when you look at the details, even though technically, MG Destiny Gundam was released before Force Impulse Gundam. ^^

More of such connection to be seen in the main inner frame parts for the legs in the next posting. ^^

MG Force Impulse Gundam Part 7

Suddenly, so many parts to paint (again)

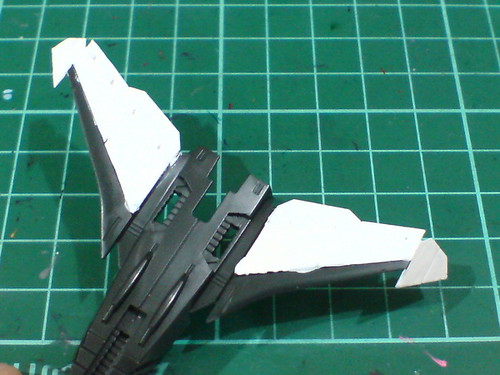
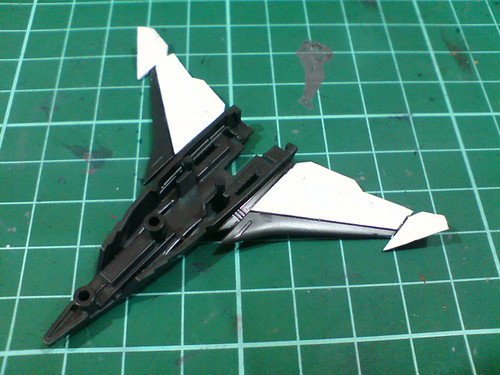
As mentioned in the previous posting, it's time to "bleach" that black portion of the Flyer unit's wings ^^


The large size of the area to be painted doesn't really welcome Gundam Marker White or straight usage of normal bottle paint.


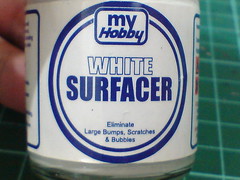
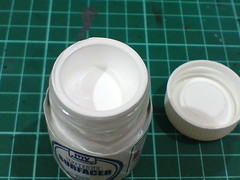
A useful substitute for the task: White Surfacer from Mr. Hobby.


Supposedly used to create a base coat for subsequent paint to be applied, the surfacer itself will be used as a paint this time since it's conveniently white. ^^
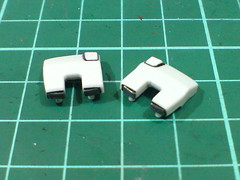
Not sure what's the secret, but it should be able to cover the black surface color of the wings much easily than any normal white paint.


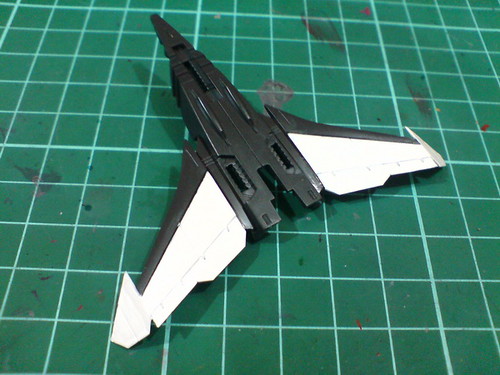
White as white can be with 2 layers of the surfacer. ^^


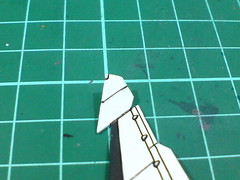
With excessive paint scratched away and panel lines reapplied.


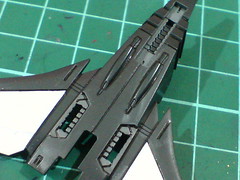
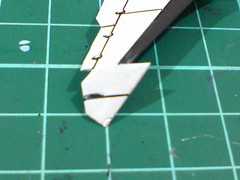
Painted the three landing gear hatch areas gray using Gundam Marker.


Added panel lines for the details on the wings when the paint has dried.


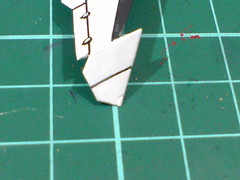
(Left) A bit of mess there on one of the lines,
(Right) Unlike panel lines on unpainted parts where the unwanted lines can be easily rubbed off using toothpick or tissue, the mess on this painted part (in white some more) is covered up with another layer of paint instead.


Reapplied the panel line when the paint has dried. Problem gone. ^^
Operation sweep-it-under-the-carpet success. ^^


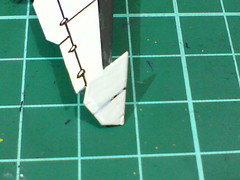
Panel lined the signal lights on the edges of the two wings, but what colors are they supposed to be in?


Color info N/A, as the parts are not painted actually, as shown in the manual, so I'll just adopt the color scheme of "f-o-r-g-e-t-i-t" then XD


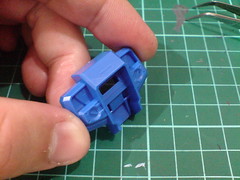
Moving on to painting the "multi adapter" part for the backpack.
Designed after the backpack of Strike Gundam, a huge area of the part has to be painted in gray.


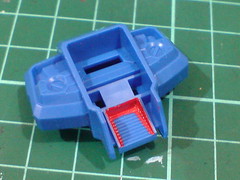
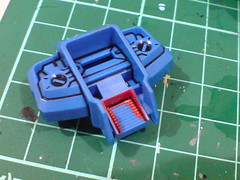
(Left) Painted the inner wall of the thruster in red first using Gundam Marker,
(Right) Panel lined the entire part


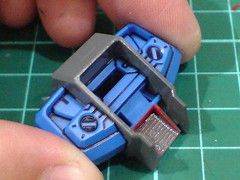
Hand painted the protruding area in the middle and the thruster gray using Gaia Color 074 Neutral Gray IV.


All gray spots that might be seen are painted.
The borders are repanel lined when the paint has dried.


Refined the paint work on the thruster by covering up some of the gray paint that spilled onto the red wall using Gundam Marker Red again (this time it's painting the part using a toothpick with the red paint from the marker).


Panel lined the details in the middle of the thruster.


It's good to see that the color used is a match to the other gray parts of the body. ^^


Just simple panel lining for the white part of the adapter.
Supposedly mimicking the cockpit of Core Splendor, but I really don't see the importance of painting this part to begin with. ^^;


Painted the little protruding areas behind the hands' armors near the wrist joint gray using Gundam Marker to associate them with the hands themselves.

Done with the Flyer unit, now I can focus my attention on the Gundam itself.

Or in other words, the work on the Gundam is only just about to start, after all this while. ^^;