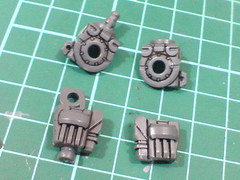
Working on the arms of MG Johnny Ridden's Customized High Mobility Type Zaku II Ver. 2.0 after the weapon units in the last posting.

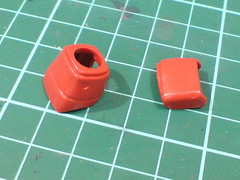
Recognizing that this is the right arm from the yellow spikes for the shoulder armor.
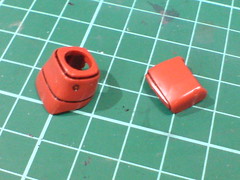
Painted the cross section area near the wrist and the edge of the knuckle in gray using Gundam Marker.
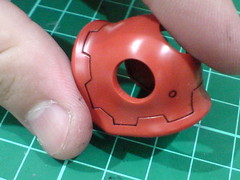
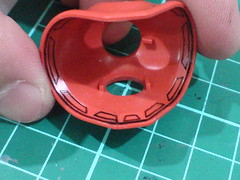
Panel lined the large shoulder armor.
Even through it's a completely different part as compared to the same component from the first MG Zaku II Type J Ver. 2.0, the lines near the edge inside the armor are still pretty troublesome to draw. ^^;

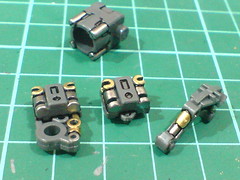
Moving on to some really normal stuff for my Master Grade kits, ^^ in line with the work on the inner frame of the feet done about a week ago: painting the inner frame of the arms.
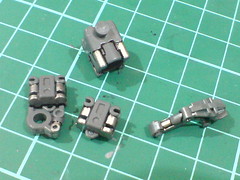
Painted the silver portion first.
Followed by gold.
Apart from the usual Gundam Marker Gold, I tried Gundam Marker Plated Silver for the silver parts this time.
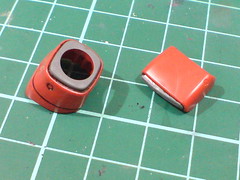
Scratched off some excessive paint around the painted areas and reapply the panel lines on them.
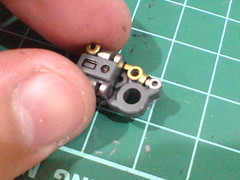
For the sunken area inside the upper arm/elbow joint, I just dropped a tiny bit of black whiteboard marker ink inside it and let the ink filled up the entire area.
Finished up by scratching away some excessive ink around the part.
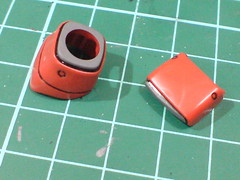
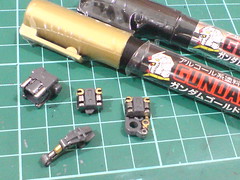
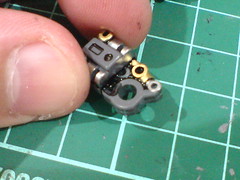
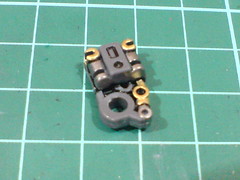
Simple panel lining for the rest of the right arm's parts.


Painted black for the "borders" between the three sets of connecting parts so that the lines would be very obvious when assembled.

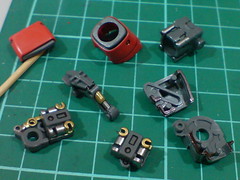
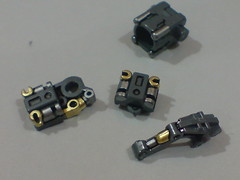
Repeat all the work for the left arm. ^^;
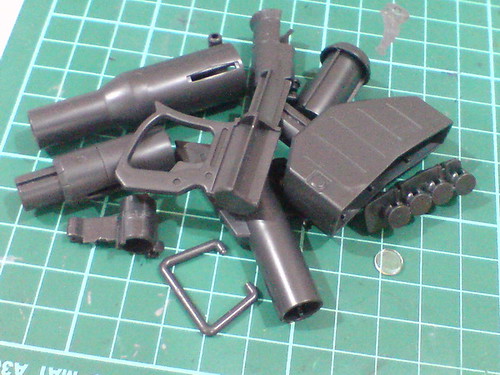
Working on the signature weapon of this Zaku II variation: the Giant Bazooka. ^^
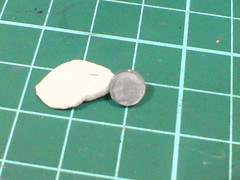
Just some simple panel lining would do, and I made sure I didn't lose the clear part for the targeting scope anymore like yesterday ^^;

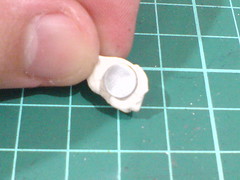

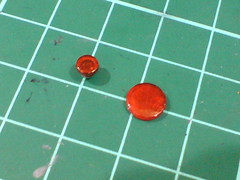
Same treatment for the targeting scope as the one for Zaku Bazooka and Zaku Machine Gun yesterday: silver on the back and red in front. Both colors painted are from normal marker.
Comparison with the targeting scope of Zaku Machine Gun.
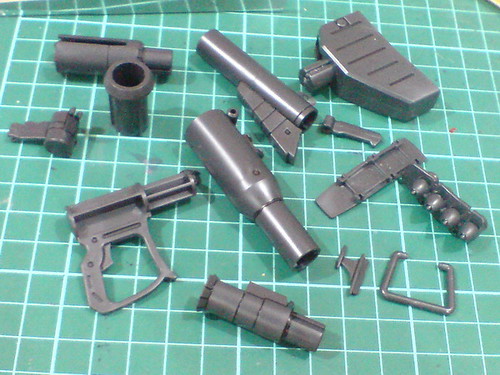
Just simple panel lining for the rest of the bazooka.
Going to up the level of difficulty in terms of paint work required with a really complicated component (in my opinion) on another MG kit in the next posting. ^^


No comments:
Post a Comment