Rolling out just the second Gunpla kit on this blog this year, after 1/48 scale Unicorn Gundam Head Display Base, but at the same time, finishing a review series that started two years ago. ^^
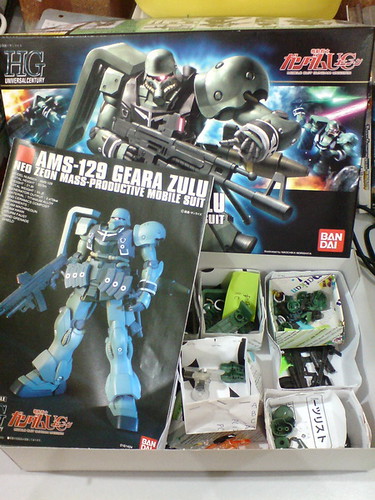
With the detailing work done last December, this is a definitely a different Gunpla kit of HGUC Geara Zulu than the first straight assembled version completed back in July 2010. However, since the review on this kit wasn't concluded back then, the "file" can be considered open since then, and I'm intending to "close" it and finish the business now. ^^
Since the parts and assembly weren't shown back in July 2010, I get to write the review without needing to come up with any unique or innovative methods. ^^
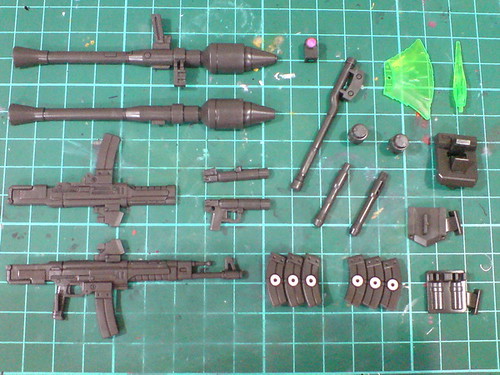
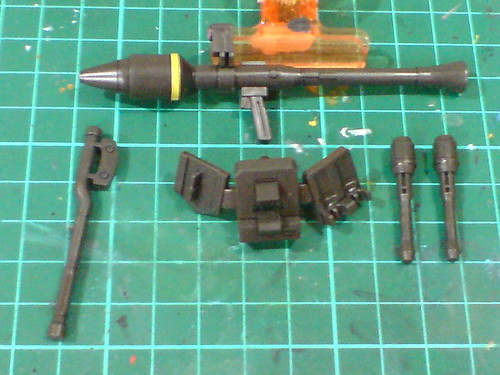
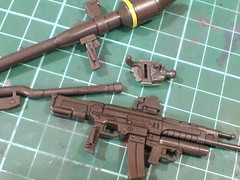
Parts of the weapons.
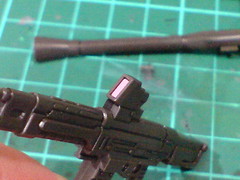
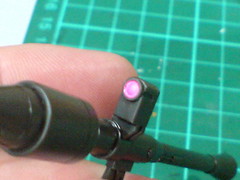
Foil sticker is used for the beam machine gun's targeting scope.
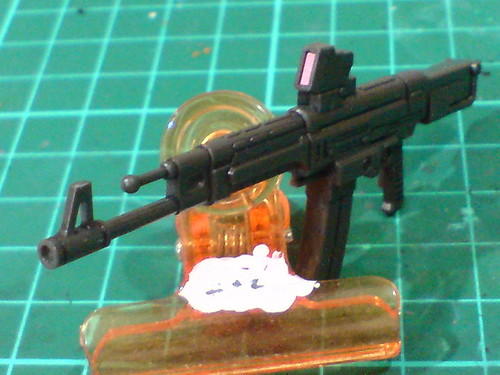
Done for the beam machine gun.
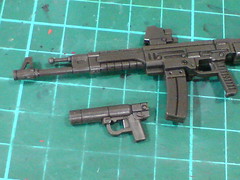
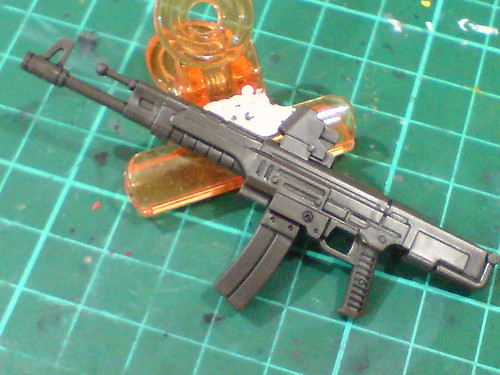
The small grenade launcher, which is just made up of two left and right parts can be slide onto the forestock of the beam machine gun.
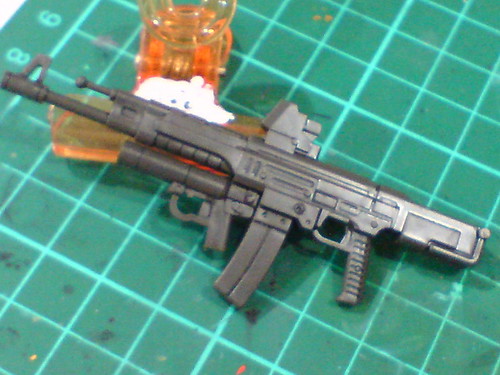
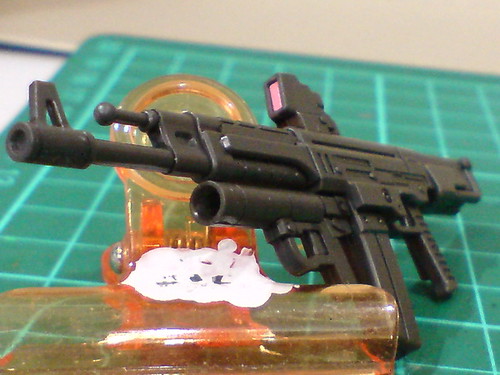
The grenade launcher equipped beam machine gun.
Foil sticker is not needed for the bazooka's targeting sensor since it was painted back in Part 5. ^^
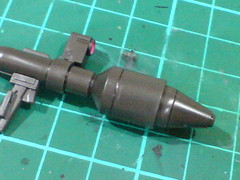
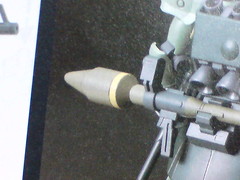
The bright yellow ring around the base of the bazooka's warhead will be realized using foil sticker though.
For me, the emphasis is on the "ring" instead of its color - the band must seem like it's an extra detail that stands out instead of just a separated color on the parts. This is why I didn't paint it before this final assembly.
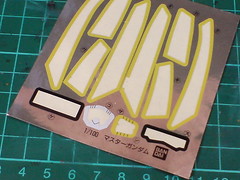
The width of the band is pretty significant, but I still managed to find a spare foil sticker sheet in my collection that can be used for the warhead - from the good old High Grade 1/100 Master Gundam. ^^
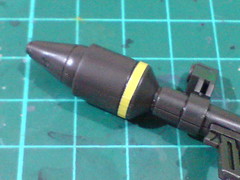
Attach the yellow sticker to the warhead.
The connecting point of the sticker's two ends is beneath the warhead to make it less visible in most angles of display.
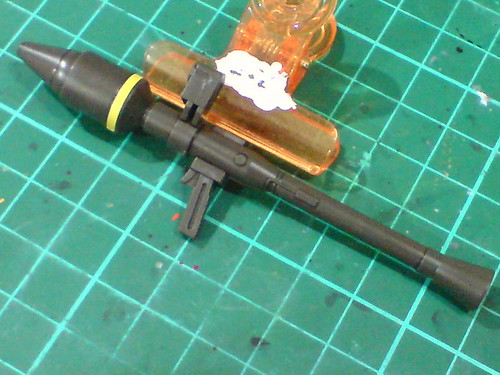
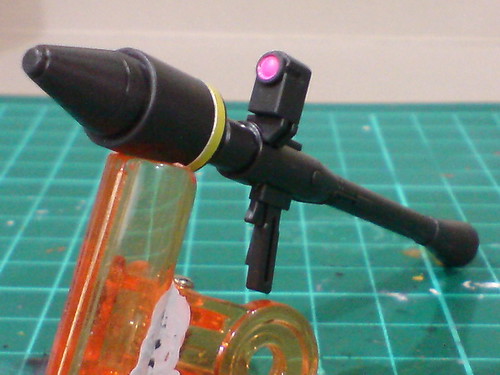
Done for the bazooka.
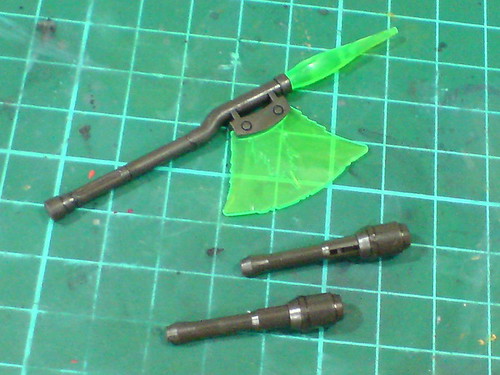
Between the beam hawk and the two Sturm Fausts, only the latter requires (very minor) assembly.
With the weapon rack.
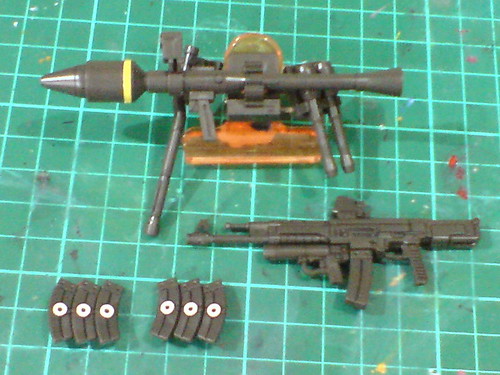
Done for all of HGUC Geara Zulu's weapons.
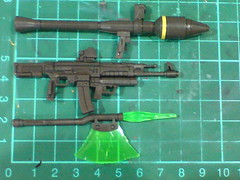
Comparison of the main weapons' length: the bazooka is about 9.5cm; while the machine gun and the deployed heat hawk are 8cm each.
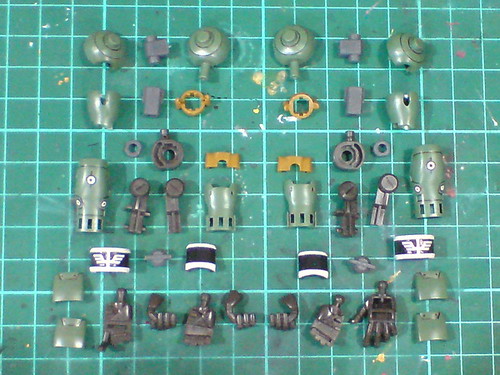
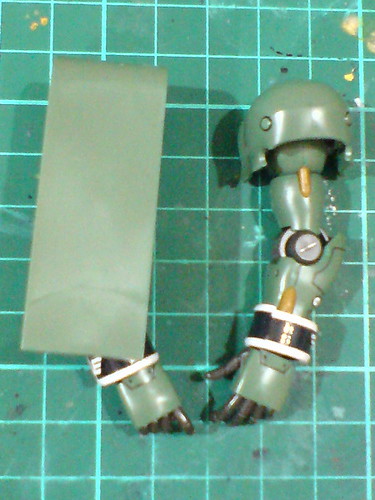
Parts of the two arms.
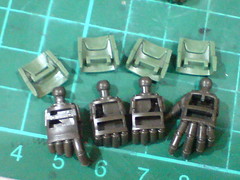
Except for the trigger-type (far left in the left image above), all the hand units have the same connector for their armors.
Separable components of the arms before the final assembly.
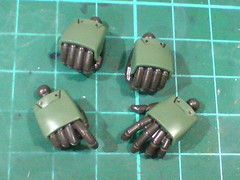
Done for the two arms.
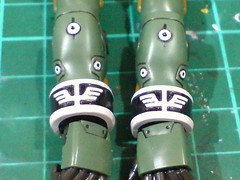
The two painted wrist emblems came out nicely. ^^
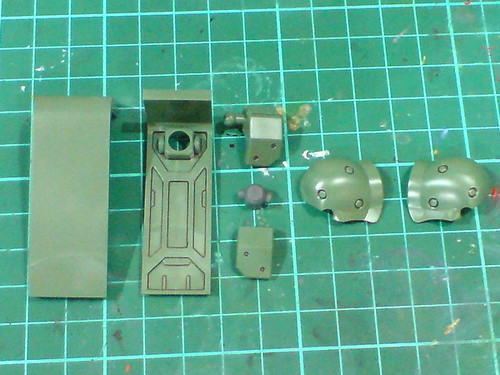
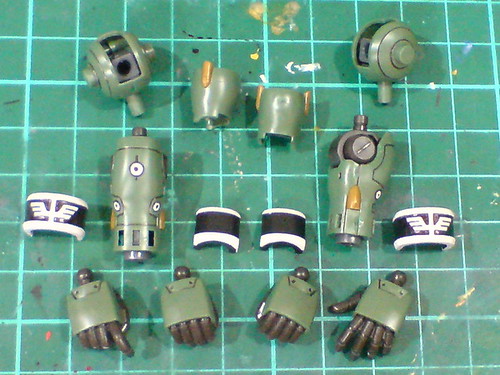
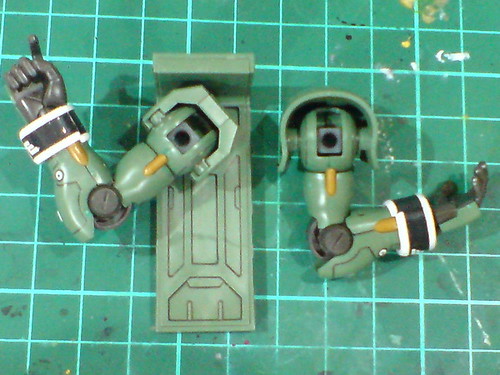
Parts of shoulder armors.
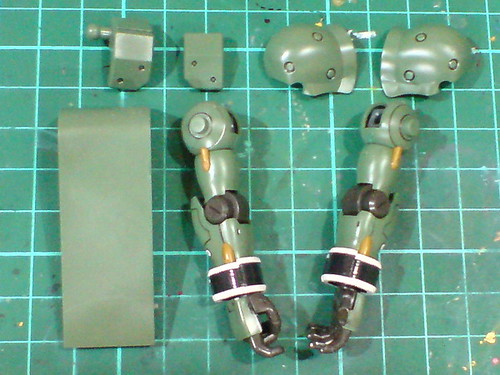
With the two arms.
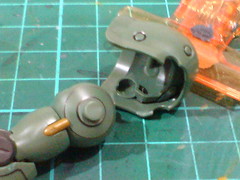
The left shoulder armor's connectors have openings that allow the component to be snapped onto the shoulder joint.
Most modelers would make their own openings on the same component in older Gunplas to simplify the sanding, airbrushing and assembling work. It's nice to see that such convenience is explicitly included for this kit. ^^
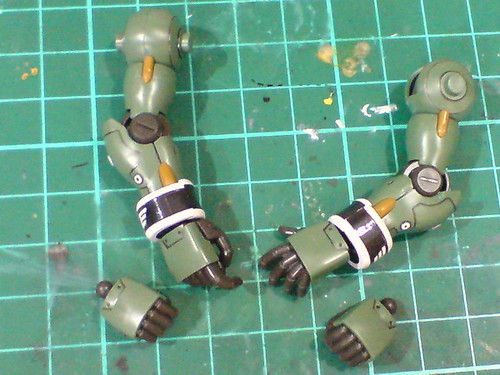
Completely done for the two arms.
Standard elbow bend for the arms.
The machine gun and bazooka have tabs on their handles that can be connected to a slot on the trigger-type hand unit's palm area for them to be held securely.

The beam machine gun equipped right arm.
Will move on with the rest of the kit's assembly in the next posting. ^^


1 comment:
the beam machine gun kinda looks like the stg-44 german assultrifle from world war 2
Post a Comment