Continuing with the assembly of HGUC Geara Zulu after the previous posting. ^^
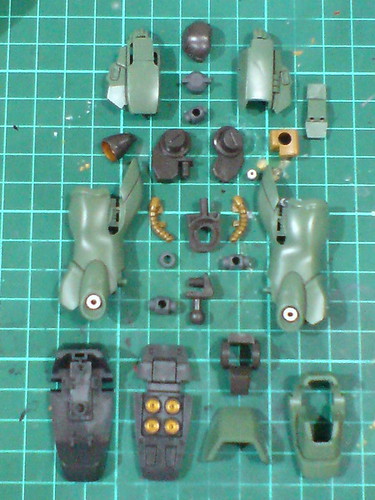
Parts of the right leg.

Foil stickers are used for the tiny front and rear thigh vents.
Separable components of the right leg before the final assembly.
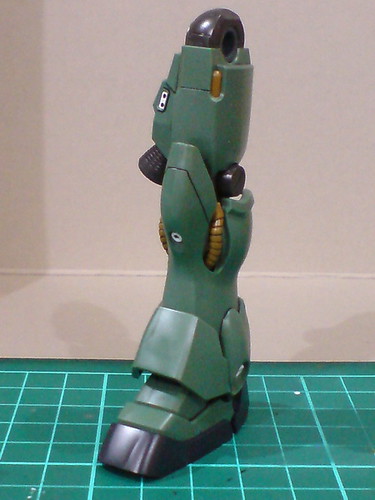

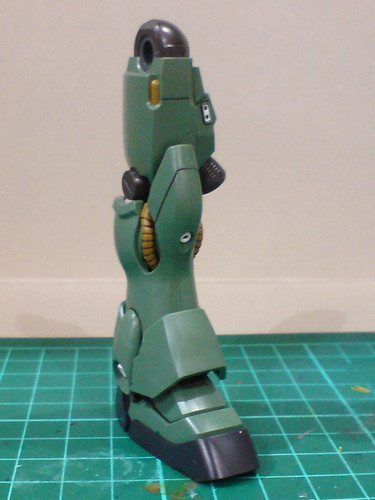
Done for the right leg.

Pretty standard articulation design for the leg I would say.

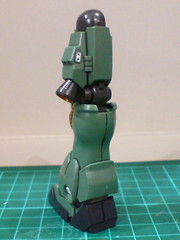
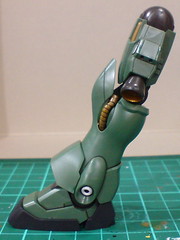
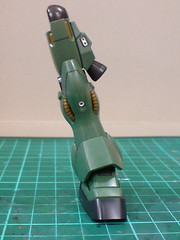
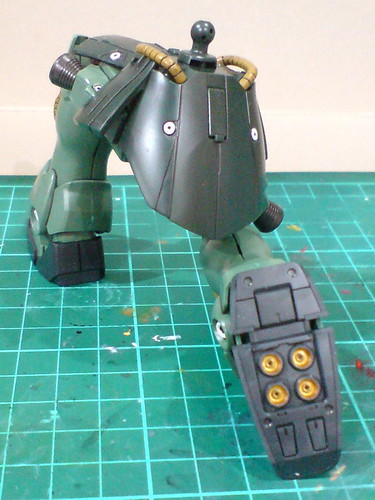
Taking advantage of the double-jointed ankle joint, you can "slide" the foot forward and backward. ^^;

Parts of the left leg.

Separable components of the left leg before the final assembly.
The left leg is completed.

Same articulation design as the right leg's.
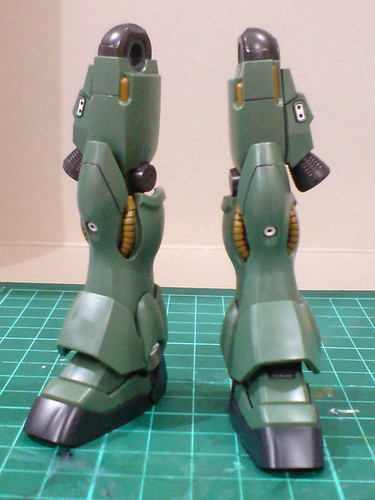
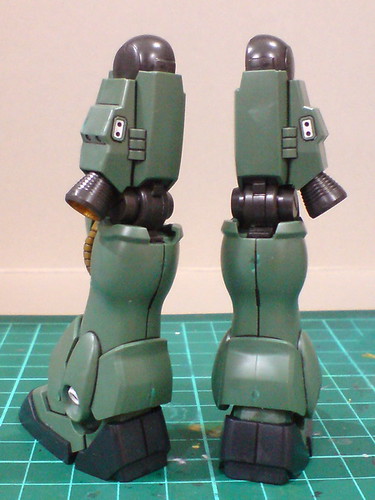
Both legs are now done. ^^

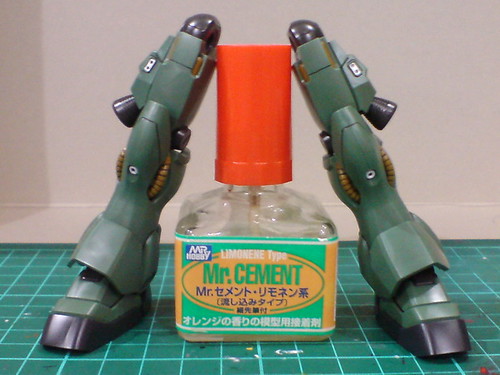
A summary of the legs' articulation design.
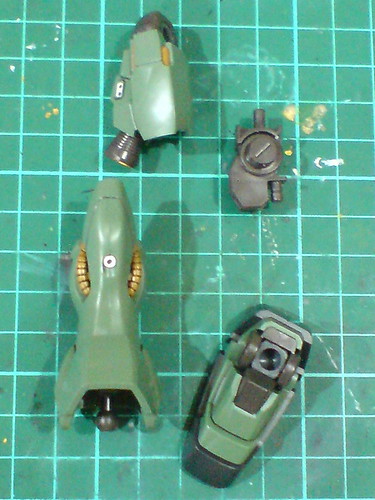
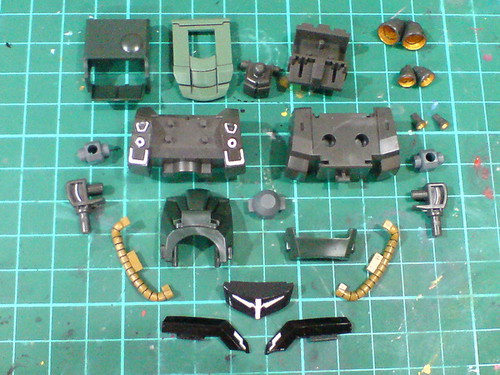
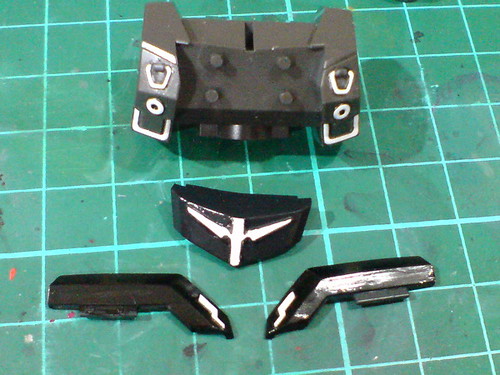
Parts of the skirt armor.
The front skirt armors are fitted in an upside-down position when the parts are assembled, then folded downward when everything is locked in place.


Done for the skirt armor.
As the part were split in Part 4, each half of the front skirt armors can now be moved on its own.
Swivel joint allows the hip to be rotated.

With the legs assembled just now.
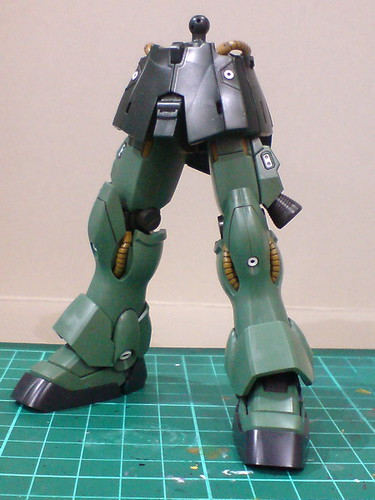
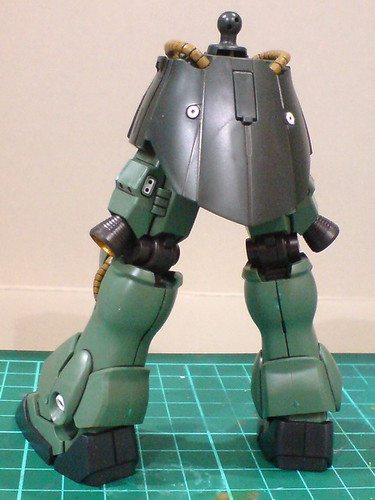
With the legs attached to the skirt armor, the entire lower body of Geara Zulu is done. ^^

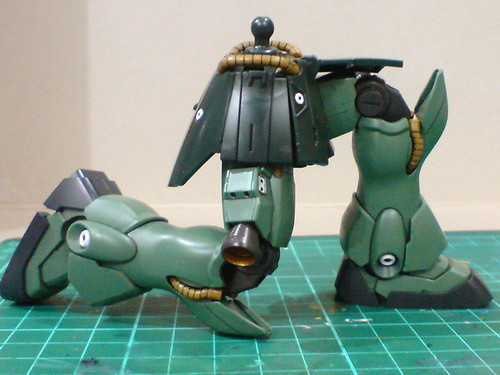
Thanks to the leg's articulation design and the absence of any obstructive part on the lower body, kneeling is very simple for this kit. ^^
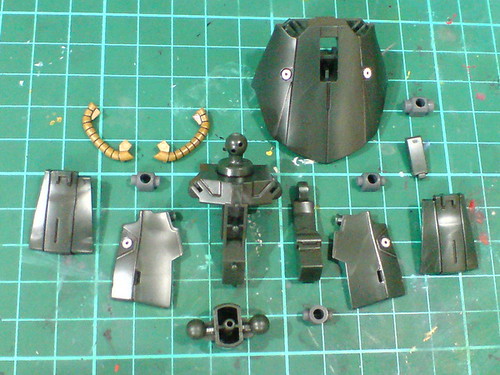
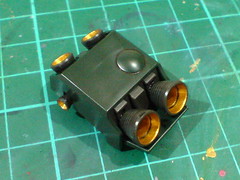
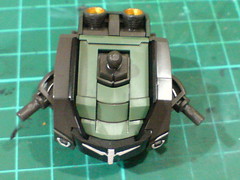
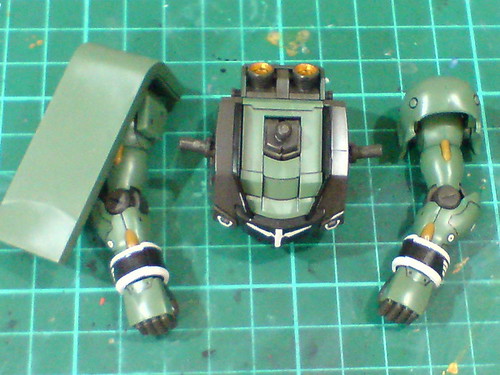
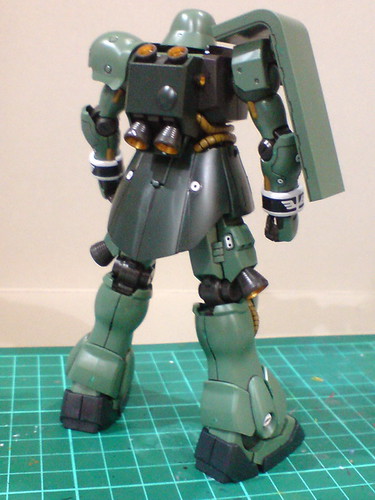
Parts of the body and backpack.
All the parts with the Sleeves' insignias and painted details which were done in Part 3 and 4.

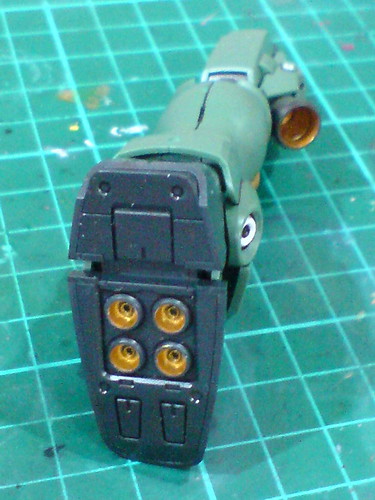
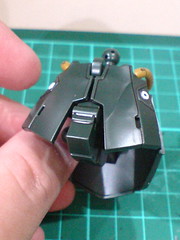
The body module is done

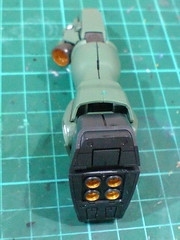
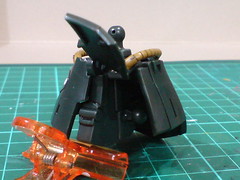
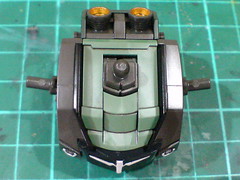
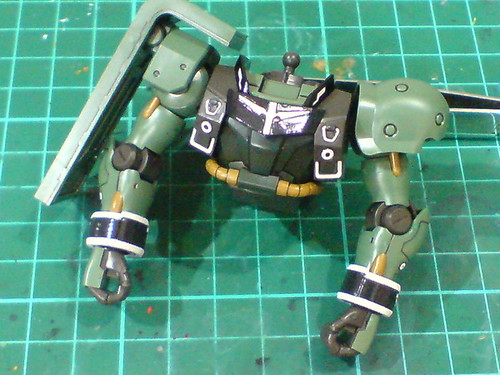
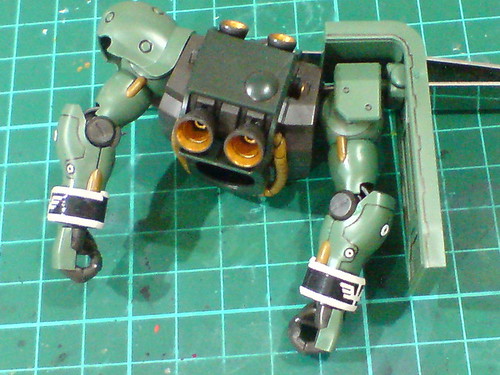
The backpack itself is just made up of two parts, but there are six thrusters to be fitted on four sides of it. ^^

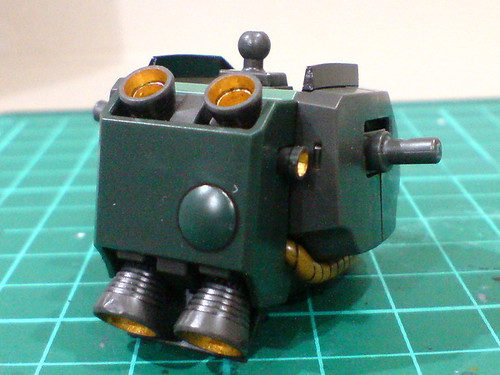
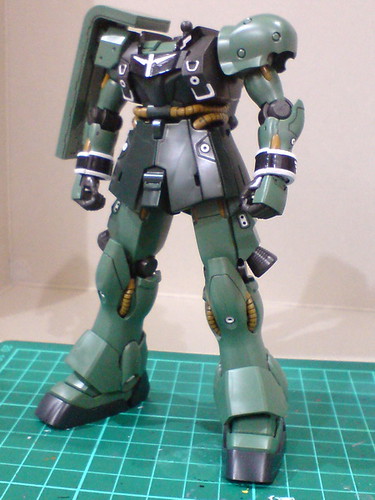
With the backpack attached to it, the entire body is done. ^^

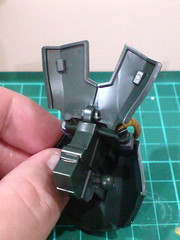
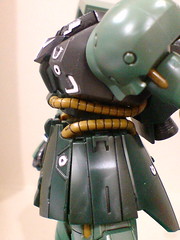
The shoulder joints can be tilted upward slightly.
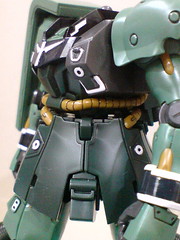
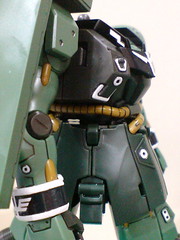
The shoulder joints can be bent to the front for a much wider range.

The tiny silver pipes inside the shoulder joints painted in Part 5 can be seen clearly when the shoulder is bent forward. ^^


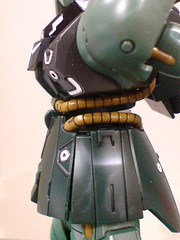
The neck joint can be bent upward for a wide degree.
With the arms assembled in the previous posting.
The upper body is done.

With the lower body connected, only the head remains for this kit. ^^

Very wide swivel for the waist.

The upper body can be lifted slightly to increase the waist's articulation range.
Using the ball-type waist joint connected to a polycap inside the chest, the body can be bent forward and backward for a slight but noticeable degree.
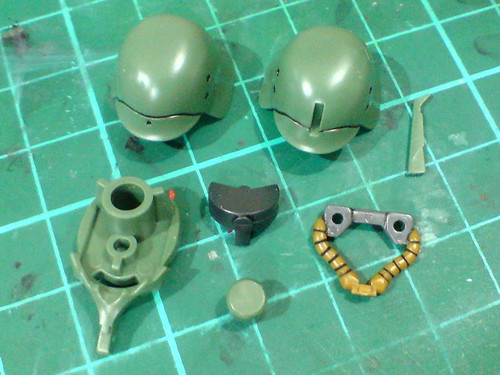
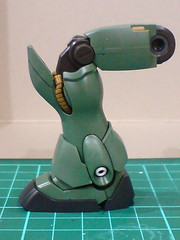
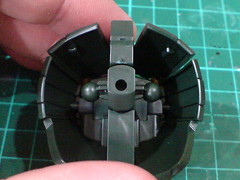
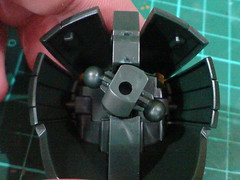
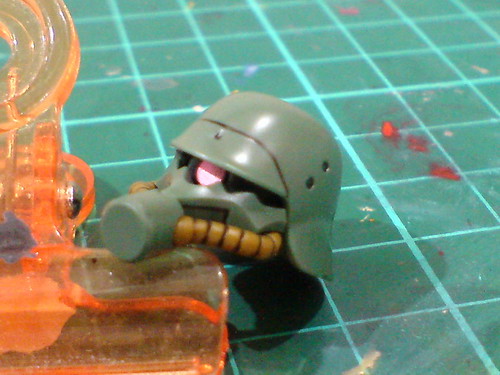
Parts of the head.
Foil stickers are used of the mono-eye camera and as a small army emblem on the helmet's side.
With just one included, one needs to choose between the two helmet parts for the army emblem sticker to be attached. ^^;
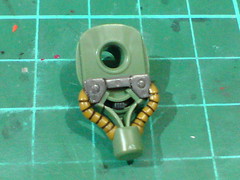
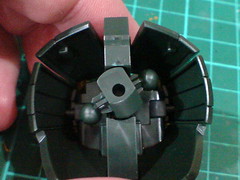
The gray connector and pegs painted in Part 5 turn out well to show them as a separated mecha component of the head.

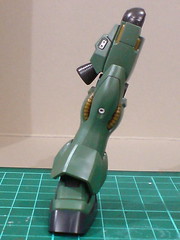
Separable components of the head before the final assembly.
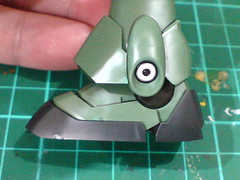
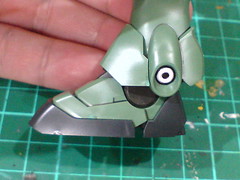
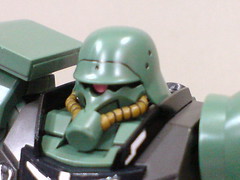
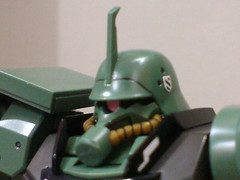
The two helmet types are shown.
Done for the head.
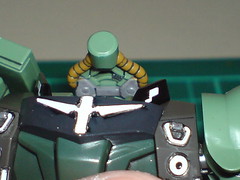
Assembled the head onto the neck joint.
The connection is pretty tight as no polycap part is used. ^^;

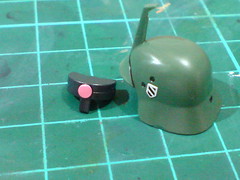
The mono-eye camera is movable.
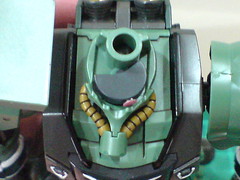
While there's a little tab beneath the head that can be used to adjust the eye's movement (left image), its position and size make its really difficult to reach and configure properly. ^^; I find it much easier to just remove the helmet part and adjust the arc from the top instead. ^^

All done for the entire model. ^^
More images of this just completed High Grade kit coming up next. ^^


No comments:
Post a Comment