A look at the transformation design of Transformers Alternators Ford GT Rodimus after the previous posting.

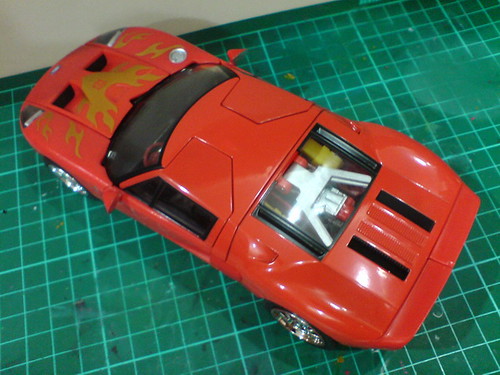
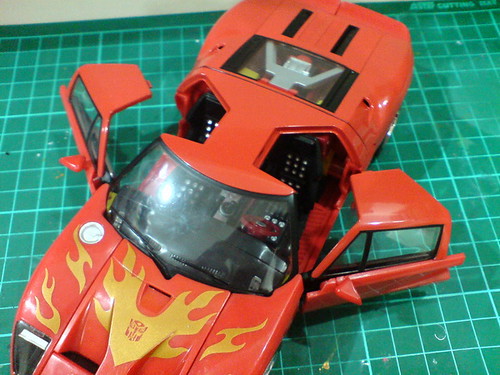
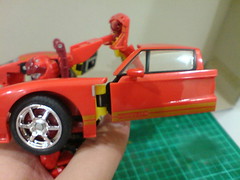
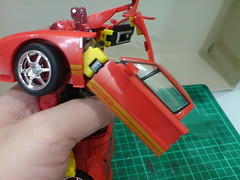
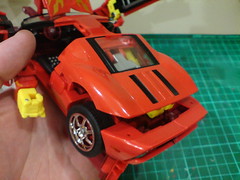
Opening the doors is the first step of the entire transformation. ^^
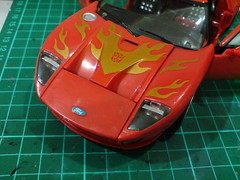
The front-most panel of the hood is detached from the front bumper.
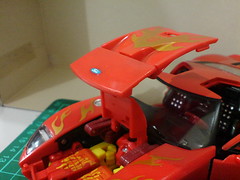
Using the hinge joint beneath the panel, the hood is lifted.
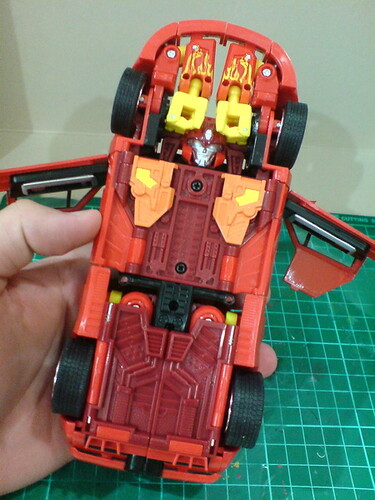
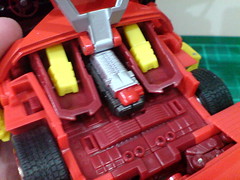
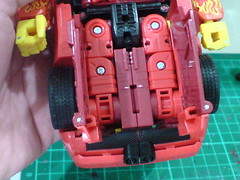
The focus of the transformation sequence shifts to the bottom side of the car. ^^
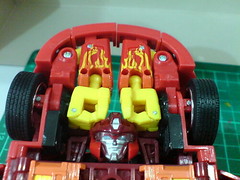

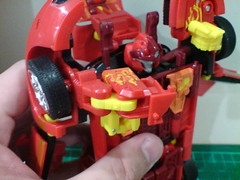
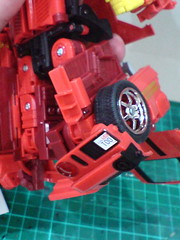
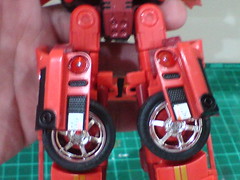
The two hand units are lifted upward for 90 degrees.

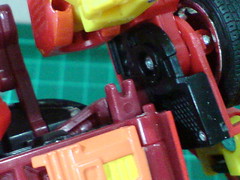
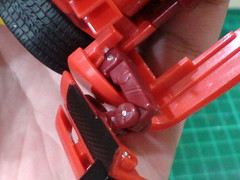
The front section of the car is detached from a small peg near the bottom of the door and a lever that hooks to the wheel (which allows the wheels' linked movement mentioned yesterday).
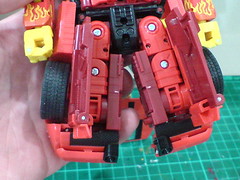
With the front section detached, each half of the car's front section can be slide downward from the side to form the shoulder and arm.
With both front sections slide downward.
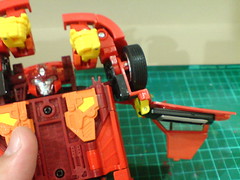
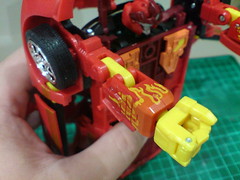
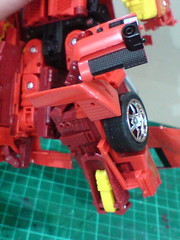
The front bumper is detached from the bottom fender. The bumper is then slide downward on the side of the forearm to become its elbow pad.
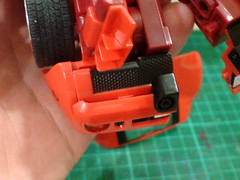
The arm is folded forward for 90 degrees.


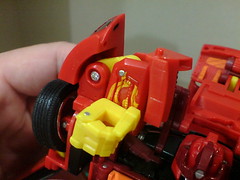
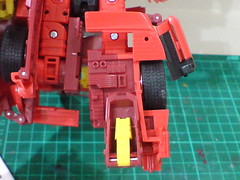
(Left) At elbow level, the forearm is flipped out and straightened.
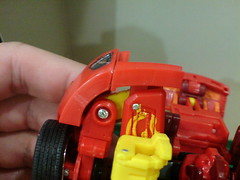
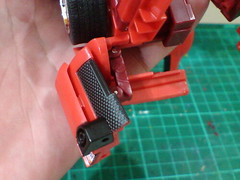
(Right) 90-degree counterclockwise turn for the hand unit so that the back of the hand is shown on top.
90-degree counterclockwise turn for the upper arm so that the elbow hinge is shown on top.

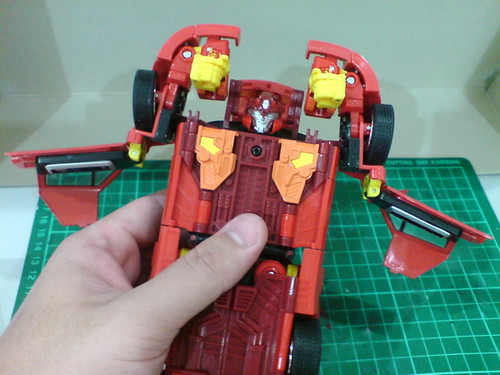
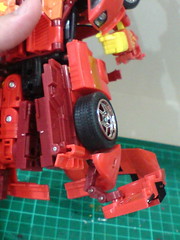
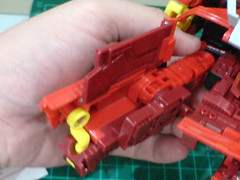
At shoulder level, the arms are swiveled downward on either side of the body.
Behind the shoulder, the door is bent downward to form Rodimus's wings (?)
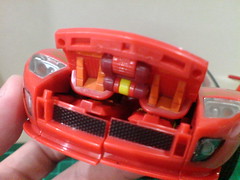
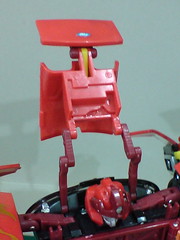
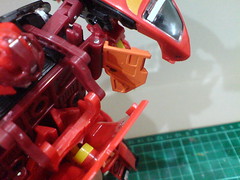
On the back of the car, the engine cover is lifted.
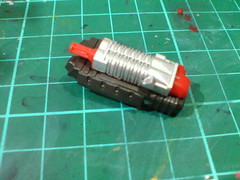
The engine block is detached and removed.
You can see the tabs and slots of different sizes that are used to connect the engine block to the back of car.
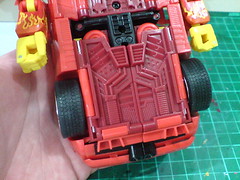
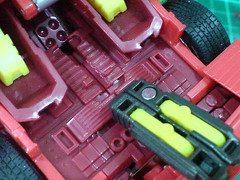
Back to the bottom side of the car, the two large bottom panels are opened up.
Upfront, the two side panels which form the bottom edge of the doors are detached from a pair of pegs and flipped inward until they sit flat in the middle.
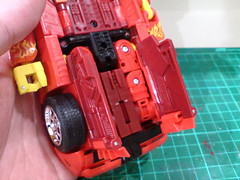
The rear portion of the car is split in half.
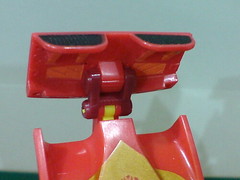
The rear bumper is flipped downward for 90 degrees.
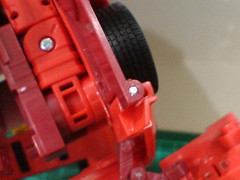
The multi-point hinge joint behind the rear bumper that enables the previous transformation step.


On the side, the rear bumper piece is rotated upward until its edge touches the rear wheel.
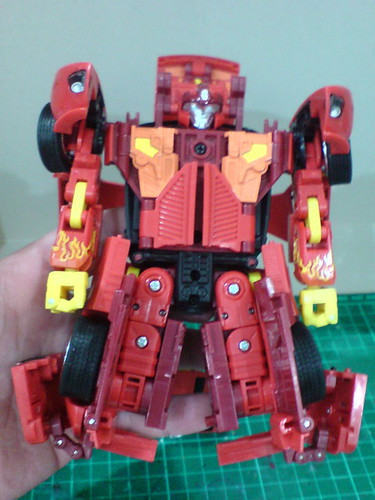
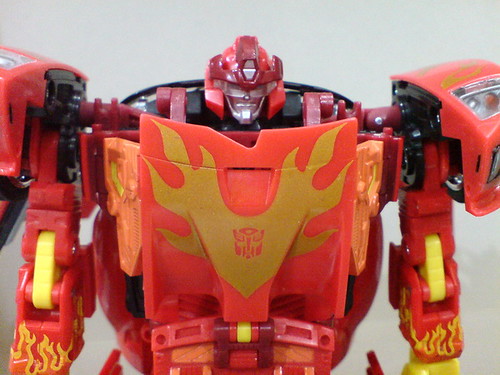
Much of Alternators Rodimus's robot mode look is becoming obvious to see, but the transformation process is only half done at the moment. ^^

A small clip-like part at the bottom of the flat panel needs to be slide outward. This seemingly minor step isn't shown in the manual actually, but is absolutely essential to the next major transformation step. ^^
The side panel is rotated from the back to the front for 180 degrees.
One half of the spoiler is at the robot mode's knee level after the side panel's rotation.
A huge transformation step this is, which radically changes the car's look. ^^
The flat panel, now on the back of the leg is flipped downward to cover up the empty space beneath the knee joint.
The semi-transformed legs of Rodimus at this level. ^^

At thigh level, the leg is swiveled to its side until the spoiler is facing the outer side.
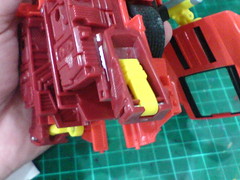
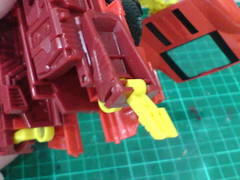
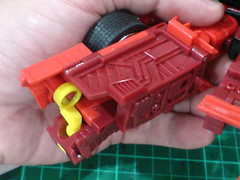
On the scoop-like component that is part of the engine block in vehicle mode, the yellow piece is flipped outward for 180 degrees to form the heel.

Using the ankle swivel, the foot is rotated downward for 90 degrees.
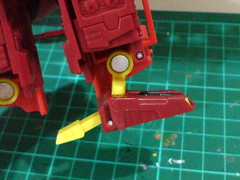
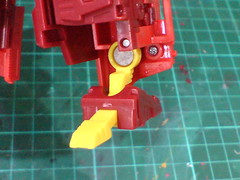
Using the ball-type foot joint, the foot is rotated to the back for 90 degrees.

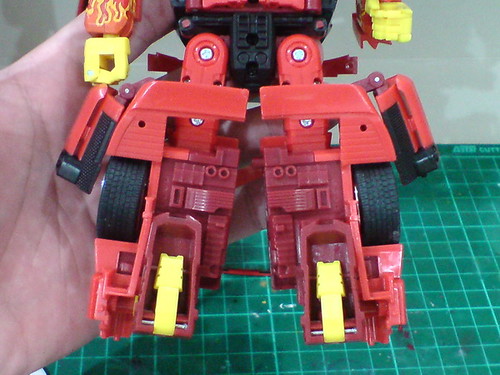
Transformation for both feet is done.

A wide 180-degree rotation at waist level completes the lower body's transformation.
The knee armors are readjusted to give them a tidier appearance.

Jump all the way to the front portion of the vehicle mode: using the front-most part of its multi-point hinge joint, the front-most hood panel is flipped downward.
Rear view of the hood (at this stage) reveals the hinge joint involved in the previous transformation step.
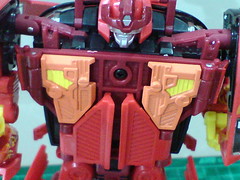
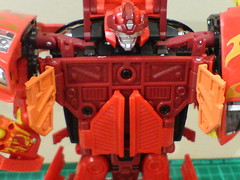
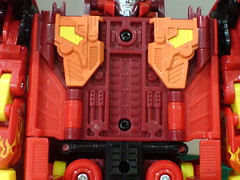
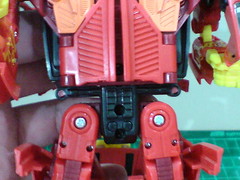
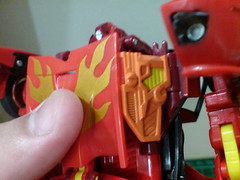
The light orange chest panels are flipped outward.
The panels are on really tight hinge joints, so a little force is require to open them up. ^^;

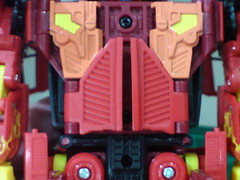
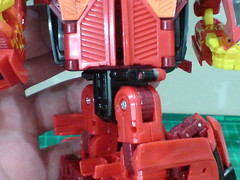
Expanding its multi-joint arms, the hood is flipped forward to form the chest and skirt armor.
The gap at the top edge of the chest panel is connected to a tab behind the chest armor.
Surprising, the connection isn't secured at all. The tab pretty much just sit inside the gap loosely while depending on the multi-joint arms' strength to keep the entire chest armor in place. ^^;
Done for the chest armor.


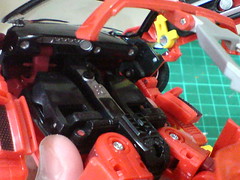
For the interior of the car, the steering wheel and the two seats are collapsed.
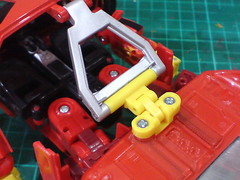
A few steps are needed to properly transform the engine cover, which unfortunately aren't shown clearly on the instruction sheet. I had to twist and turn the component for quite a while before understanding how the entire sequence works in proper order. ^^;
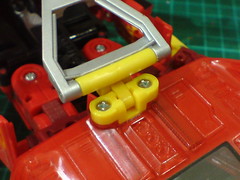
Firstly, the cover is slide inward using the largest yellow hinge joint.
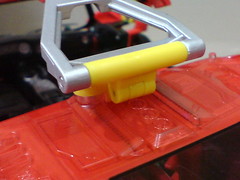
Next, the engine cover is slide inward even more using the smaller yellow hinge joint.

With the yellow hinges properly collapsed in the previous steps, the entire engine cover has just enough clearance to slide beneath the roof using the Y-frame's hinge.
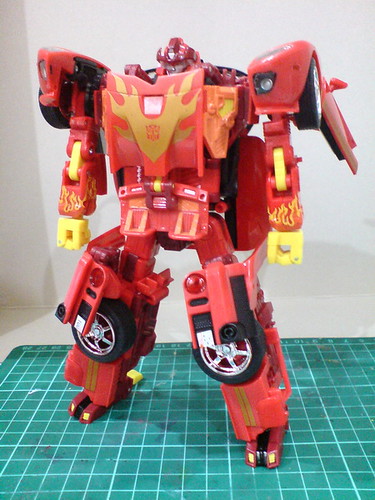

Transformation for the robot itself is essentially done. ^^
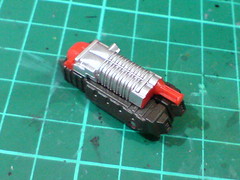
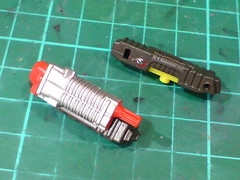
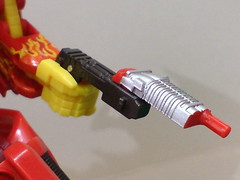
To get Rodimus's puny twin pistols (XD), the previously detached engine block is split in half, with the top silver panel ended up on just one of the pistols entirely.

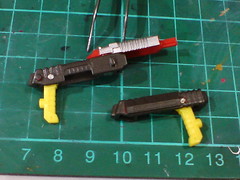
The silver panel is flipped to the front, and the two yellow handles are flipped downward.
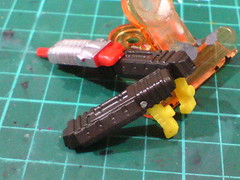
Done for the two pistols.
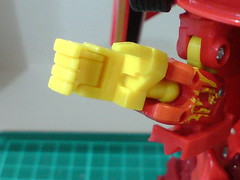
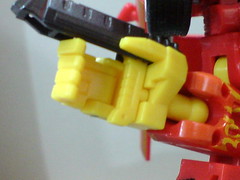
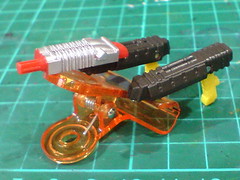
The small groove on the palm is meant to connect to a tiny peg behind the handle when the pistol is equipped.
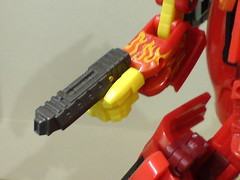
With both pistols connected to Rodimus's hands.
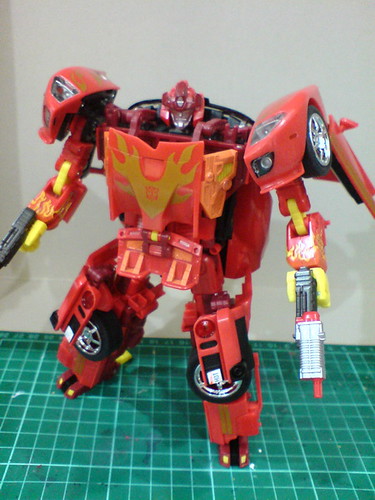
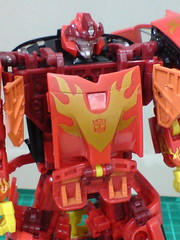
Vehicle to robot mode transformation all done for Alternators Rodimus. ^^

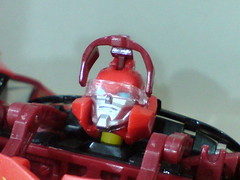
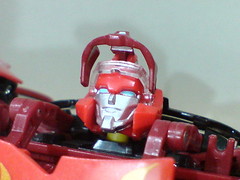
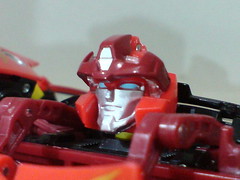
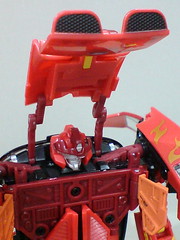
Not shown in the instruction sheet (another huge surprise to me), the clear visor deployed by default on Rodimus can actually be retracted, but the headgear needs to be lifted first.
If this has been my first Transformers figure, I would most probably be running into trouble transforming it almost right away. ^^; Important steps like how to detach certain parts from their connecting pegs and certain small parts that must be transformed first before the next step are completed missing. The single vehicle to robot mode transformation should really be shown on both sides of the instruction sheet instead of one. ^^;
Luckily for me, experience in handling Transformers figures in the past gave me the confidence to use more force in certain transformation steps, and to try on certain parts repeatedly until the desired effect is achieved. The fear of scratching off the model's painted details was constantly behind my head though. ^^;
Overall, the transformation design of this figure is very intricate. ^^ It's not too complicated as most of the steps involve straight-forward bending, rotating and swiveling. The entire transformation sequence is very fun to play with as well, with the legs' transformation being the definite highlight for me. ^^
More images of the robot mode coming up next. ^^


No comments:
Post a Comment