Not much work did on the legs in the previous review, so there are many more to cover in this posting. ^^;
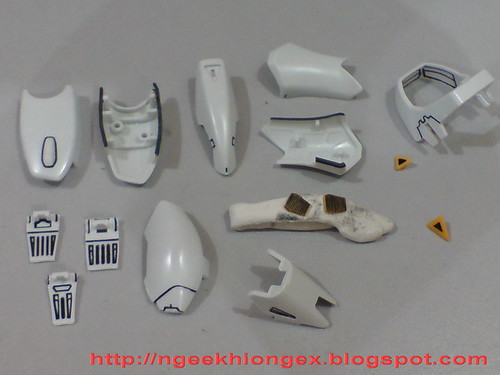
Parts for the exterior of the legs are panel-lined.


Like other MGs, I choose the details to be panel-lined. The details behind the fins of the thrusters, as well as the ankle guard are done because they can be seen at certain angle, but I didn't bother about the other armors though.
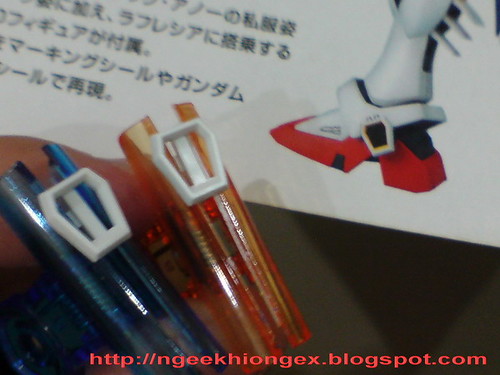
The interior of the verniers on the ankle needs to be painted.
Painted in yellow using Gundam Marker Yellow from Gundam SEED set. The spilled over paint was later scratched away.
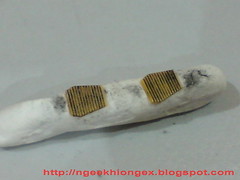
Together with the verniers.

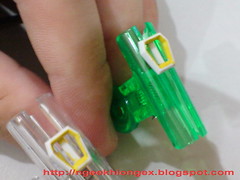
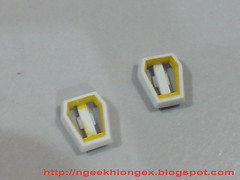
Others parts of the inner frame which require painting.


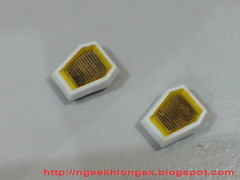
Gold painted for the thrusters behind the calf is a reference to the verniers behind the VSBR, which in turn, refers to heat dispensing fins on the shoulder armors.

Looks like there are hydraulic pipe design on the part of the knee joint, which is painted in gold and silver of course ^^

All the parts painted and panel-lined.
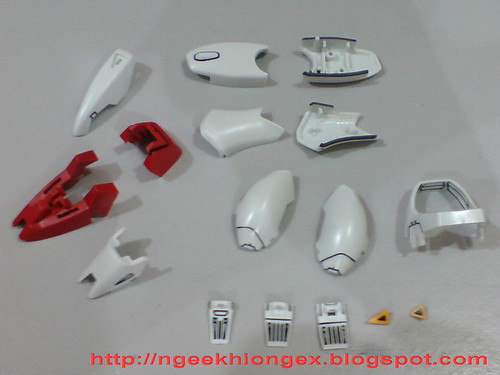
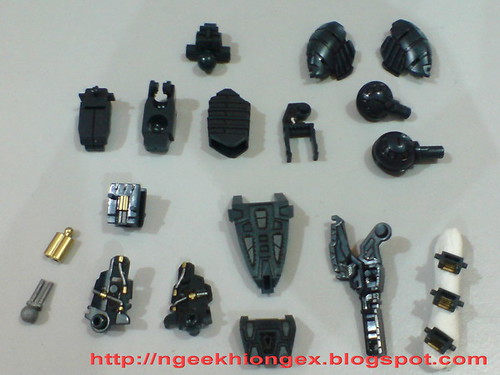
And all the parts did yesterday and in this review: armors and inner frame.
Will move on to the body next I think. ^^


3 comments:
Hey Ngee, your F91 is looking good so far! Could you show which gold and silver markers you use for the hydraulics?
I would also like to know what you used to achieve the gold and silver effect, they are looking mighty impressive.
the yellow verniers look very messy...perhaps oil-based gundam marker is not the best approach to this particular application? if you had to use gundam marker, try to bleed some thinned out grey ink-based gundam marker to the lines instead. Otherwise very nice work as always.
Post a Comment