Taking a break from the work on HGUC Sazabi to return to MG Char's Gelgoog Ver. 2.0 after working on its pilot cockpit about a week ago. ^^
Much like the three figures did in Part 6, just one component with tons of painting is selected for the work in this posting - the little car unit (エレカー: eleka - electric car? ). ^^
Together with Lalah's figure, all the parts for the car are molded in yellow, so I won't be following the color scheme shown in the manual, because:
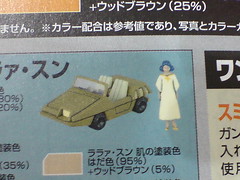
There are too many parts to paint. ^^;
Since I won't be painting the car according to the color scheme shown, there are plenty of rooms for fun variations here and there. ^^
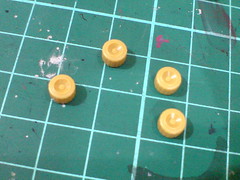
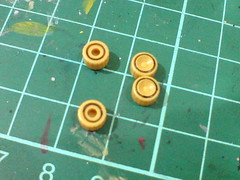
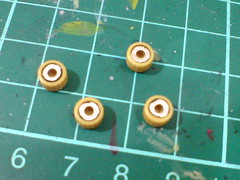

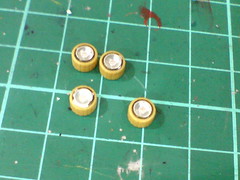
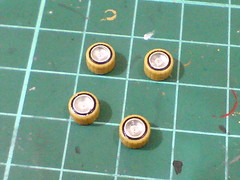
The wheels' rims are painted silver using Pilot Super Color Silver Extra Fine.
Spent quite a lot of time on these little parts actually, since they are very hard to hold on to when applying the paint. ^^;
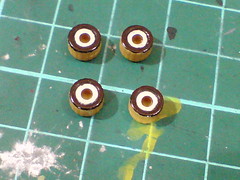
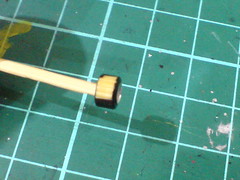
When the silver paint has dried, the tires are painted black using normal markers to get the glossy finishing effect.
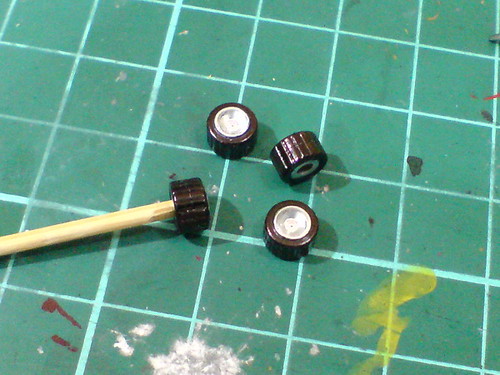
Done for the wheels.
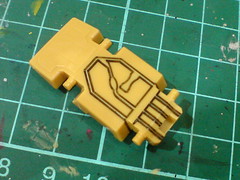
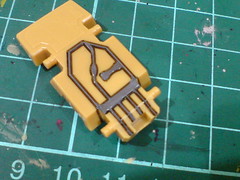
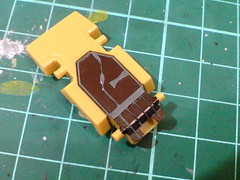
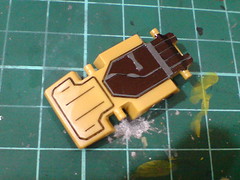
The bottom of the car is painted gray (using Gundam Marker) and black (using normal marker) for the mecha portion.
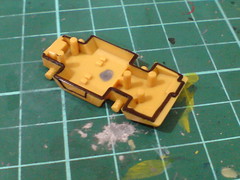
Painted black for the "borders" so that the line would be very obvious when assembled.
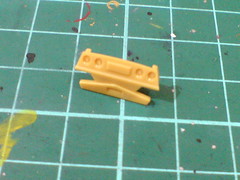
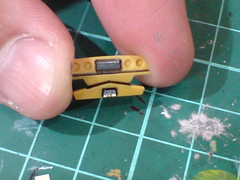
Added gray for the little plate on the top portion of the bumper.
A little foil sticker cutout from a spare sheet is used for the car plate at the bottom.
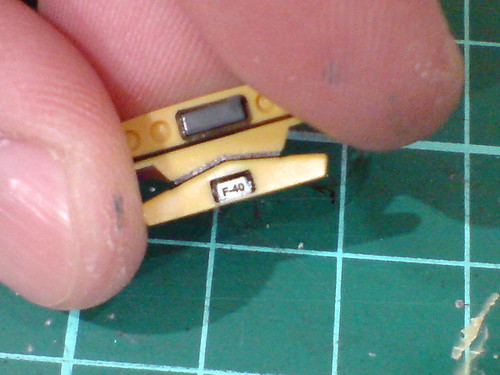
Pure imaginary stuff here: added a piece of clear sticker with the label "F-40" to the car plate. ^^
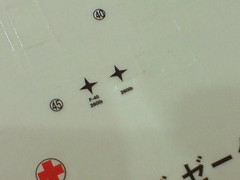
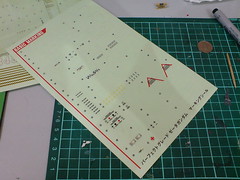
The clear sticker is from a huge piece of leftover from Perfect Grade Zeta Gundam actually.
Was looking through my entire collection of spare clear sticker and decal sheets before finding the "chosen one" (XD)
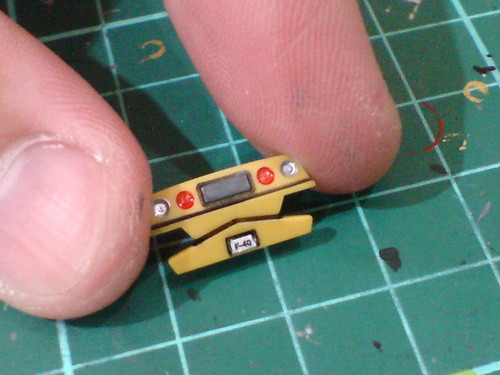
Added tail lights and signal lights using normal pens.
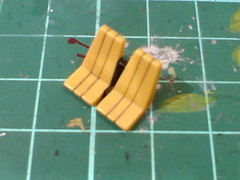
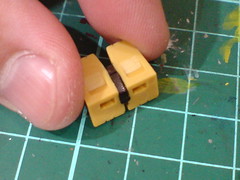
Painted the segment between the seats black using a combination of normal marker and panel liner.
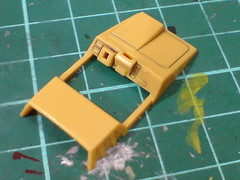
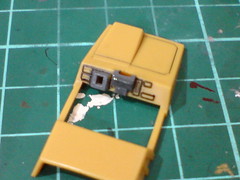
Painted the dashboard gray using Gundam Marker.
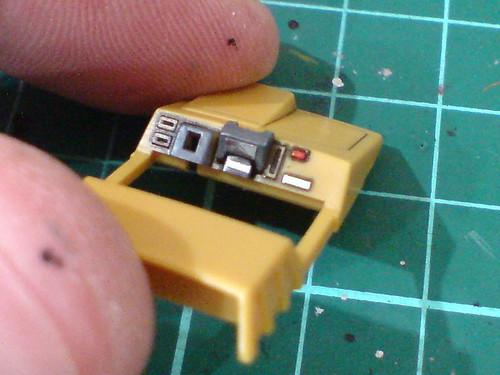
Added a few minor details using normal marker for the red spot and foil sticker cutouts again for the silver parts.
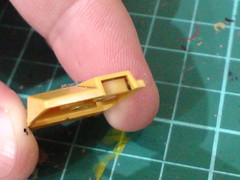
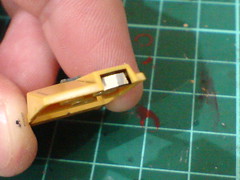
Foil sticker cutout for the sole headlight.
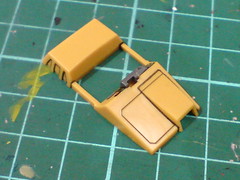
Panel lines added for the entire top part of the car.
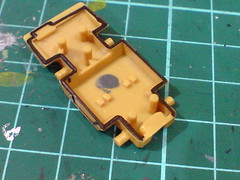
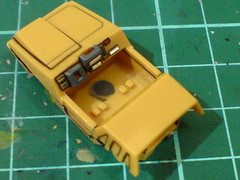
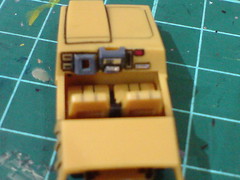
Test fitting all the parts.

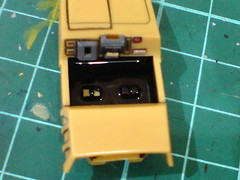
The interior of the car is painted black using whiteboard marker ink to give extra depth to the overall look. ^^
Most of the black area will be hidden by the twin seat actually.
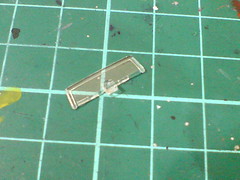
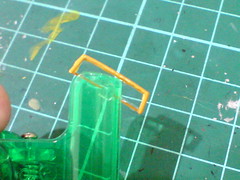
The windscreen frame is actually hand painted using Mr. Color 109 Character Yellow.
Even though Gundam Marker is logically the easier way to paint this part, its tone is too bright to match the car's main color. So the somewhat darker Mr. Color Character Yellow is chosen as the substitute, even though it isn't the exact match anyway. ^^;
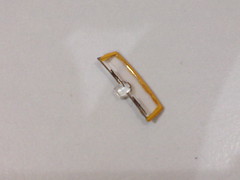
Painted the wipers using panel liner.
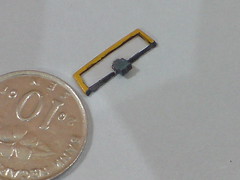
Added gray to the bottom of the part and connector using Gundam Marker.
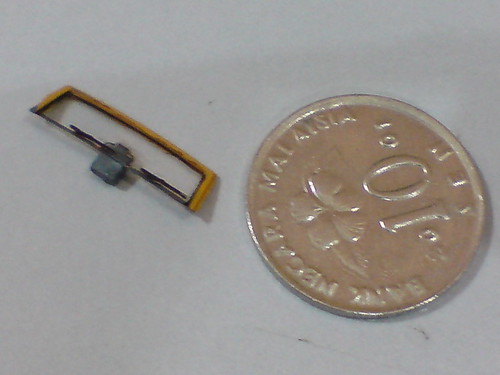
Reapply panel lines to the edges of the windshield's frame after the paint has dried.
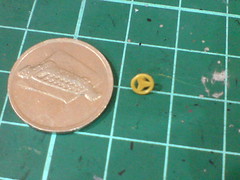

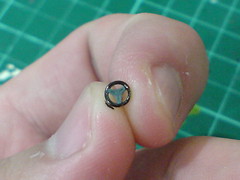
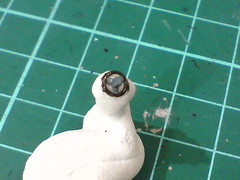
Two colors for the steering wheel: gray (using Gundam Marker) and black (using normal marker).
The part is not exactly hard to painted, just mighty difficult to hold on to when applying the paint. ^^;
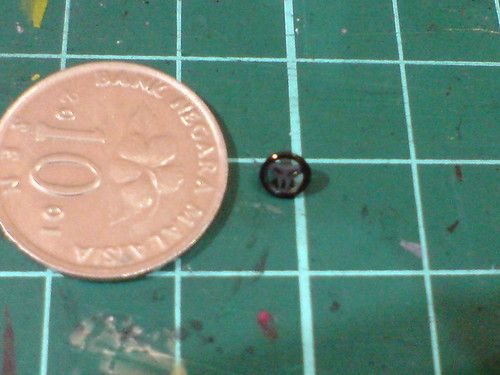
Added a bit of panel lines to the middle portion of the steering wheel.
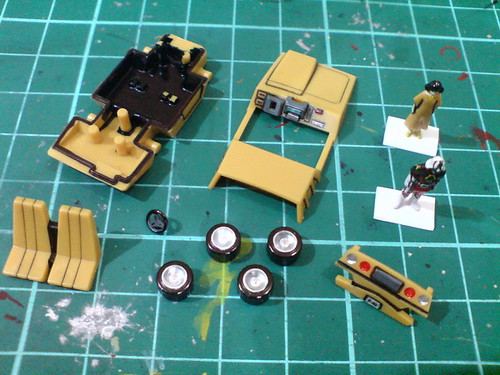
All the "heavy duty (as in the amount of work to get them painted)" parts done in this posting and Part 6. ^^;
Not even the smaller scale HGUC Sazabi has such tiny parts to paint. XD Still, it's pretty fun since many of the details are self-defined. ^^ It's pretty exciting to anticipate how the little car would turn out to be when assembled. ^^
Only the torso, head and weapons remain for this kit it seems, so it's time to go back to some really humongous parts to work on again. ^^


No comments:
Post a Comment