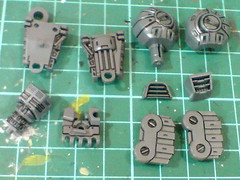
Before returning to work on more leg parts after yesterday's posting, the attention is shifted to the arms instead for a change of mood. ^^
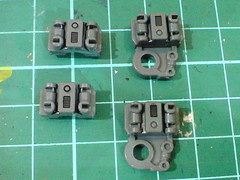
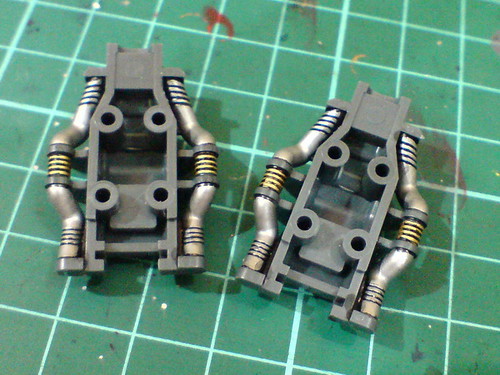
The upper arms' inner frame parts are almost identical to that from its MG Zaku II Ver. 2.0 brethren.
For that similarity, the treatment to be given to it is going to follow the pattern I did for MG Zaku II Ver. 2.0 - Johnny Ridden's Customized type for example.
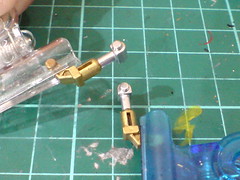
Painted the pipes gold using Gundam Marker.
Before painting the pipes on the other parts gold (right), the sunken segment between the joint and the fixed hydraulic pipe is painted black using whiteboard marker ink.
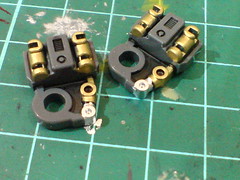
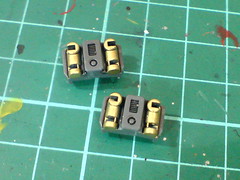
Added silver using Pilot Super Color Silver Extra Fine.
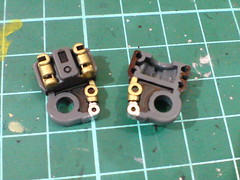
Painted black for the "borders" between connecting parts so that the lines would be very obvious when assembled.

And done for four inner frame parts of the upper arm. ^^
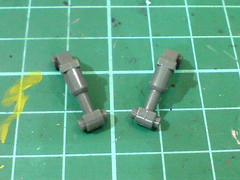
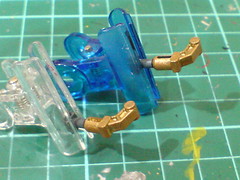
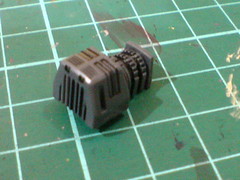
For the movable elbow hydraulic pipe, the larger portion are hand painted using Mr. Metal Color 219 Brass first.
Because of their rounded shape and sunken gaps between the segments, I reckon Gundam Marker would be much harder to maneuver in order to paint the parts. ^^;
Added silver using Zebra marker.
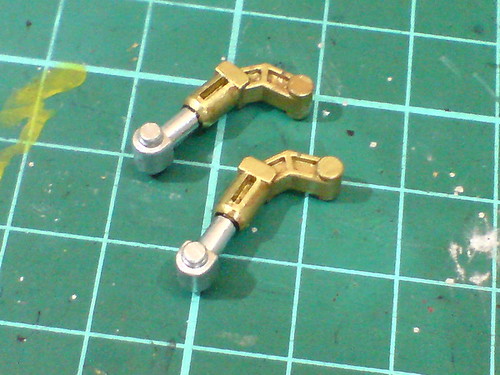
Added a ring of panel line separating the gold and silver segments and done. ^^
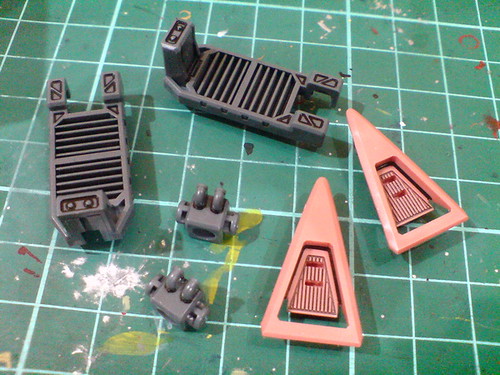
Panel lined the inner frame parts of the arm using the black paint with thinner method once used on MG Infinite Justice Gundam for convenience. ^^
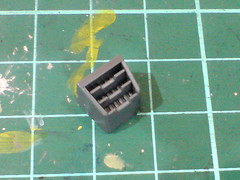
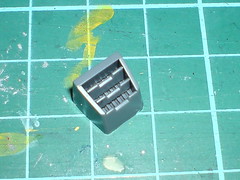
The forearm mecha parts and vents would probably cost me a great deal of time if I use my usual method of drawing the lines bits by bits when panel lining them. ^^;
Painted black for the "borders" between the connecting parts again.
Very easy normal panel lining for the armor parts. ^^
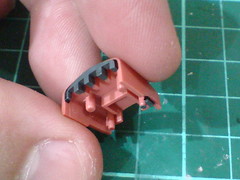
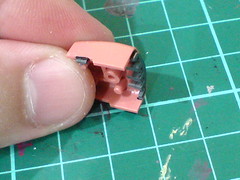
Painted the protruding bit of the thumb's base and edge of the knuckle in gray using Gundam Marker.
The gaps between the fingers are painted as well to leave no room for the pink base color to show through when the hand is assembled.
Another two sets of black "borders" between connecting parts of the upper arm armors and forearm armors are painted black.

Repetition of all the painting and panel lining work for the parts from the other arm.
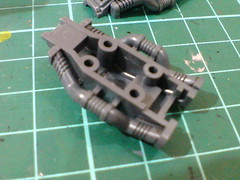
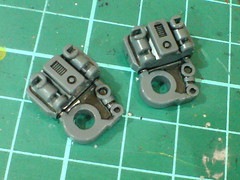
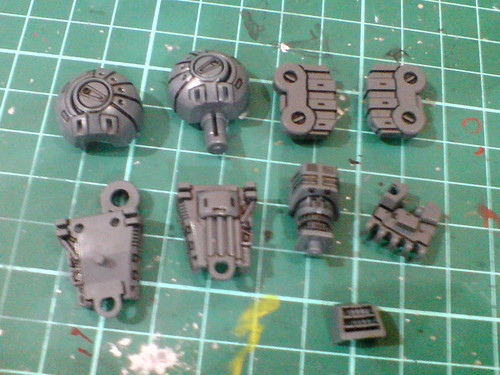
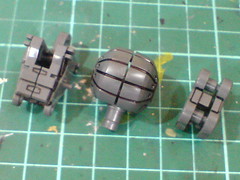
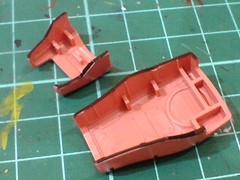
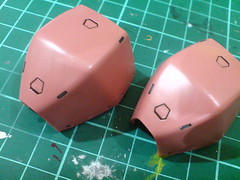
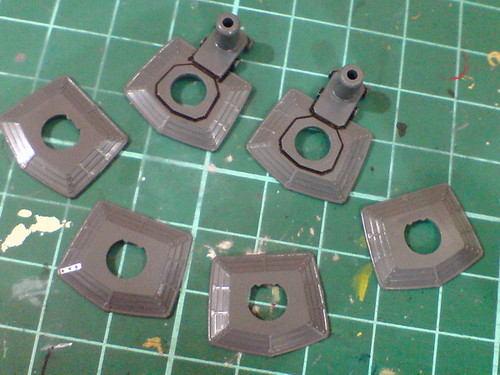
The inner frame parts for the shoulder armor that feature both deep valleys and rounded line details are quite a challenge to panel line and to paint as well. ^^;
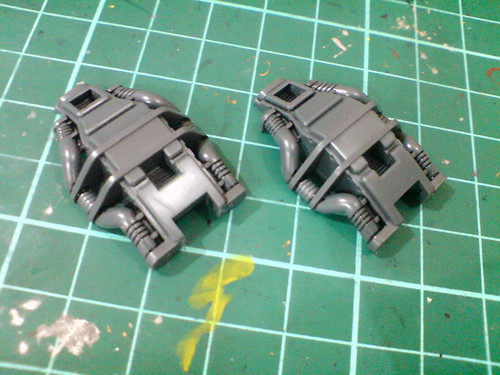
After panel lining them using the black paint with thinner method, reaching into those deep corners (using toothpick) to clean off excessive paint demands a lot of time and attention. ^^;
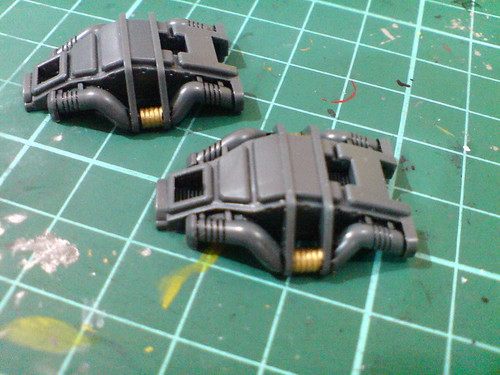
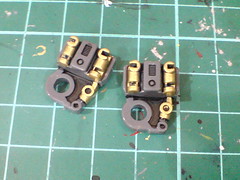
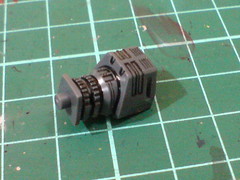
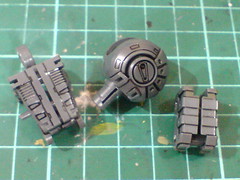
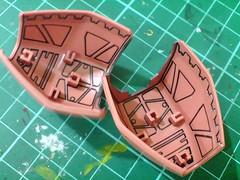
Painted the middle portion of the fixed pipes gold using Mr. Metal Color 219 Brass.
Painted both end segments of the pipes silver using Mr. Metallic Color Silver.
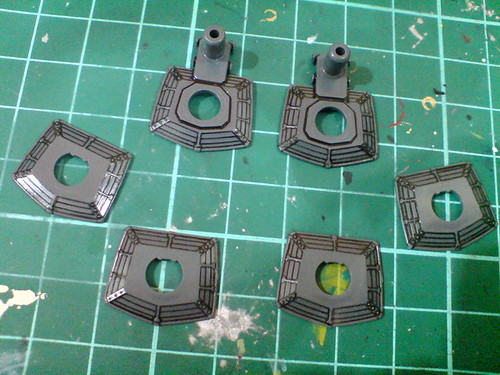
Repanel line all the details that were covered up by the paint, using normal panel liner this time to complete the whole task.
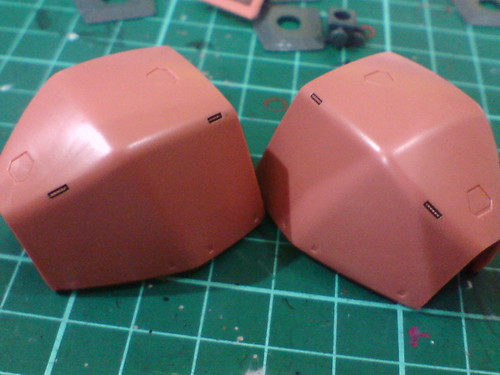
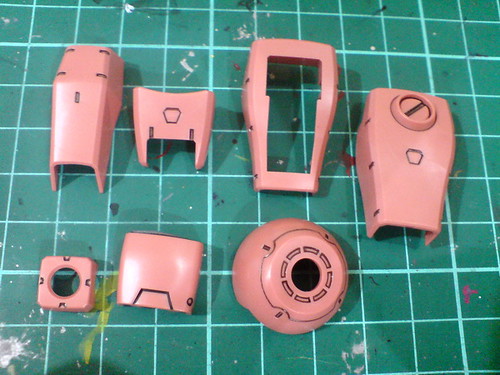
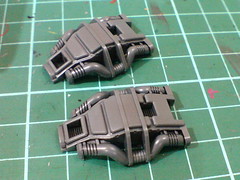
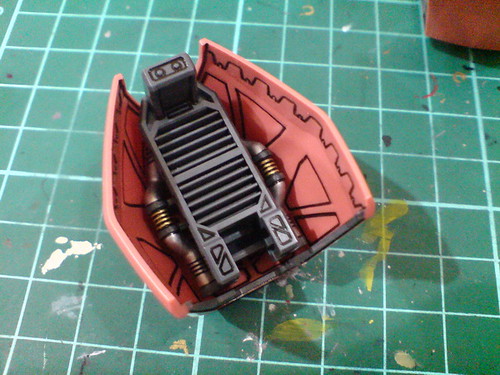
The large shoulder armors are like pit stops for ease of detail treatment after the inner frame parts. XD
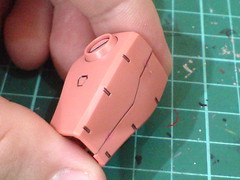
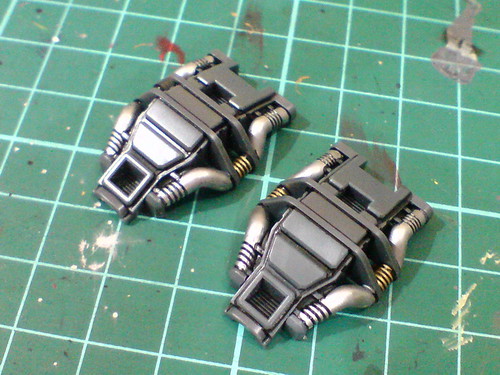
The few bars highlighted in the image above have tiny line details in the middle actually. I painted them gray using Gundam Marker to highlight their presence.
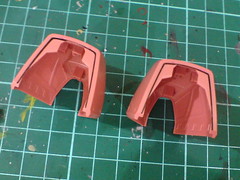

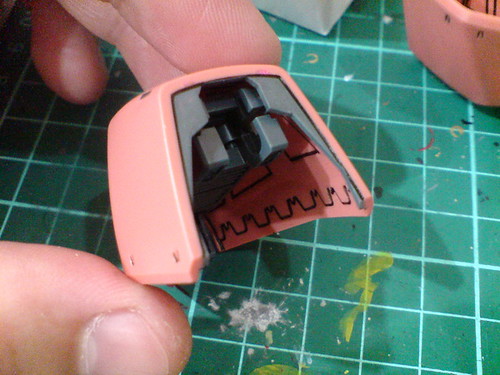
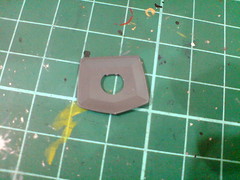
As shown on the completed model, the segments connecting the shoulder armor to the joint are supposedly gray.
Painted using Gundam Marker Gray.
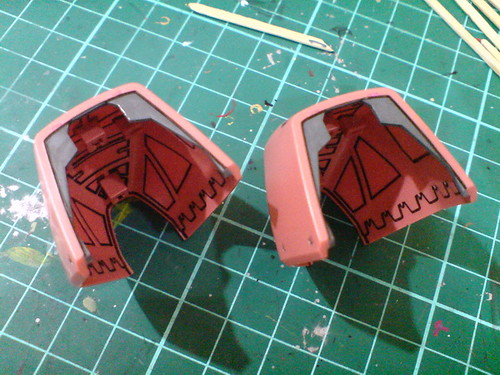
As shown in the image before these two, the details inside and outside the armors are panel lined.
Luckily them are not as delicate as the ones from SEED/Destiny series (Infinite Justice Gundam for example) and the whole part is wide enough for the panel line to move around freely when drawing those lines. ^^
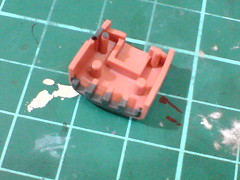
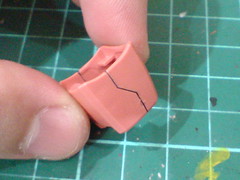
Trying out on the shoulder armor parts to see how the end result would look like. ^^
I really like how the color of Gundam Marker Gray matches the inner frame parts for the connecting point. ^^
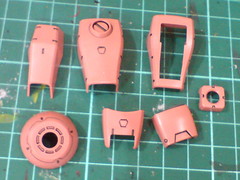
Repetitive panel lining work for the six pieces of parts between the shoulders and their armors. ^^;
Another two pieces are with the body actually, so I'll be returning to two more of these parts in the future. ^^;
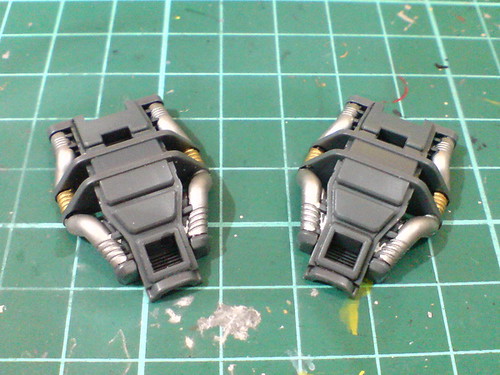
Tons of details in front, but totally blank on the rear. ^^;
Panel lining for the other shoulder armor parts are already done in between the painting work.
Any easier than the leg parts? In terms of number of parts, the arms - inner frame and armor parts included do have lesser parts than the legs, but the details sure are consistently abundant, which is a good thing really, because they are going to look really good when assembled. ^^


1 comment:
You know you should really start using the term "Black Wash" instead of "black paint with thinner method". Anyway, nice job! I love your works.
I was kind of surprised that you started on a new project.^^' I thought you were going to continue working on either your: MG Johnny Ridden's Zaku II, MG Force Impulse, 1/100 NG Kyrios.
Post a Comment