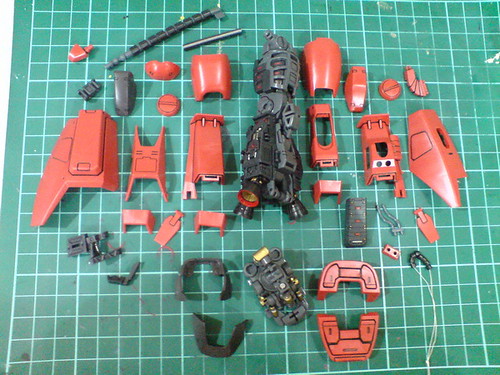
After the display of its inner frame in the previous posting, it's time to armor up the inner frame of MG Johnny Ridden's Customized High Mobility Type Zaku II Ver. 2.0. ^^
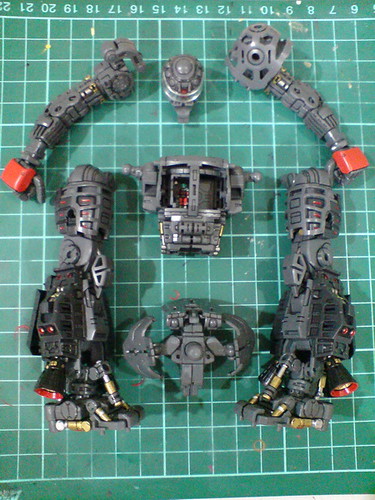
All the components are detached first.
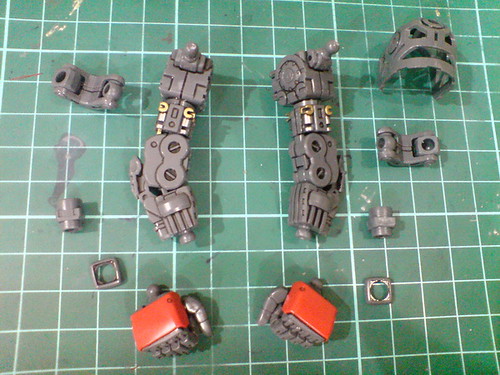
The first component to be completed is the arms, which are further separated mainly at a few joints before the armors can be applied.
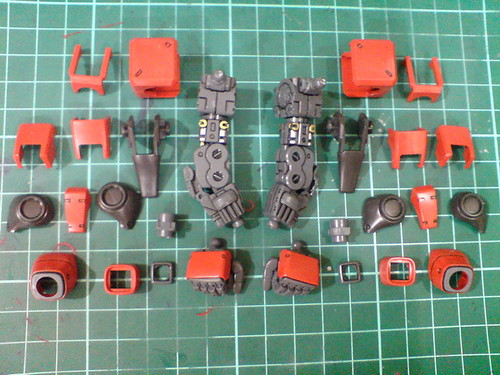
The generic armor parts for both arms.
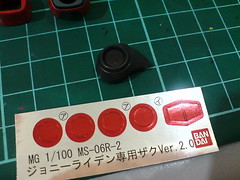
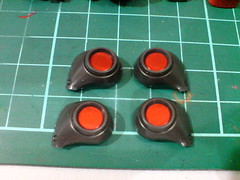
Foil stickers are used for the large "dots" on the elbow parts.
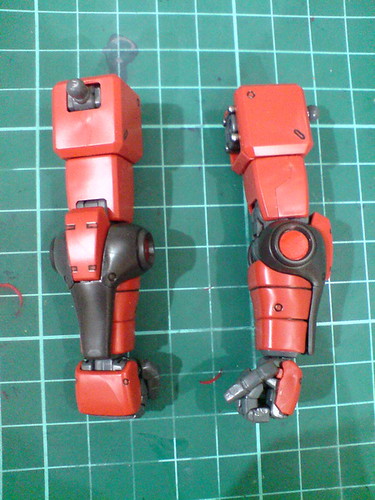
Done for the arms (before their respective shoulder armors). ^^

All the armors are not affecting the articulation range of the elbow joint.
The polycap between the wrist and forearm allows the earlier to have a little bit of extra bend.
All the hydraulic pipe sets behind the elbow joint can still be seen very clearly when the elbow is bent. ^^
Armor parts for both arms.
The edge of the connector on the right shoulder shield is painted gray using Gundam Marker to make it look coercive with the joint's color when assembled.

Like this. ^^
Same Gundam Marker treatment for the connectors of the three "thorns" to be assembled onto the left shoulder armor.
Both shoulder armors are now done.
Both arms are now completely completed. XD
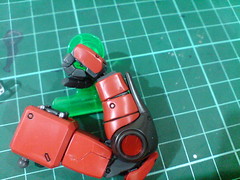
Via the joint parts connecting them to the shoulder, the armors are of course movable.
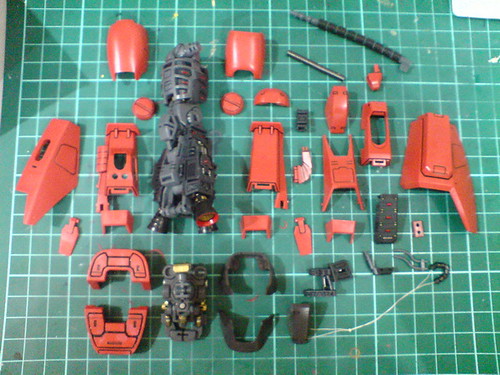
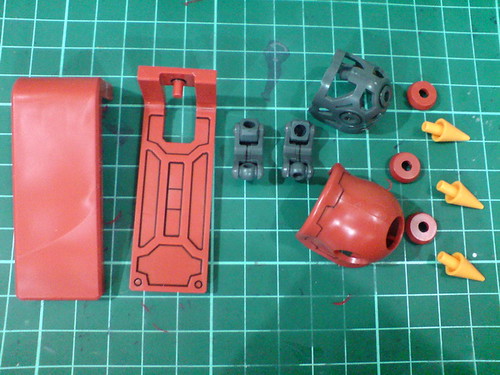
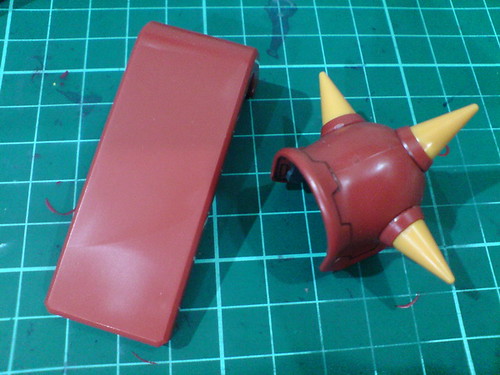
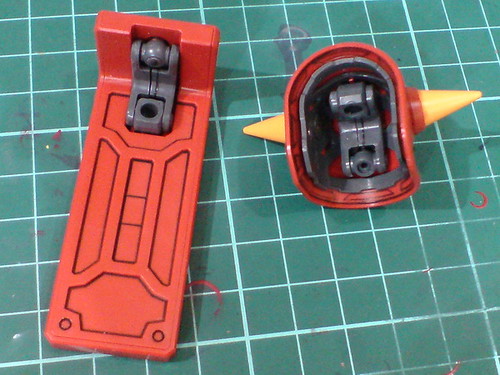
Armor and extra parts for the right leg.
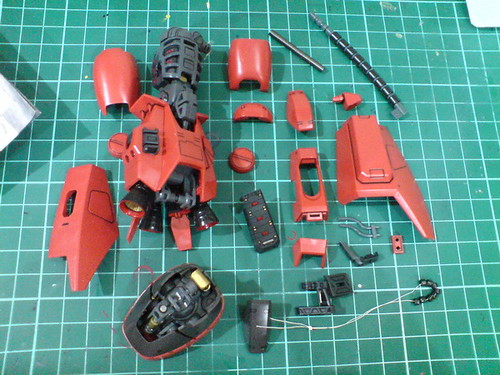
As the complexity of the inner frame would suggest, putting on the leg armors is not a straight-forward task. Some of the armors must wait for a few other parts to be completed before they can be assembled onto the leg.
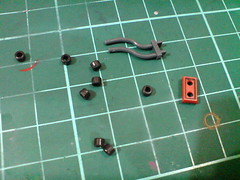
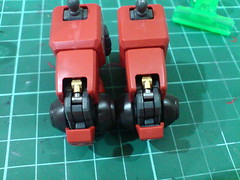
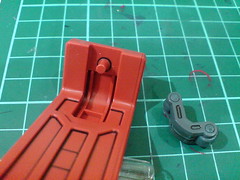
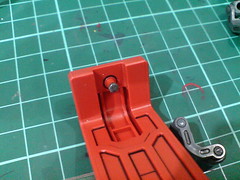
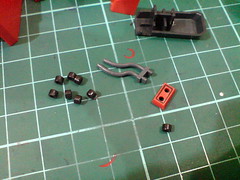
Assembling the very small twin conductive pipes that carry four rings on each pipe.
Special care was taken by binding all the small rings with a thread to prevent them from going missing before the assembly.
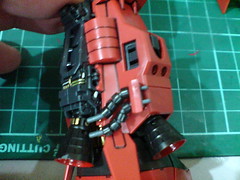
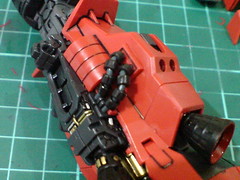
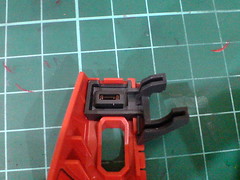
The twin conductive pipes connect the side thruster to the mecha component on the calf.
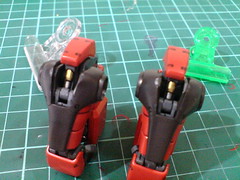
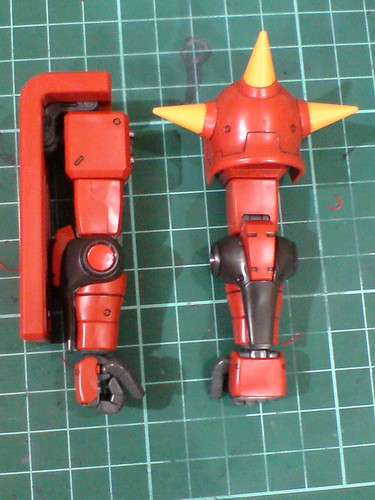
Done for the "basic" armored version of the right leg. ^^
If the main conductive pipe and knee armor are attached, this would be about the same as the leg of the other two MG High Mobility Zaku II variations (Black Tri-Star and Shin Matsunaga's Customized Types).
The connector on the outermost layer of leg armor is painted black to match the color of the joint part.
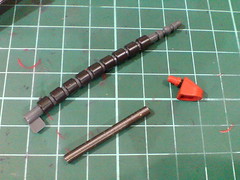
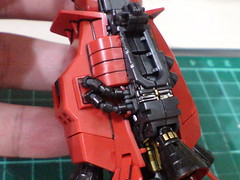
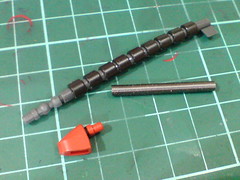
Working on the main conductive pipe again. ^^
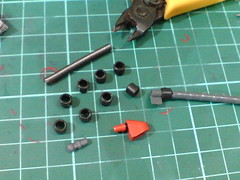
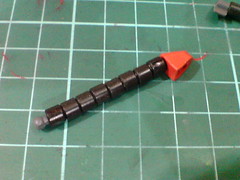
Instead of sliding the rings from the runner directly onto the metallic pipe as shown in the manual, I find it to be a lot easier by detaching all the rings first and then assembling them onto the pipe, just how I did it for the very first MG Zaku II. ^^
Assembled the pipe onto the leg.
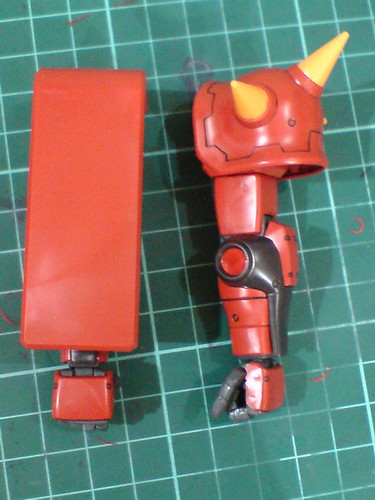
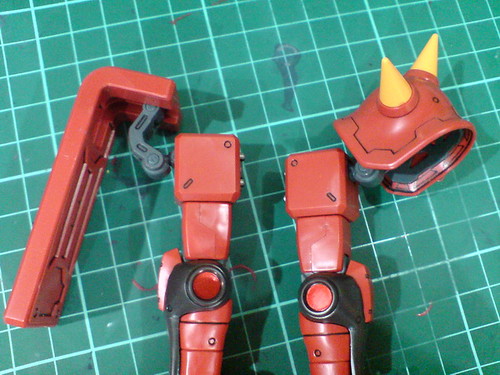
The right leg is now completely completed as well. XD
The extra large plate armors on the side and rear seem oversize for a Zaku II. ^^
Reduced articulation for the ankle, as it is now being restricted by layers of armors on three sides.

The knee articulation is now a little better than nothing. ^^;
The front part of the foot is still movable, and the fins between the leg thrusters can be expanded as well.
Armor parts for the left leg.
The same twin conductive pipes between the side thruster and calf.
The basic armored version of the left leg.
Assembled the main conductive pipe.
All done for the left leg. ^^
Both legs are now completed.
A "summary" of the legs' articulation. ^^
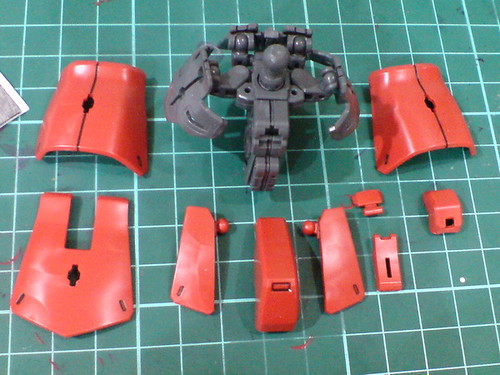
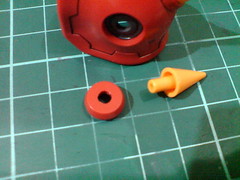
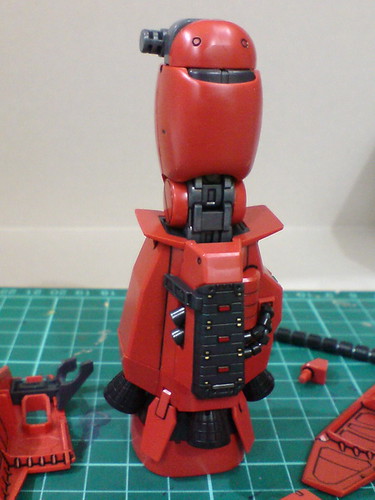
Armor parts for the waist.
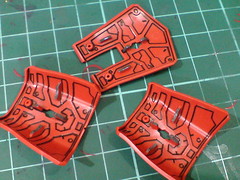
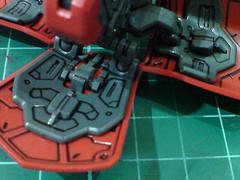
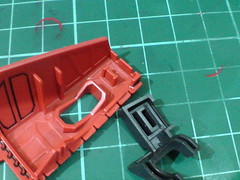
The connectors behind the armor parts are painted gray using Gundam Marker to match the color of their frame parts.
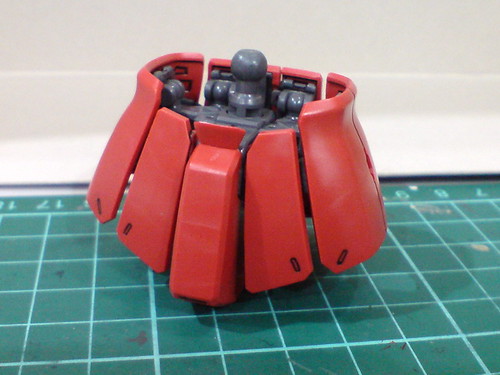
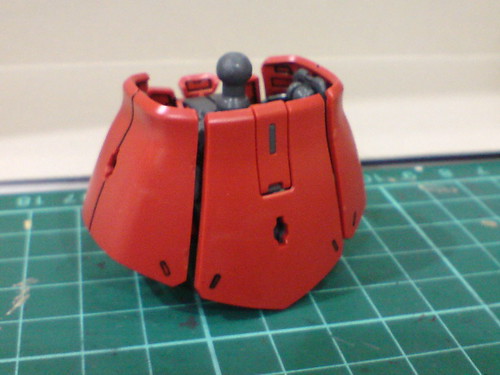
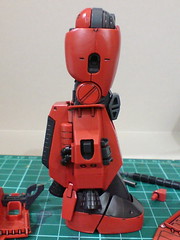
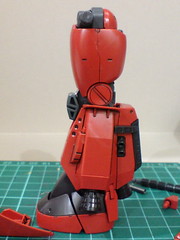
Done for the waist.
So far this is the only component that is exactly the same as the original MG Zaku II Ver. 2.0. ^^

A combination of line details from the frame parts and the new armors gives a full fledged display of the details beneath the waist.
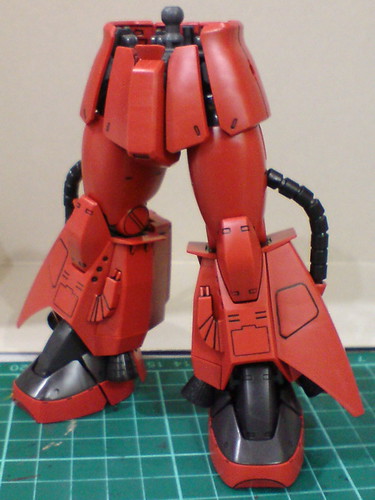
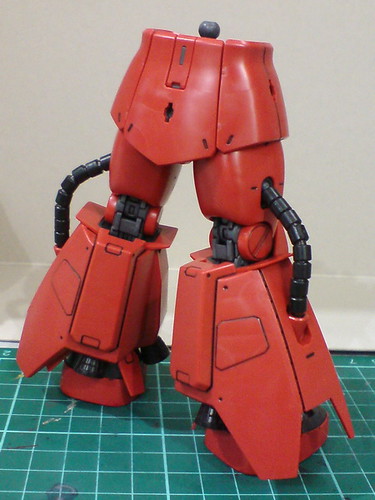
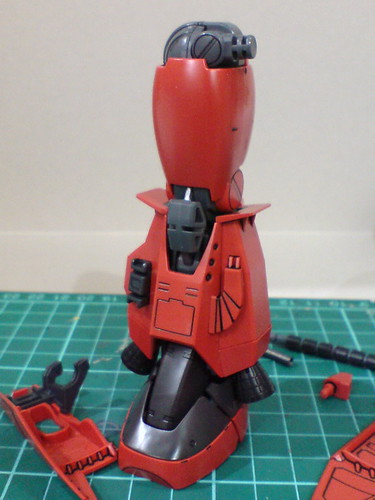
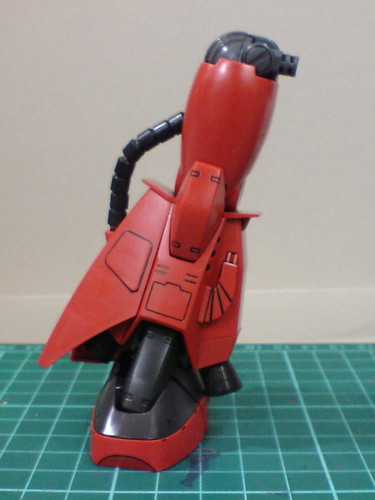
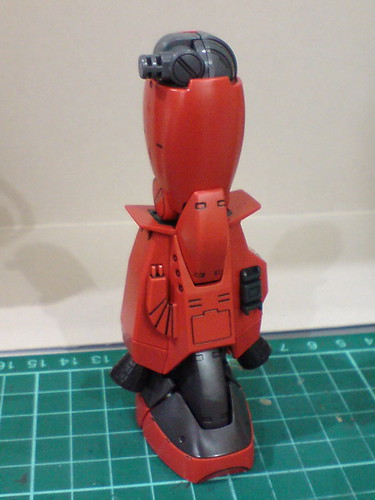
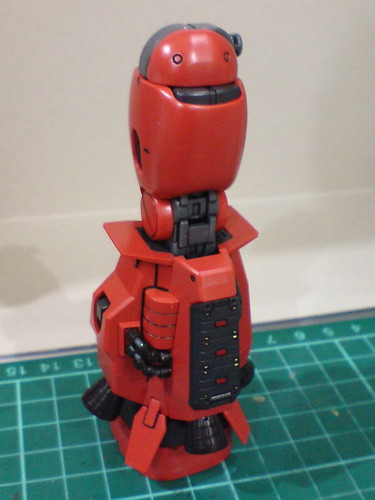
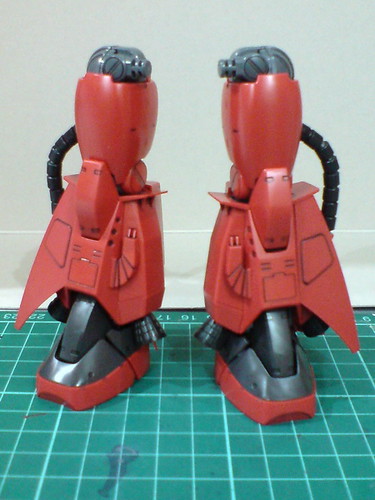
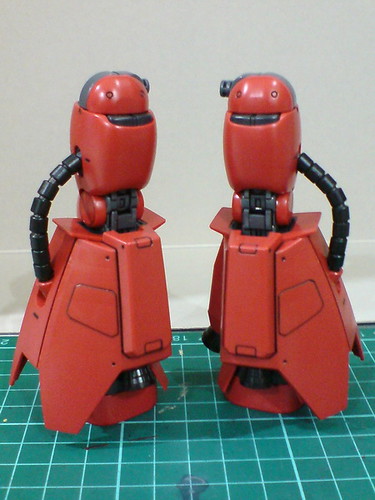
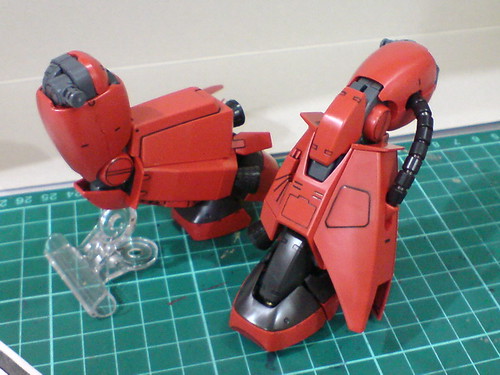
With the completed legs, the lower body of the model is now done. ^^
The mount rack on the rear skirt armor is functional, and can definitely be used to hold the Zaku bazooka, in before the assembly of the upper body and backpack that is. ^^;
The Heat Hawk mounted on the side skirt armor should be as cool as a cucumber all the way. ^^
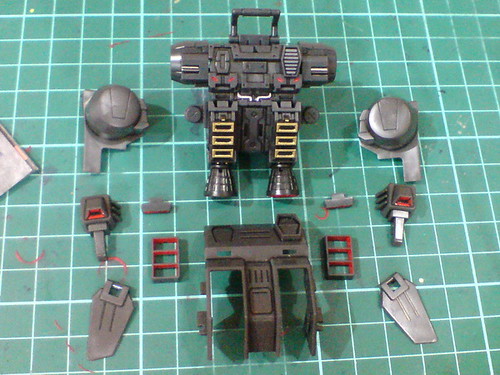
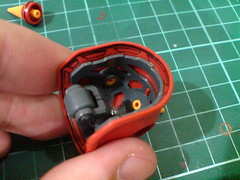
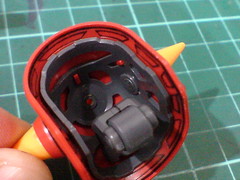
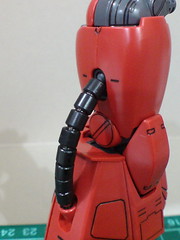
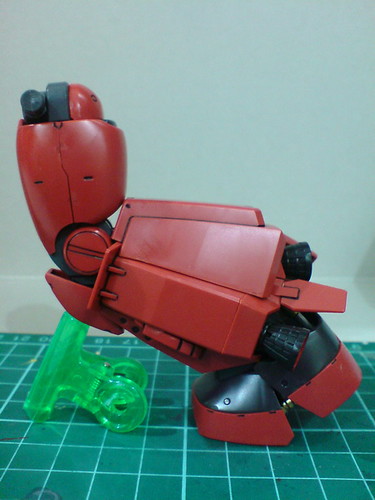
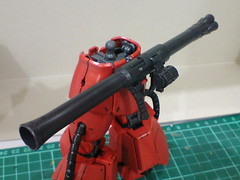
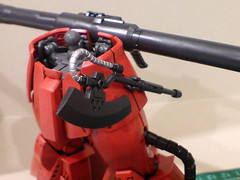
Armor parts for the backpack.
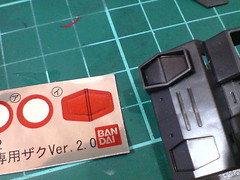
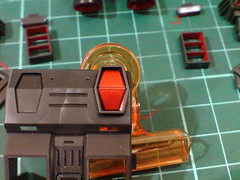
Foil sticker is used for the hexagonal panel on the right side of the part.
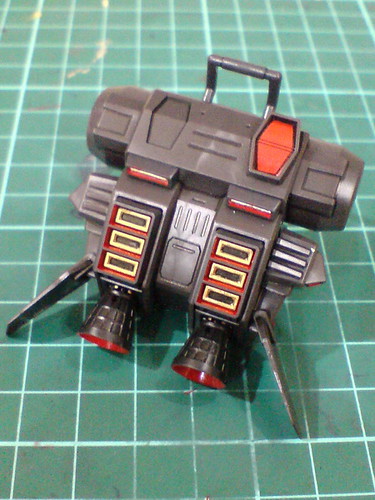
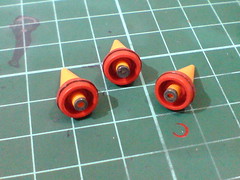
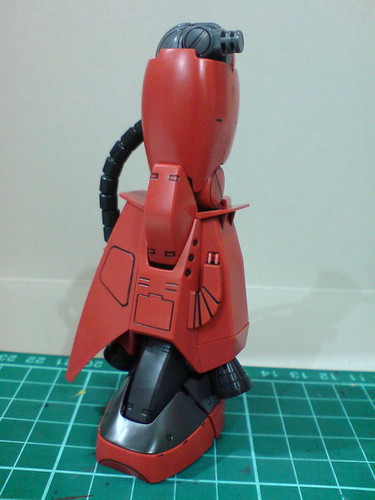
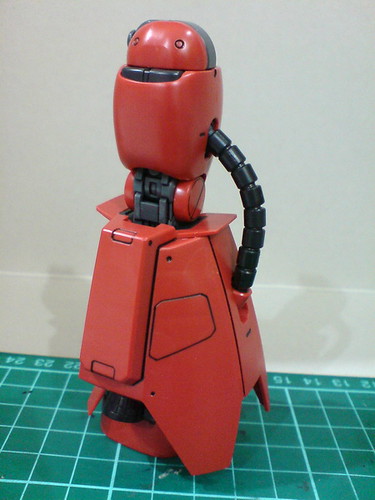
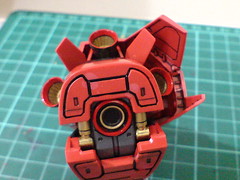
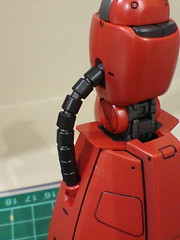
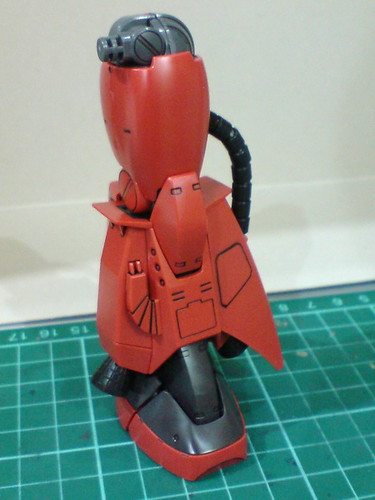
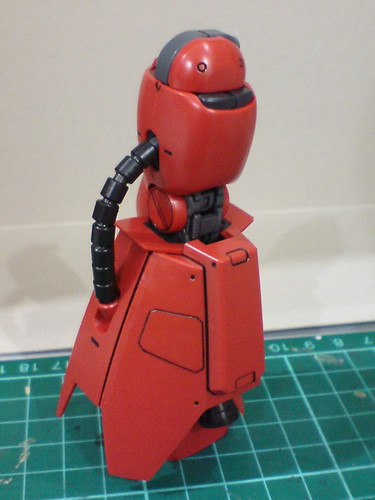
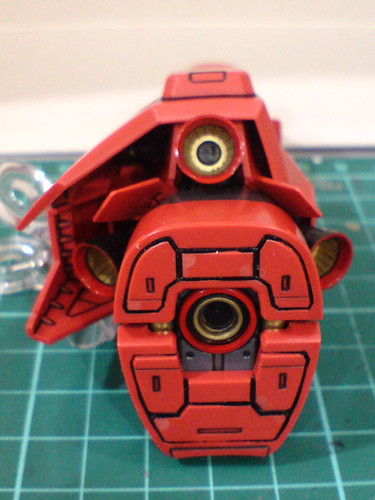
Done for the backpack.
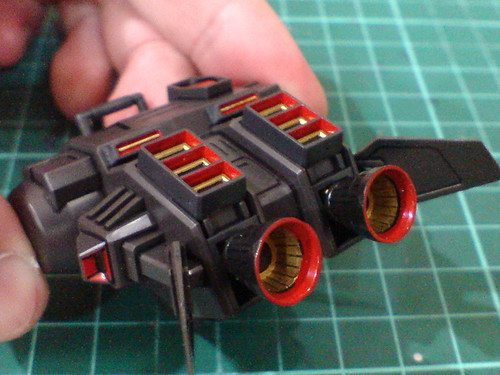
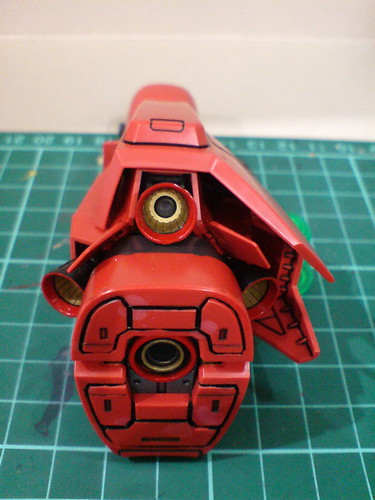
A bit of the inner frame details are concealed in exchange for an even more elaborated red and gold thruster effect. ^^
Only the body and head remain before the completion of this model. With both components having quite a few conductive pipes to assembled, it's better to leave them to the next posting I think. ^^


No comments:
Post a Comment