Starting on it quite late this month, but it's here nonetheless. ^^
There are still some more work pending for MG Char's Gelgoog Ver. 2.0 and HGUC Sazabi, but I figured some of the last few components from those two kits can be worked on while I'm going through this new MG. So the work on those two kits won't be put on hold for too long. I worked on four MGs consecutively in the previous months anyway. ^^
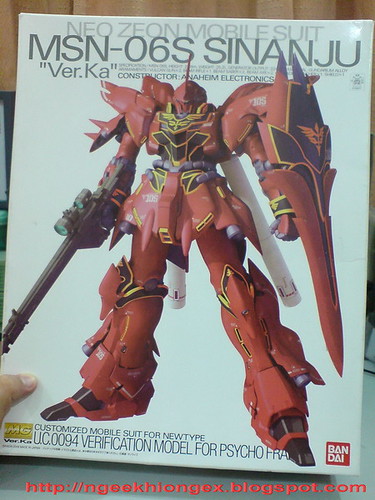
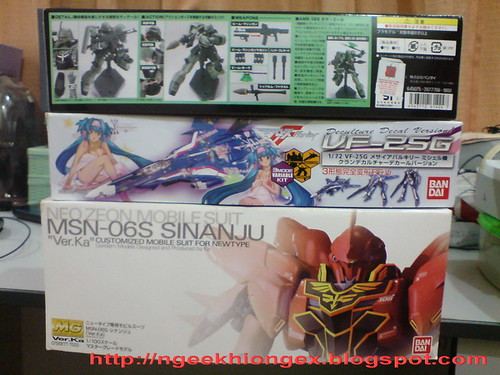
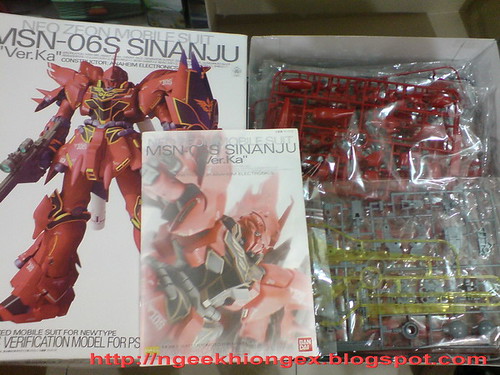
Master Grade Sinanju Ver. Ka. I remember it to be a really sensational news when some initial indication of it going to be released came out back in September 2008. When it was indeed confirmed in October, the official announcement was perhaps just as exciting as the price tag it was labelled with, in a way. ^^; With 7,350 Yen (inclusive of tax) as its price, it has a sense of exclusiveness (or should I say, expensiveness ^^;) that is only matchable by MG Hi-Nu Gundam, which came out more than a year before Sinanju Ver. Ka - excluding all the extra finish releases that is. Even by today's standard, its price still put it as one of the "top tier" releases in the Master Grade series. ^^;
Maybe it's psychological effect, or maybe it's the usual cautiousness and consciousness towards the prices of hobby items, the high price of this MG kit makes it seem even more like a "boss" unit than its very own image. ^^

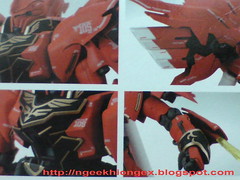
Sinanju is indeed a very powerful and intimidating MS design. It's red, and is piloted by someone who is supposedly "another" Char Aznable. Even several people I know who aren't into Zeon MS design like this suit very much, and who like me, got this kit not too long after it was initially released in December 2008, which was years before we get to see it in action in OVA format. So I can safely assume that it was definitely the design of the MS itself that got them interested in getting the model kit. ^^
I've been keeping this kit in my collection for a very long time already, so long that I completed the HGUC version that was released some two years after this Master Grade version came out last year. ^^; That's pretty unbelievable even for me when I come to think about it now. XD One of the reasons for the long delay is my usual habit of keeping things I like for as long as I could to really enjoy slowly; ^^; but the main reason is figuring out the treatment I could possible go for to complete its elaborate emblems.
The golden emblems that signify this Zeon unit was another ongoing topic on my old blog before its final release I remember. Of course now we know the many options provided to get the emblems according to one's preference, but back in the old days when the information was sketchy in the first few weeks of its official announcement, the design for this feature was pretty confusing to follow. ^^; So many years had passed since then, and so many reviews came out for this kit that can serve as my references, but that doesn't mean the work automatically gets easier, since I still need to choose a method and do it myself. ^^; The not-so-recent completion of MG Shin Musha Gundam and the spray can experience done for the golden armor parts on that kit is a great help for me in evaluating more options to paint the emblems, but I'll see about that when I really start working on the parts. ^^
By the way, this is just my second MG Ver. Ka kit after Unicorn Gundam, so I remember finding the design of the box, the manual and of course the crazy decals to be extremely exclusive when I first got the kit more than two years ago. ^^
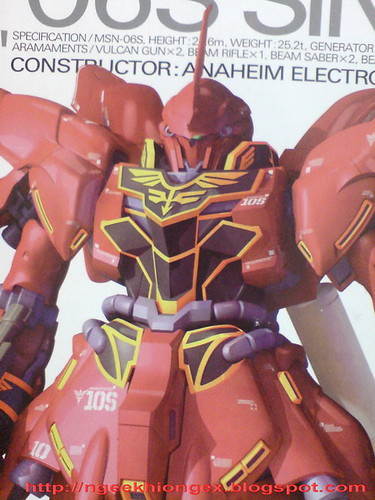
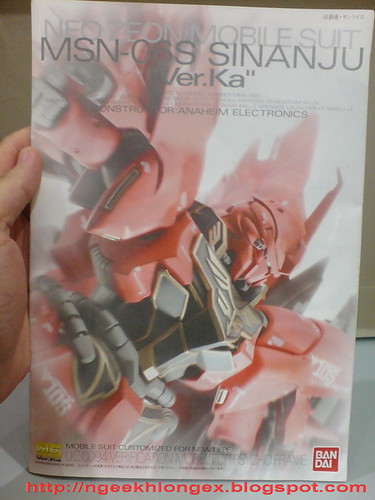
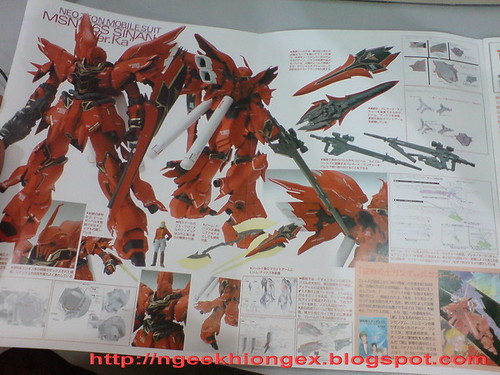
Introduction of the kit on the box sides.
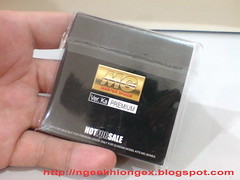
It's not just a big box, it's extremely thick as well. ^^
Then again, the box's thickness "feature" is easily matched by some of the other kits I bought some time later, like 1/72 Transformable VF-25S Armored Messiah Valkyrie Ozma Lee's Unit, MG Char's Gelgoog Ver. 2.0, a few of Kotobukiya's HMM Zoids model kits and others. ^^;
Content
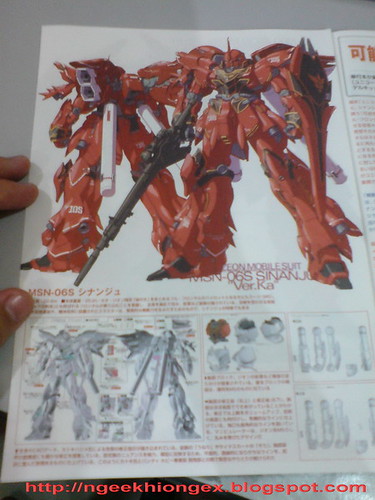
Ver. Ka styled manual design. ^^

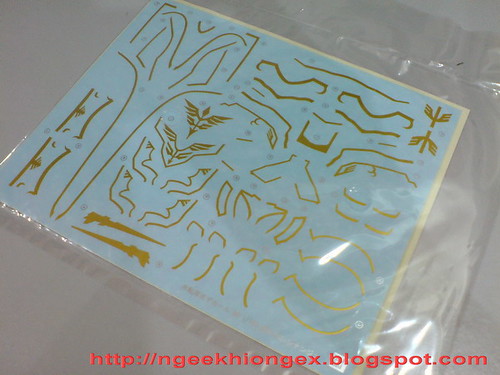
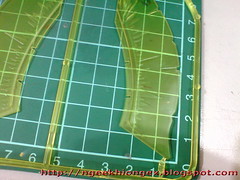
Two huge packages containing the foil stickers, dry transfer decal sheet and water slide decal sheet are just as outstanding as the parts that contain all the molded emblems. ^^

Tons of markings shown on the last two pages of the manual, which are optional.
The overall work is awesomely overwhelming, but since it's optional, I ceased worrying about it after a while. After obtaining a few 1/72 Transformable VF-25 model kits where the markings are not optional, all the worries find themselves some nice comfortable spots to continue their harass on my mind. ^^;

A small mountain of runners for this kit. ^^

Comes with the first batch production prize of a metallic red coin. The package design that matches the emblem on Sinanju's chest is just as nice as the coin itself for me. ^^
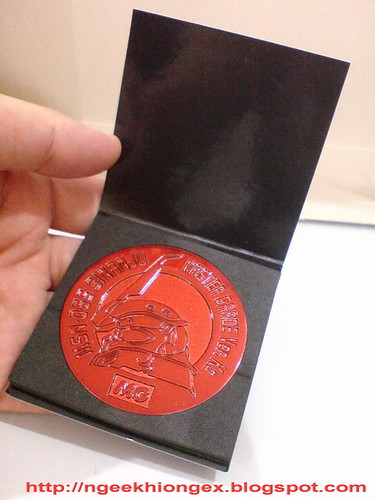


Very shiny, very nice. ^^
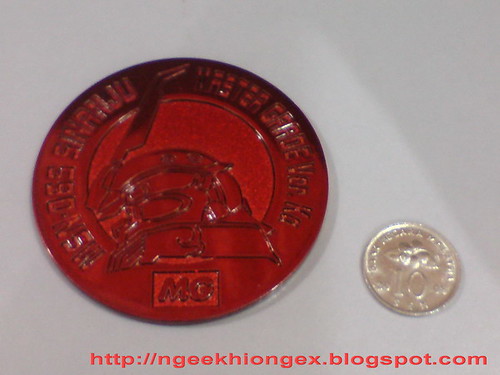
Since it's a coin, a comparison with an actual coin is in place, I think? XD
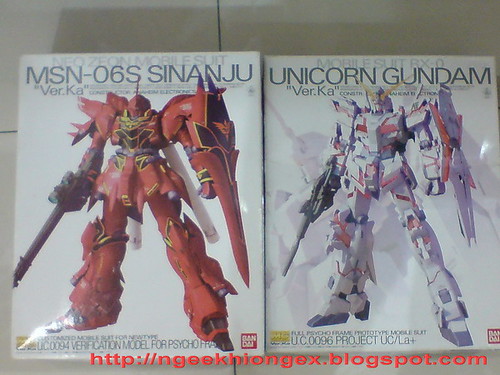
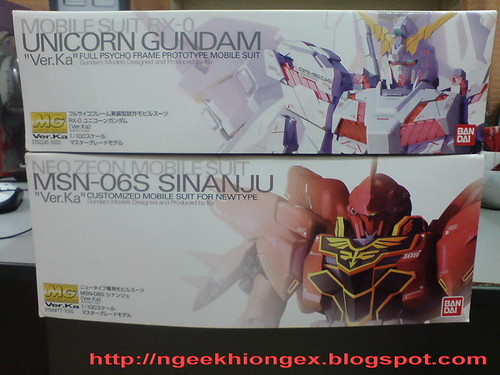
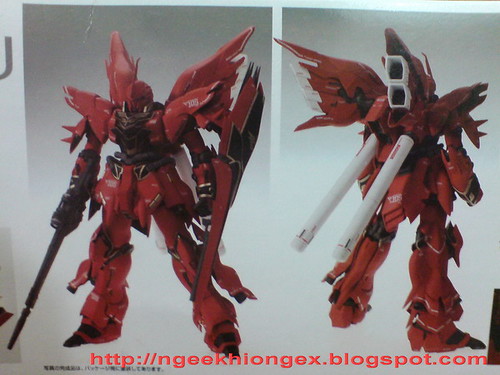
Comparison with MG Unicorn Gundam Ver. Ka's box.
As usual, a look at all the runners designed for this kit:

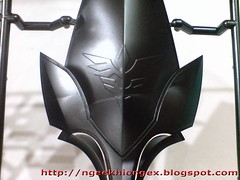
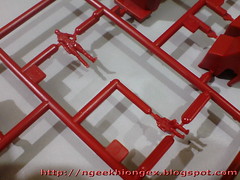
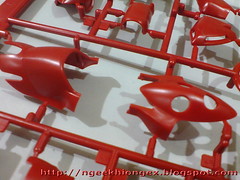
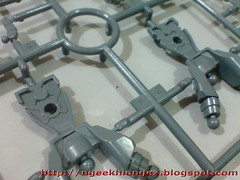
Runner A - Contains all black parts, most which are molded with Sinanju's emblems to be assembled onto its' neck area, chest, abdomen, wrist, knee and shield.
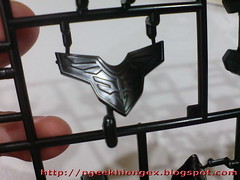
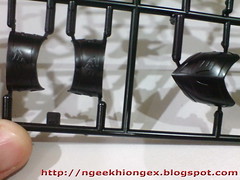
Just one runner concentrating all your worries on how to paint the parts with the emblems is a somewhat "considerate" design? XD
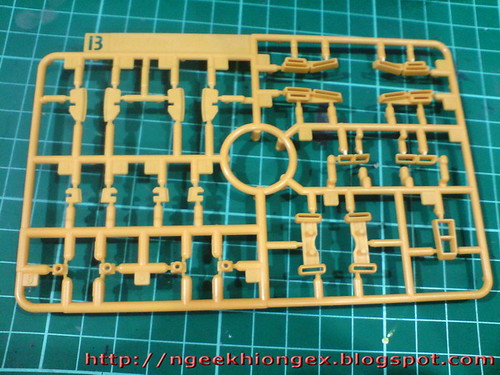
Runner B - Contains all the yellow parts for the various vents.
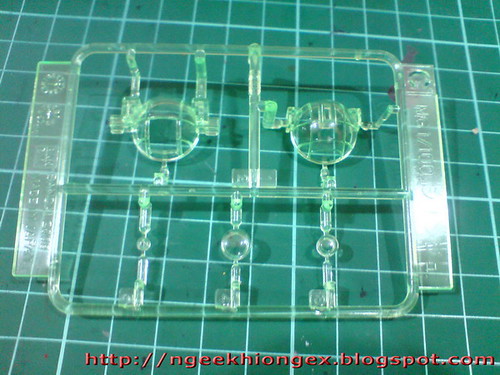
Runner C - A smaller clear green runner that contains parts for the pilot cockipt, mono-eye camera and two targeting scopes for the beam rifle.
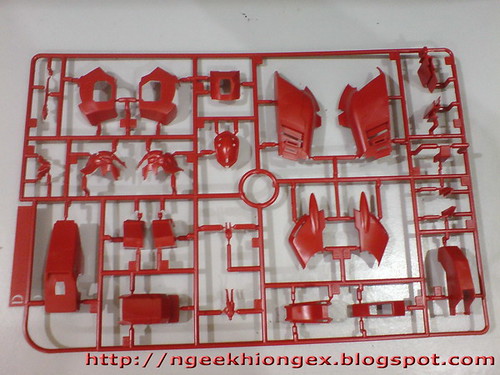
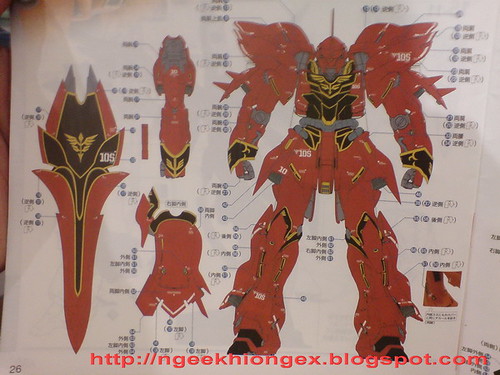
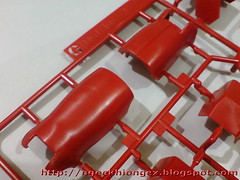
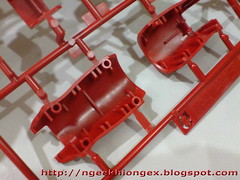
Runner D - Contains all red parts that are mainly for the body, helmet and waist.
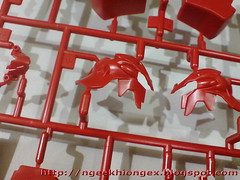
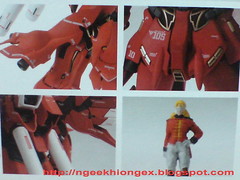
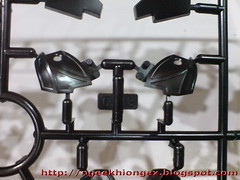
(Left) The two figures of Full Frontal that need some serious paint work. ^^;
(Right) Some parts for the helmet.

Runner E - Contains all larger-sized red parts mainly for the legs' side binders and shield.
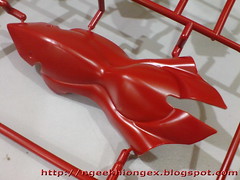
Like MG Unicorn Gundam Ver. Ka, this is another rather "unusual" MG kit during its time that came with zero details on the back of its armor parts, but in no way is that a detrimental comment really, since the lack of such mecha details doesn't make it a poor-looking kit in any way.
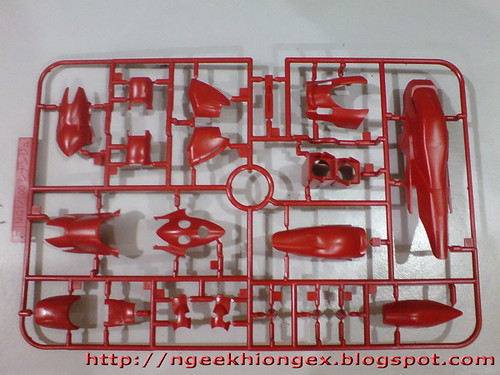
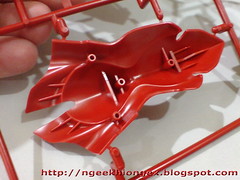
Runner F - (Two pieces) Contains all the red parts that would be repeated for identical components on the arms, waist and backpack.
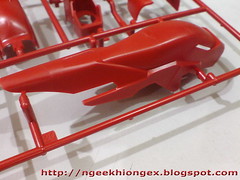


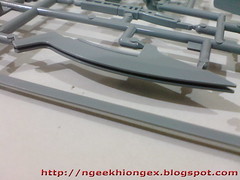
Huge curvy parts for the backpack binders and shoulder armors are impressively molded into single-piece parts. Very nice. ^^
The same brilliant part separation method is inherited to its smaller HGUC version. ^^

Runner F - (Two pieces) Contains all the red parts that would be repeated for identical components on the legs.
Apart from zero detail on the back, the insertion pin design make the thigh armors looks like they are not meant to be separated after the final assembly for the inner frame to be revealed again.

Runner H - (Two pieces) Contains all the gray thruster parts and rings for the four conductive pipes on the waist.
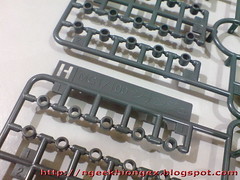

(Left) There are two types of design for the rings. One type for the pair on the abdomen, and another type for the pair on the waist. Such simple arrangement definitely help with avoiding confusion during the final assembly. ^^
(Right) Pretty simple-looking design for the many thrusters I would say. ^^
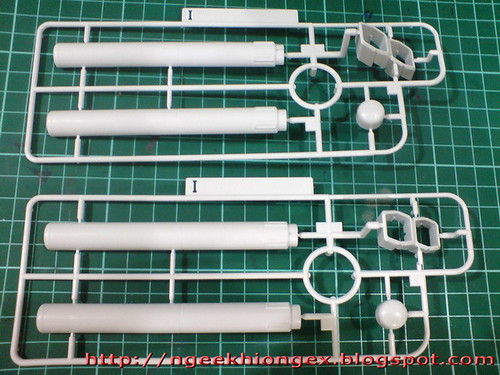
Runner I - (Two pieces) Contains all the white parts for the backpack.
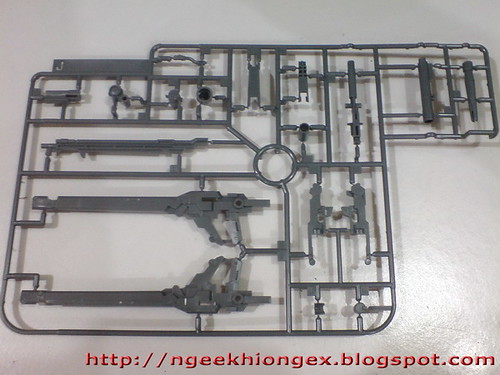
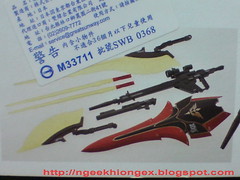
Runner J - Contains all the parts for the beam rifle.
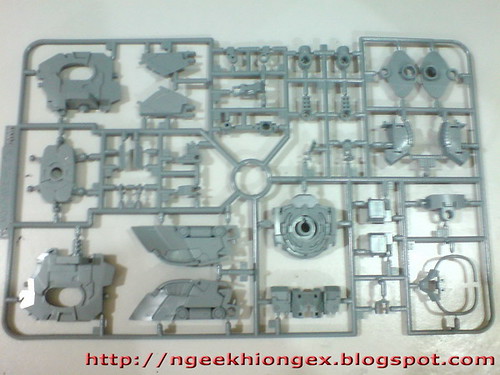
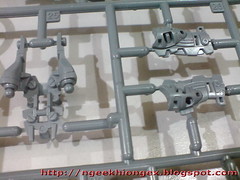
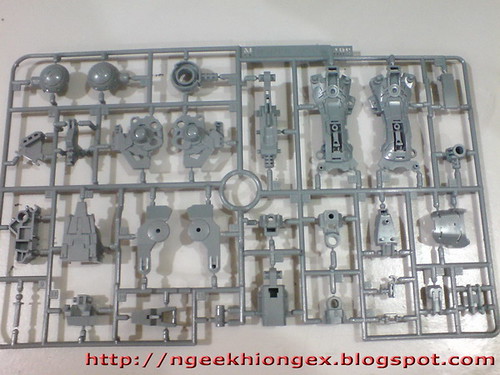
Runner K - ABS runner that contain light gray parts mainly for the inner frame of the body and head.
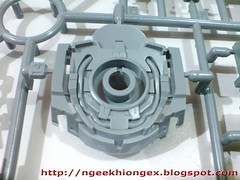


First look at some of the most detailed parts in this kit. ^^

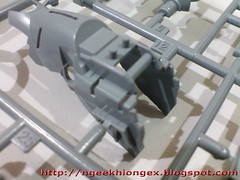
Runner L - ABS runner that contains mainly frame parts for the shield, leg binders, hand units and head.

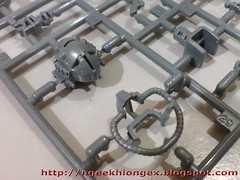
Even more parts with elaborate molded details emerge. ^^

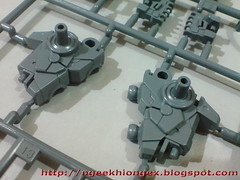
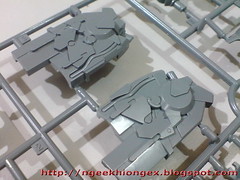
Runner M - (Two pieces) ABS runners that contain parts to be repeated on the shoulder armors, arms, backpack binders and weapon.
(Left) Very nice molded details on the parts for the shoulder thrusters and forearm.
(Right) Like the shoulder armor itself, the inner frame part is molded as a single-piece part. Very nice. ^^
The details on the backpack parts and the one-piece part design for the beam sword/ax are inherited to its HGUC version, almost directly it seems. ^^
Runner N - (Two pieces) ABS runners that contain inner frame parts to be repeated for the legs.
A one-piece part design for the entire inner frame of the thigh is an absolutely amazing design. ^^

Runner O - (Two pieces) Contains clear yellow parts for the beam axes, swords and sabers.
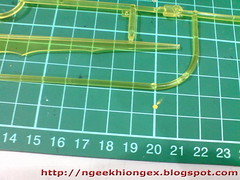
(Left) A single beam sword part is 21cm in length, so the combined beam naginata would easily be over 45cm. o_O
(Right) The beam ax part is about 3cm in width, so it's going to be pretty mean-looking as well. ^^
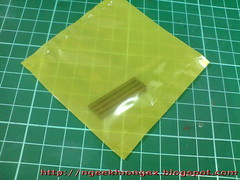
Four metallic pipes for the waist conductive pipes.

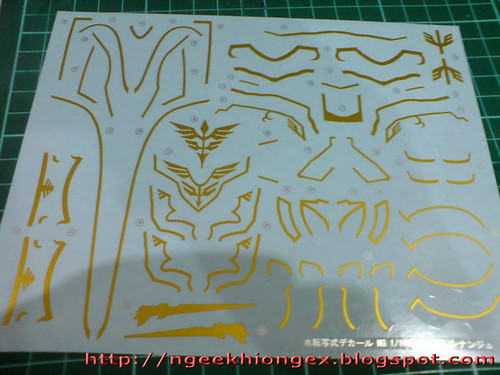
The arrangement of the emblem pieces on the foil sticker sheet is exactly the same as the one on the water slide decal version, but the latter carry two extra ones meant for Unicorn Gundam Ver. Ka.
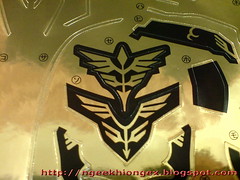


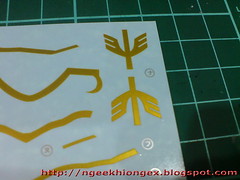
Of course, many of the foil sticker pieces have bits of black areas integrated with the emblems, for better attachment onto the Gunpla parts on doubt, as shown on its HGUC version.

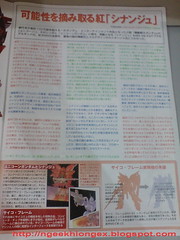
Welcome to Hajime Katoki-sensei's Decal-mania Land XD

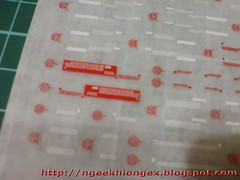
Even ants would have to move in single lane to go through the whole sheet without stepping onto any of the markings. ^^;
22 runners in total, including seven duplicates. Out of the 22, six are ABS runners. No polycap part used at all. The dry transfer decal sheet's numbering goes from one to about 150, where many of the markings are duplicated, so there might very well be over 200 pieces to apply, following the manual. ^^ All which are very impressive statistical information to begin before any actual work. ^^ For now, I'm going to just concentrate on how to get those nice emblems painted first.


4 comments:
Sinanju! Just like you I have bui,d the HGUC version but my Ver.Ka is still nt even started...
Will watch your build with great interest - good luck and enjoy!
You going to enjoy it 300% MAX detailing on it. Believe me. I've spend most of my time putting all the decals on, not easy.
As I told you before when you announced you were going to build this guy along with the other three units... congratulations on starting with Sinanju! Mine is almost ready except for the shield who is crying everytime I got into my room, so far I have a beautiful inner frame ready holding a saber u.u... damn college =P
Will look forward to see how you build this masterpiece ^^
Greetings Sir,
My name is Jordan, and I am from Philippines. I was looking on images of MSN-06S Sinanju
Gundam and I ended up on your review on its Master Grade. On your review, i saw the images of
the manual guide for the decals:
It gave me an idea to create a 3D model of Sinanju using Autodesk Maya and that blueprint is a
perfect guide for me. I am a 3D artist by the way.
If it's ok to you Sir, I would like to request a scanned images of that blueprint of Sinanju.
It will be a very big help for me in order to build its 3D model. Thanks.
Regards,
Jordan
Post a Comment