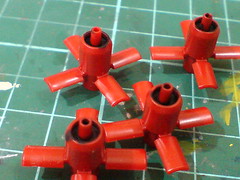
Starting on another component of HGUC Sazabi, a very important one on my plan that would be ongoing for a while. It's Sazabi's unique feature that separates him and his successor, Sinanju. ^^ It's also a feature I personally think isn't designed well on this HGUC kit - the Funnels. ^^;
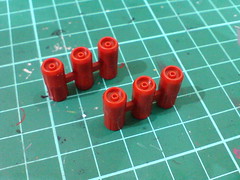
Not sure why, but I don't really like how the fixed Funnel bits are molded as set of three when the container rack is made to be capable of accommodating each bit individually. It's not like the bits are tiny in size and require such "restrain" to prevent them from going missing easily. ^^; The vents on the shoulder armors are much smaller but they get single-piece part separation anyway.
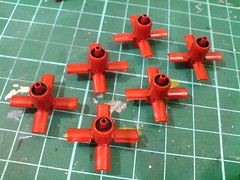
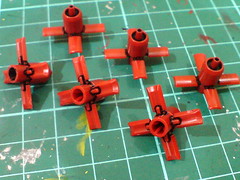
On a brighter note, the long "bridges" between the Funnel bits can be nipped off very easily to separate them. It's definitely easier than HGUC Jadg Doga, where the same gap between its shoulder Funnel bits is too narrow for plastic nippers to do the work.
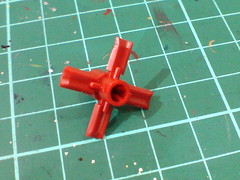
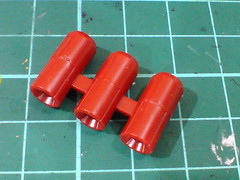
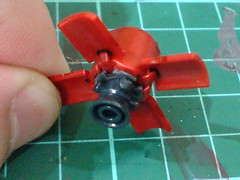
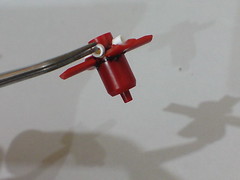
One of the Funnel bits in deployed mode.
The design of the deployed Funnel bit is exactly the same as the ones in HGUC Jadg Doga it seems, minus the extra clear plastic rods to mount the parts onto the shoulder armors of course. The absence of the expansion function actually makes the bits much easier to be posed, which is something I welcome very much. ^^
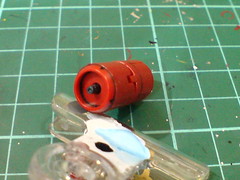
Still, in terms of details, its tail portion is seriously bland. ^^; It's understandable since each bit is molded as a single-piece part. It's definitely not as detailed and awesome as the depiction on the box art:

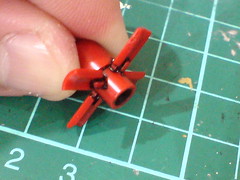
Mini thrusters with red interior for the nozzle!
Referencing its larger equivalence from the Master Grade version:
MG Sazabi was a Gunpla I did back in 2006, when I didn't bother much about painting extra details like the interior of the thrusters. For this HGUC version however, detailing the Funnels is going to be the next challenge I'll undertake for this kit. ^^
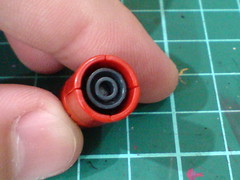
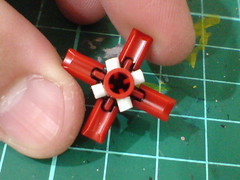
The easier task of adding black into the areas of the Funnels' head comes first.
It's basically the same black paint with thinner method to "flood" the intended area. The black paint used is of "higher dosage" though. XD
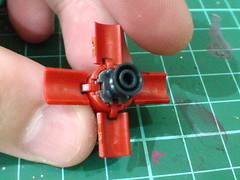
Normal panel lining for the panels on the tail portion of the bits.

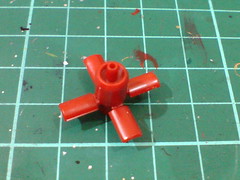
Following the design of the Master Grade version, each Funnel bit will have a ring of four thrusters on the tail portion.
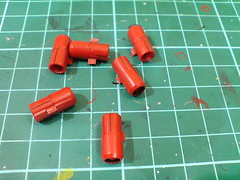
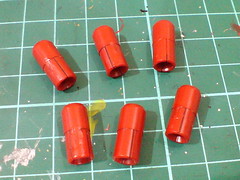
The easiest method to get so many thrusters is to make them myself. The body of a cotton swap seems to have the right dimension to be turned into those thrusters. ^^
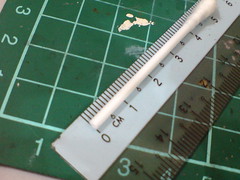
Cutting the required parts on a ruler to get all them right in terms of measurements.
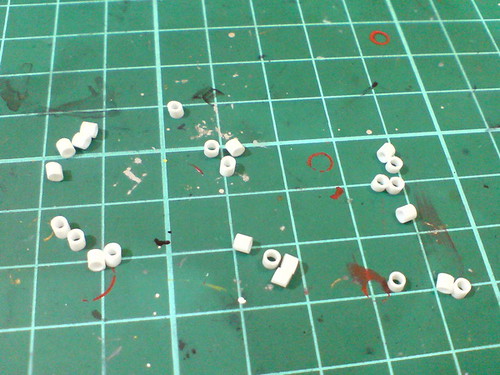
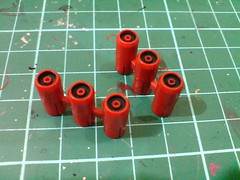
All six sets of thrusters for the Funnels.
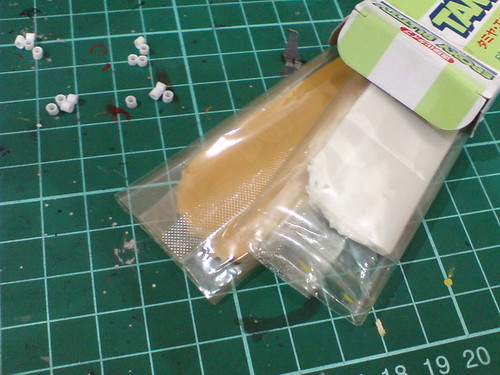
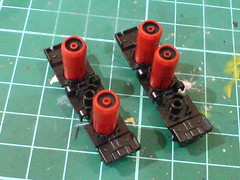
A bit of extra help from Tamiya Epoxy Putty Quick Type (once used for the repair on MG Zaku II's hip joint and Lunamaria's "upgrade" (XD) is needed to attach those small rings onto the Funnel bits' round wall on its tail.
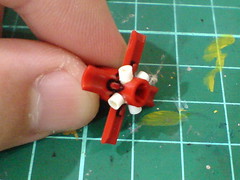
Like this.
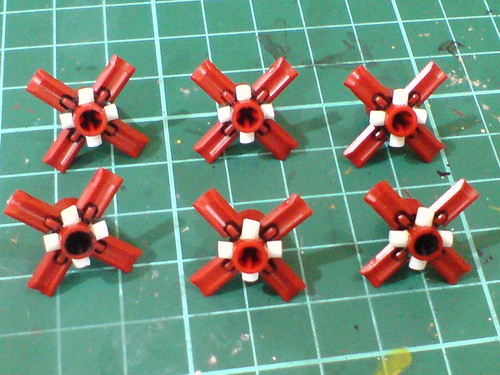
Some of the rings weren't cut properly, making their shapes seem a bit distorted.
I'm too lazy to fix them now, so painting them all black later on would help to conceal the mistake. ^^;
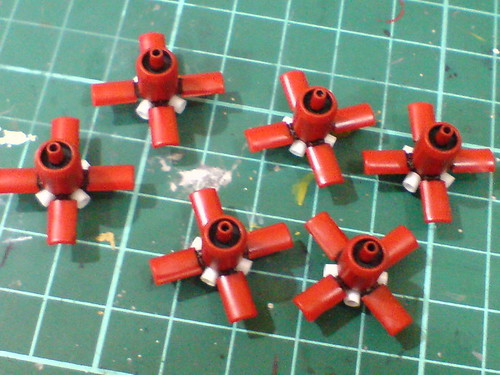
The thrusters are positioned between the flaps to make their appearance looks extra obvious, which is how this component is depicted on the box art.
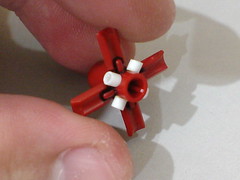
Even though the putty hardens very quickly, as you can see in the picture on the left that it's strong even to not get detached when the whole Funnel is lifted, I'll wait till the next posting when everything is secure to work on it more. ^^

The same paint treatment for the opening of the fixed type Funnels' head.
As mentioned earlier on, the gates between the Funnels are cut off using plastic nippers. The "wounds" from the cut marks are painted using normal marker. The line details of the flaps will be restored in another posting.
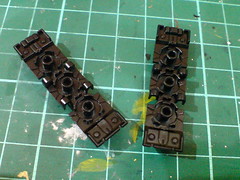
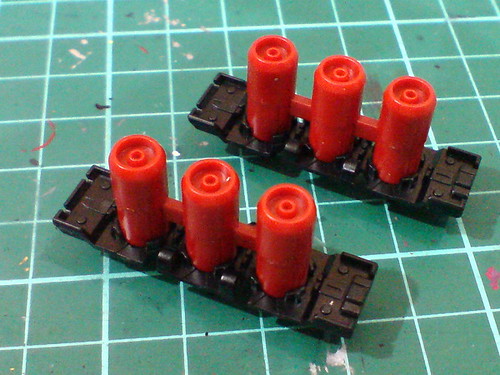
(Left) Now each individual Funnel bit can be stored on the rack, giving it a closer resemblance of how this weapon is supposed to work. ^^
(Right) The details on the rack are panel lined.
Quite a bit of work on the Funnel bits in this posting, but I dare say this is just about 25% of the entire detailing project according to my evil world domination scheme.
More to come in the next posting. ^^


No comments:
Post a Comment