Back to MG Char's Gelgoog Ver. 2.0 after completing BB Senshi Sangokuden Giga Taifu Shiba-I Sazabi.
After all the large parts for the arms and legs, many really small ones start to pop up on to-do list, ^^; which is kind of a more "regular" routine when working on Master Grade kits for me as compared to those larger sized ones did previously. I guess I'm too used to dealing with tiny details after all this while and large parts with little work start to seem very "unusual" to me. ^^;
Panel lining and painting the three figures included in this kit in this posting:
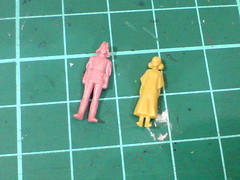
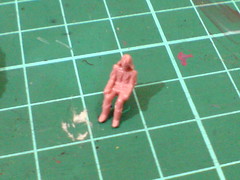
Standing figures of Char and Lalah, and a pilot figure of Char.
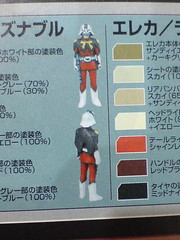
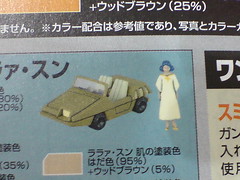
Paint schemes for the figures are shown in the manual.
The car will be done in a separate posting.
This isn't the first time I worked on figures of Char for MG kits actually. I did the same standing and pilot figures for Char's Zaku II Ver. 2.0 years ago. Except a very small portion of his face that is exposed, all the colors on Char's costume are basic colors that can be conveniently found in a basic Gundam Marker set: red, white, black, yellow and a little bit of gray. For me, I relied on normal markers for his main colors of red and black, so the amount of Gundam Marker paint I used on Char's figures from MG Char's Zaku II Ver. 2.0 was pretty minimal. ^^ That experience would be very useful to me in painting the same figures on this kit.
Lalah on the other hand, is much more challenging to paint if the color scheme in the manual - her character design from the anime was to be followed strictly. Her hair color for example, is 85% blue + 10% black + 5% red, her dress 90% white + 10% yellow and her skin is a bit tanned. With little confidence in getting the color mixture right, I decided to not go with the color scheme shown, but something that I can manage easily with my tools and to minimize on the risk of ruining the figures if painted wrongly.
That doesn't mean I'm going to paint Lalah's hair pink of course XD
The first color to be painted is a generic flesh color for all the three figure:
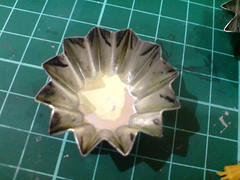
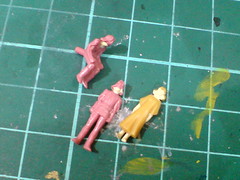
The paint used is Mr. Color 51 Flesh Semi Gloss.
I didn't take any picture when painting the figures to really concentrate on the work, but the process is pretty similar to what I did for all the other figures in the past. The basic idea is still the same: painting different layers of color on top of one another to cover up spilled color from the previous layer. Since the figure is so small, squeezing the paint from the marker onto a saucer and paint using a toothpick would be a lot more convenient. ^^
The steps in specific:
(1) Panel lined the major sections that would be in different colors.
(2) Painted white for the helmet, belt, gloves and boots (Gundam Marker paint).
(3) Painted yellow for the emblem on the chest and shoulders (Gundam Marker paint).
(4) Reapplied panel lines to the different segments of the body. Black ink from the panel liner helped to cover up some of the spilled white color.
(5) Painted red for the entire body (Gundam Marker paint + normal fine tip marker + red whiteboard marker ink). The red paint would cover up even more areas with excessive white paint.
(6) Painted red for the neck area (Gundam Marker paint). The red paint would cover up some excessive yellow paint for the emblem did in (3).
(7) Reapplied panel lines to the segment between the helmet and visor. Black ink from the panel liner helped to cover up some of the spilled white color, especially the splits between the helmet's side and the figure's cheek.
(8) Painted the visor gray (Gundam Marker paint).
(9) Painted black for the cape (panel liner + normal fine tip marker). The black paint would cover up all other areas with excessive paint. The emblems on the chest and upper arms are "outlined" using the panel liner.
(10) Reapplied panel lines to the entire figure again to add in the details for the helmet (the spikes in front) and belt.
The steps are pretty much the same for the standing and pilot figures, although the latter was a bit harder to paint because of its shape. And of course, all the steps were done when the previous layer of paint has dried to ensure that the colors didn't mix with each other and ruin all the paint. You can tell that the entire paint process was very time-consuming.
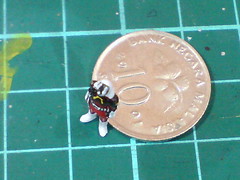
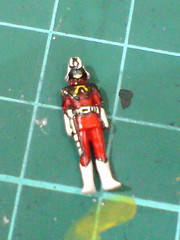
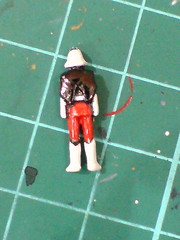
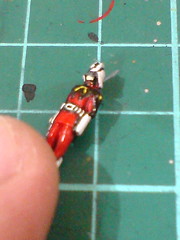
The painted result:
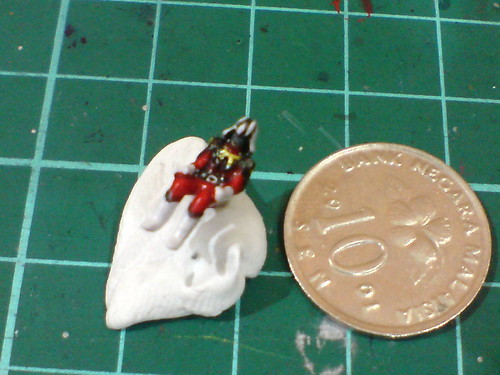
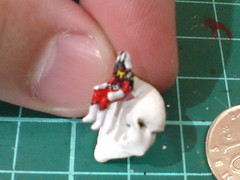
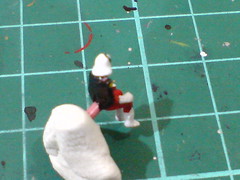
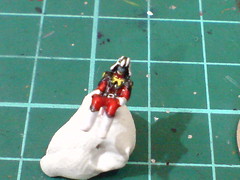
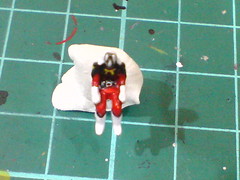
Pilot figure of Char
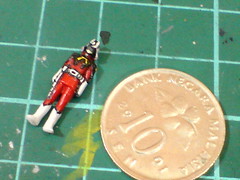
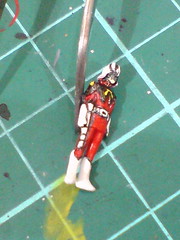
Standing figure of Char
Very much like Johnny Ridden, the standing figure of Char isn't able to stand easily (as with all figures of this scale that are without any supporting base in my experience ^^;). The solution would be the same: just give him a base. ^^ However, instead of using the leftover runner's label like how I did it for Johnny Ridden, I decided to use something new for this work:
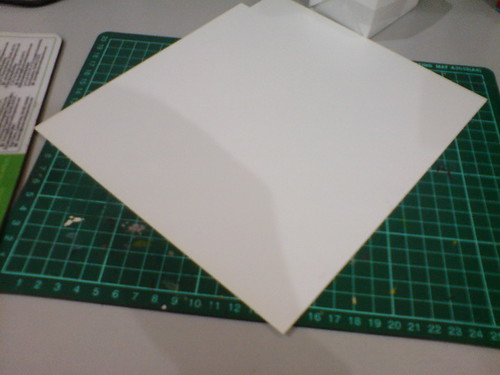
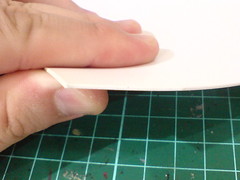
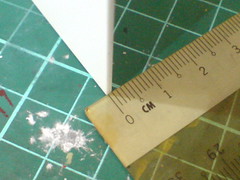
Pla Plate 1mm
Ordered this quite some time ago after the work on the figure of Johnny Ridden.
1mm is a pretty thick one I believe, and I got it for a single purpose: to make display bases for figures. ^^ Char isn't the the only one who will be using it. Figures from future projects would be getting their little bases to stand on as well. ^^
On a separate note, I don't feel like using leftover runner's label again because there's too much sanding to be done. ^^; I spent quite a long time getting rid of the factory information molded on the plate I did for Johnny Ridden, which was quite a tiring work to do after a while, especially when it's such a tiny part. ^^; With pla plate, the surface is smooth, so only the edges require sanding.
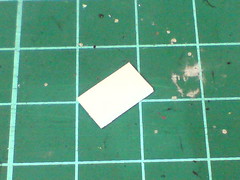
Sanded a "slope" for the front portion of base for better look. Another one was done for Lalah as well. ^^
On the other hand, one good thing about using leftover runner's label is you get to choose one with molded color, like dark gray for Johnny Ridden. You can still paint the pla plate of course, but that would be an extra task. For me, I'm already happy with a suitable little add-on that would allow the figure to stand properly. It's color is optional. ^^
Fixing the figure of Char onto the base using model kit cement after shaving off the bottom of his boots to create a smooth surface for the connection:
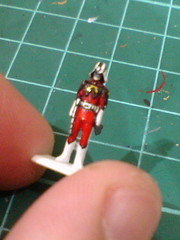
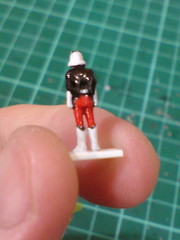
Success! ^^
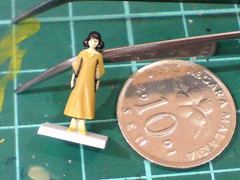
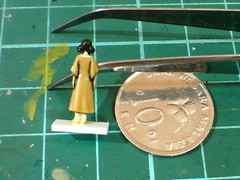
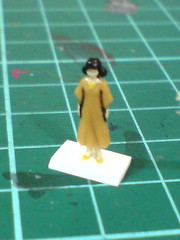
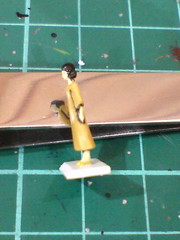
Luckily for me, Lalah's figure is molded in yellow, and while it's not the very light toned color as shown in the manual, it's yellow nonetheless. The variation isn't too radical for me to accept. It's definitely not like she's molded in pinkish red and the whole figure needs to be painted. ^^; So, the paint work on the dress would be omitted, thus making the whole work on Lalah's figure much easier than Char. ^^
The steps in specific:
(1) Scratched away the excessive flesh color on the shoulder area and dress (from the paint on her arms) using pen knife. The outline of the shoulder area and her dress is formed through this step.
(2) Painted a bit of yellow on her chest area (Gundam Marker paint).
(3) Painted the figure's shoes yellow by swiping the marker's tip around the edges of her feet, with a "heavier" touch at the front to form the front portion of the shoes.
(4) Scratched away the excessive yellow paint on the chest area did in (2) until a triangular ornament is formed.
(5) Panel lined the border between the face and her hair.
(6) Painted the hair black (normal fine tip marker).
(7) A little touch on the eyes using a toothpick with a tiny bit of panel line ink in on its tip.
(8) Panel lined the borders between the arms and dress.
(9) Connect the figure to a display base.
The painted result:
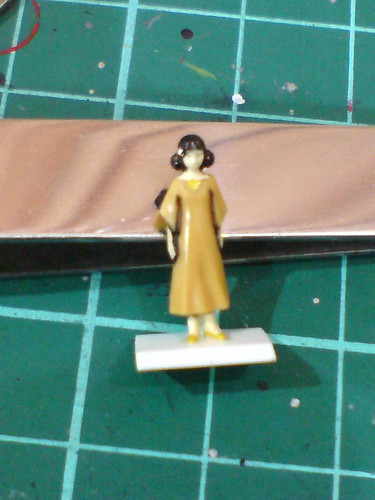
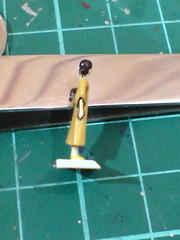
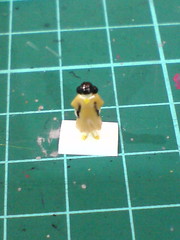
Both figures:
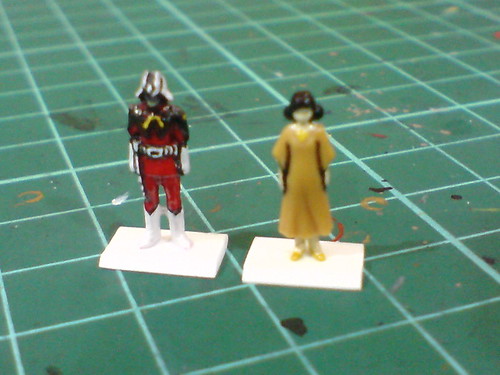
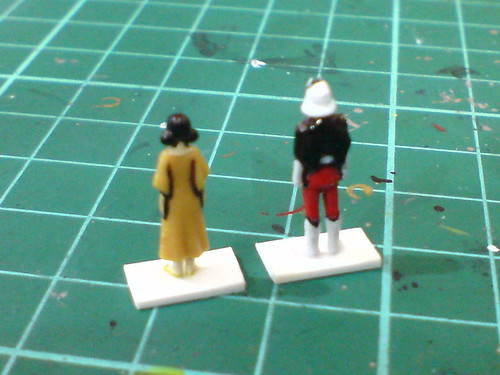
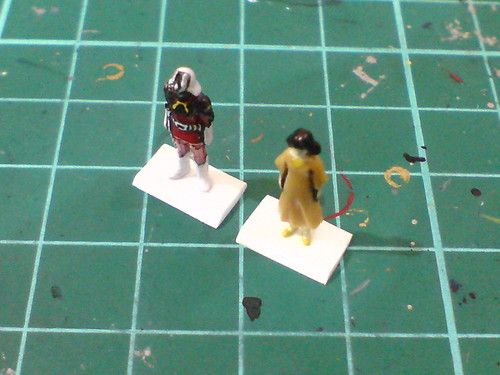
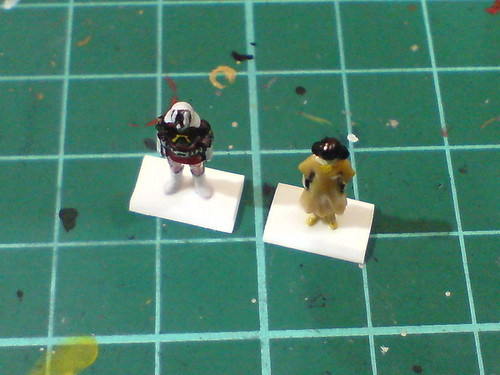
Very nice outcome for all three figures I would say. It's a lot easier to display the standing figures now with them attached to their respective display bases.
Done with these three figures, I should try to go with something much easier in the next posting. ^^


No comments:
Post a Comment