Starting to work on selected parts from 1/48 Unicorn Gundam Head Display Base after the long introduction yesterday. ^^;
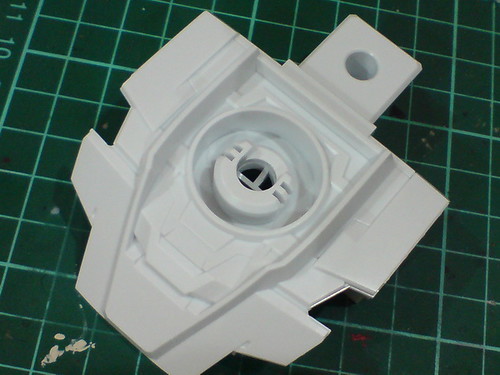
The large chest/base part will require a lot of paint work, even though there are just two targeted area here: the neck and anything beneath the top chest plate. ^^
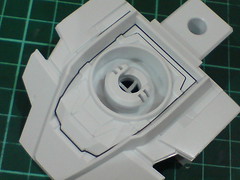
The targeted neck area to be painted is panel lined first.
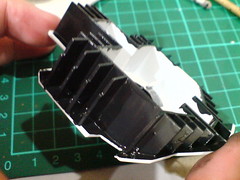

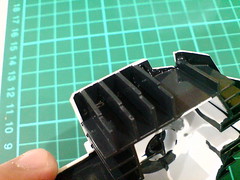
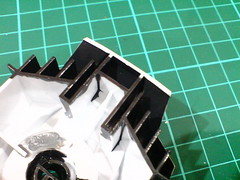
Painted the side and bottom (partially) using Gaia Color 075 Neutral Gray V.
I don't consider the design to be the mecha component of Unicorn Gundam, so my objective of painting this area is just to make it less obvious on the completed model, but I don't want to use black paint for that purpose as well, since the absolute color contrast of white and black would make the mentioned area even more noticeable. ^^;
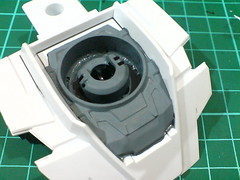
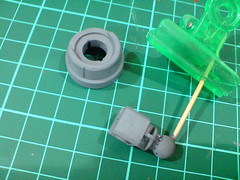
The neck area and joint parts are painted using Tamiya Color Acrylic Paint Mini XF-53 Neutral Grey.
A softer color as compared to Gaia Color 075 Neutral Gray V, I think this is the ideal color to depict the mecha section. The color is also light enough to not look too contrasting with its white surrounding. ^^
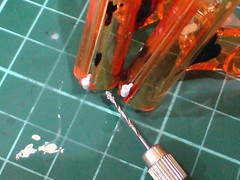
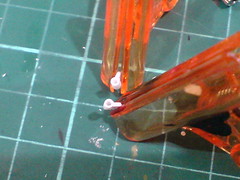
Pin vise with 0.8mm drill bit is used to create more realistic-looking muzzle on the two small Vulcan turrets. ^^

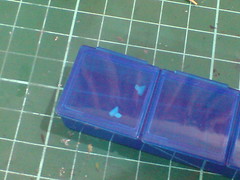
The two tiny parts are secured in a small medicine box to avoid them getting sucked into the fourth dimension. XD
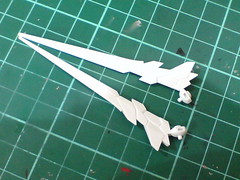
Quite a bit of work is needed for the two V-fin parts. ^^;

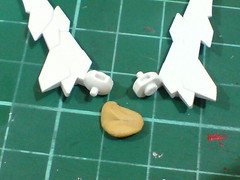
The two hollow spots on the joints will be filled up using Tamiya Epoxy Putty Quick Type, for obvious reason. ^^
This is the second time I called upon this particular tool for my model kit, after Kotobukiya's M.S.G. Weapon Unit MW-28 Impact Edge that is. ^^
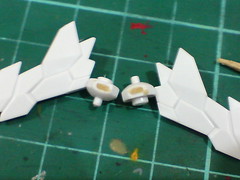
The puttied parts are not going to be left like this till the end obviously. ^^; The joints will be painted, but that won't be done now to give more time for the putty to dry off and harden.
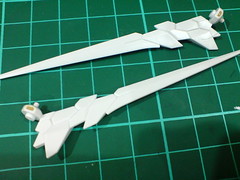
Painting the large V-fin area is the next huge task. ^^;
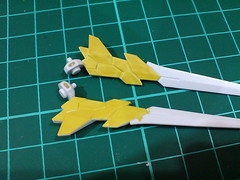
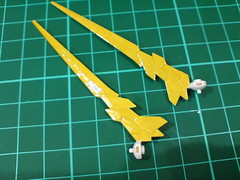
The targeted area is painted using Gundam Marker Yellow actually. ^^
Using the "cells" near the V-fin's base separators, the paint is applied "cell-by-cell" (left image), by the time the paint work reaches the longer and sharper portion, the part is also narrower for Gundam Marker paint to be applied in fast strokes via its flat tip.
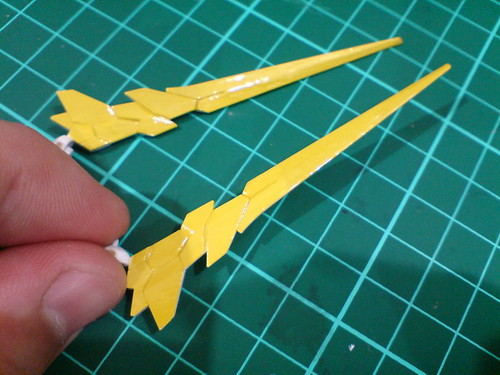
A few layers of repetitive paint work is needed to achieve an overall smooth result.
I really like the glossy paint outcome from using Gundam Marker Yellow on this part. ^^
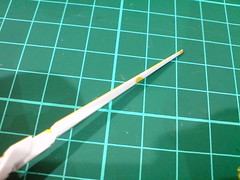
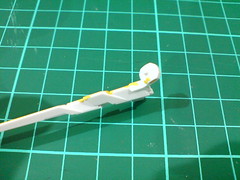
Spilled over paint along the edge of the parts is unavoidable unfortunately. ^^;
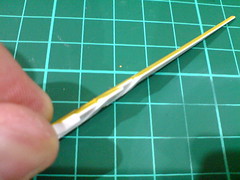
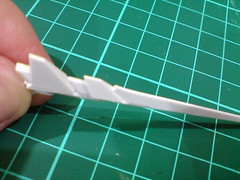
The spilled over paint is scratched away using a knife.
I realized that I've not been using Gundam Markers on my models as frequently as I did back in the old days. ^^; I think I've familiarized myself with the usage of paint brushes of different sizes to achieve the paint results that I wanted all this while. So much so that Gundam Marker is used more for their convenience (or when I'm extra lazy XD) rather than the outcome of the paint work.
However, when I couldn't agree with myself on using either Mr. Color GX 4 Chiara Yellow Gloss (too light) or Mr. Color 109 Character Yellow and Gaia Color 025 Orange Yellow (too dark), Gundam Marker Yellow has proved its worth as an important paint again. ^^ The marker was used for the same component on the MG Ver. Ka kit, and the result is great. When the scale of the same component has been blown up from 1/100 to 1/48, the result remains great. ^^ I find that to be pretty amazing. ^^
The panel lining task will come in next. ^^


No comments:
Post a Comment