A brand new month starts with the assembly of a Master Grade kit. ^^
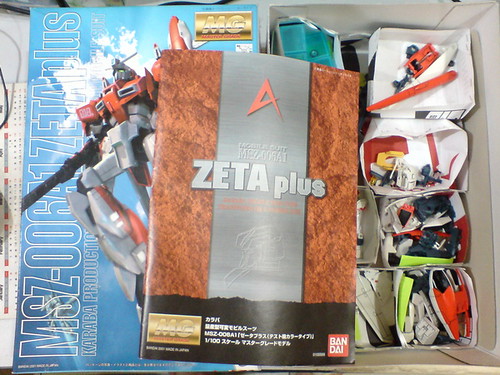
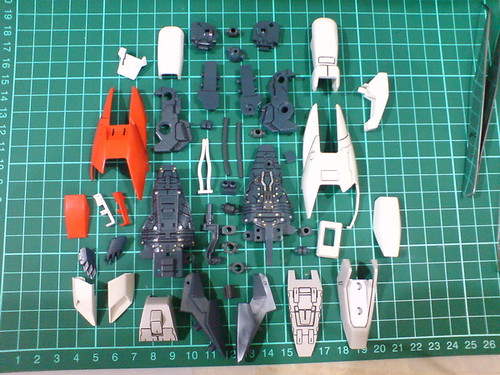
Zeta Plus which has been left completely untouched since mid May totally deserves the final roll out after such a long wait. ^^; Unlike the last assembled MG kit - Zaku II F2 EFSF Ver., the show of inner frame details is only limited to the legs for Zeta Plus, so I won't bother with the usual inner-frame-first assembly this time. This will probably be the case with many other older MG releases in my collection to be featured in the future.
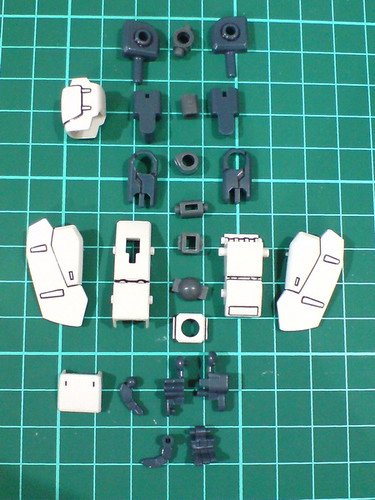
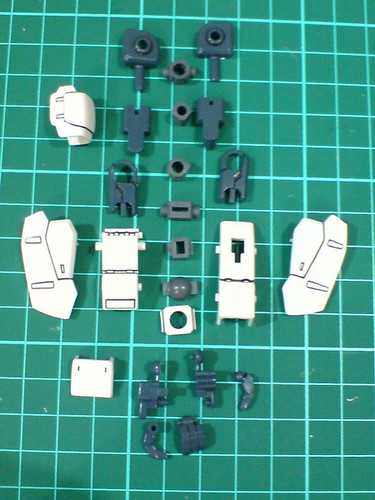
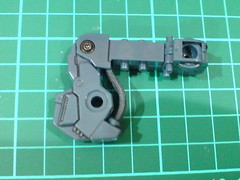
Parts of the right arm.
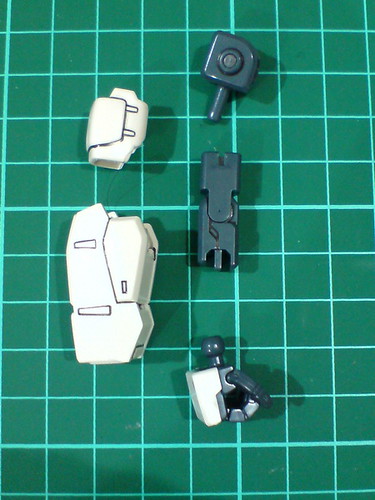
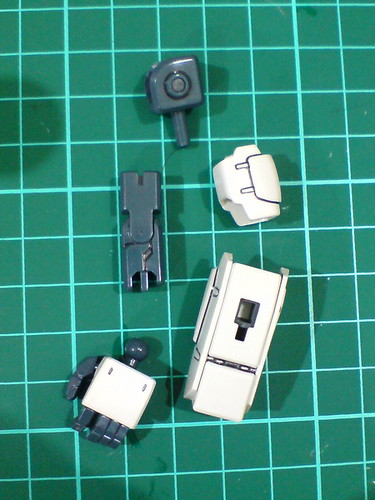
Separable components of the right arm before the final assembly.

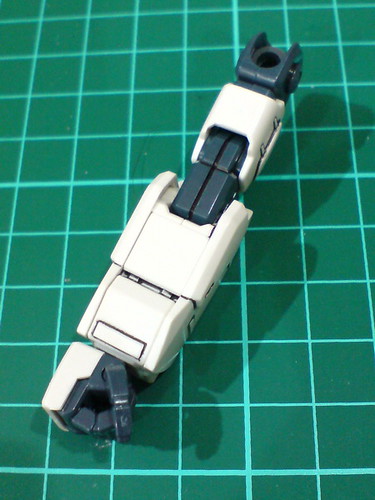
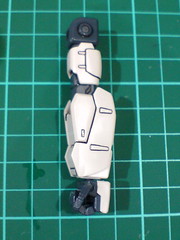
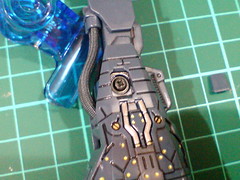
Done for the right arm.

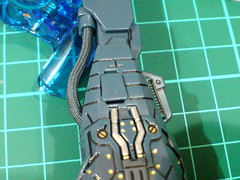
90-degree bend for the elbow joint.
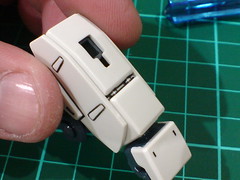
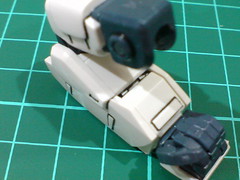
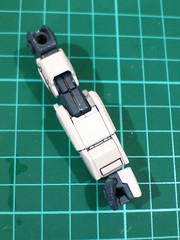
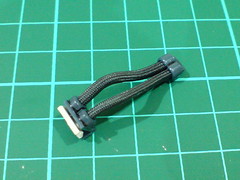
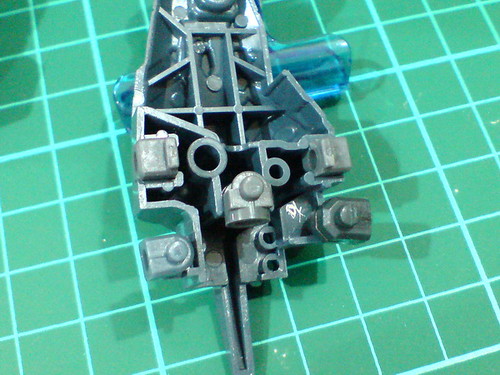
Hidden pipe-like details between the forearm and wrist blocks which are fixed.
Parts of the left arm.
Separable components of the left arm before the final assembly.
The left arm is completed.
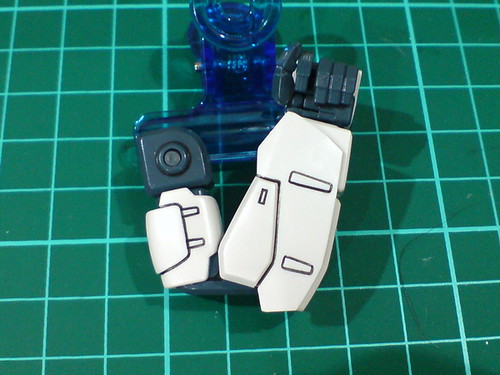
The same articulation range as the right arm.
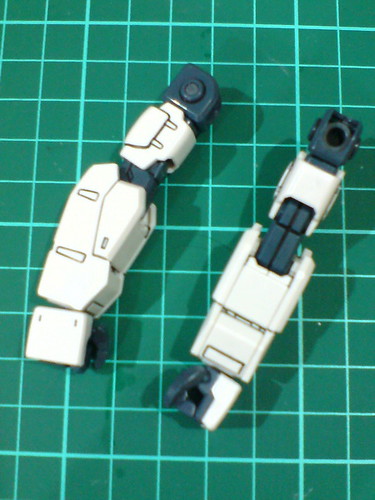
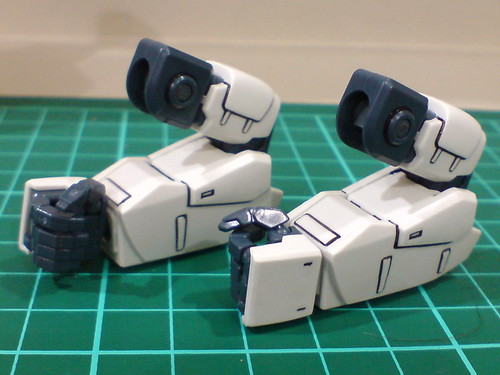
Done for both arms.
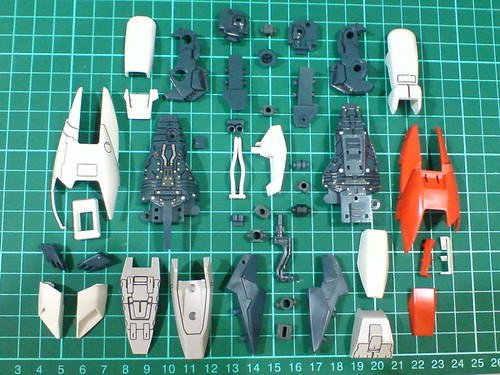
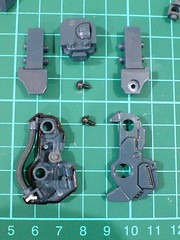
Parts of the right leg.
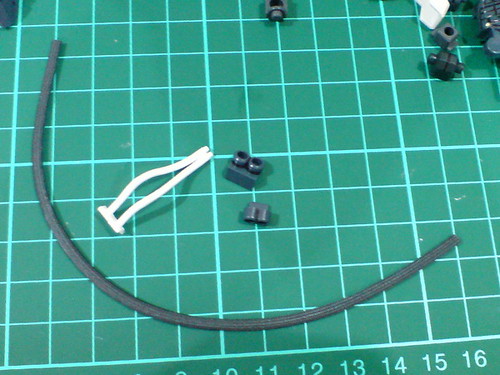
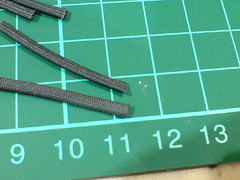
Mesh pipe included with the kit that must be cut to form the pipes behind the knee joints.
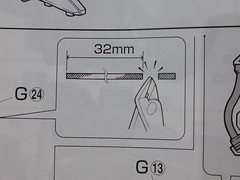
Following the manual, the entire pipe is cut into four 32mm long segments.
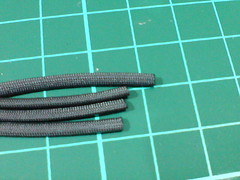
The edges of the mesh pipes are burned using lighter to fuse the hairy bits so that they don't get "hairier" (XD) when they are put onto the tube later, especially if the first attempt to do that isn't successful.

Just two are needed for each leg, but since the measurement is the same for either leg, I prepared the two for the left knee joint as well.
One of the pipes seems to be too long. ^^;
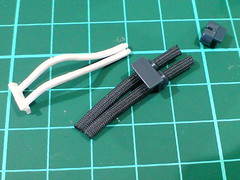
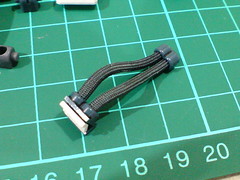
Assembling the mesh pipes onto the soft plastic tubes is interesting but troublesome at the same time. ^^;
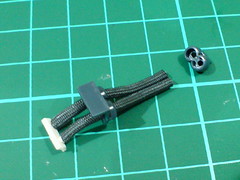
The completed mesh pipe component.
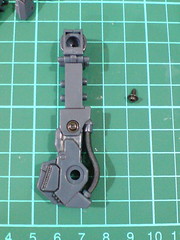
Two screws are needed for the knee joint: one for the connection to the thigh, and the other to the lower leg (to be completed later).
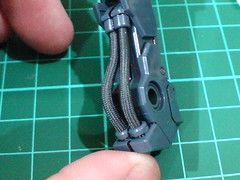
(Left) The mesh pipes' color makes the whole component fit very well with the entire joint. ^^
(Right) 90-degree bend for the knee joint.
As with the arms, a lot of polycaps are used for each leg. Of the five used for the lower leg, only one is for the ankle joint, the other four are used for attaching various armor pieces to the inner frame. ^^
The screw to secure the lower leg to the knee joint as mentioned earlier on is cleverly hidden by a small cap. ^^
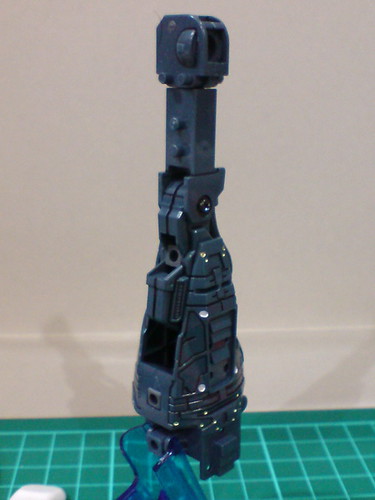
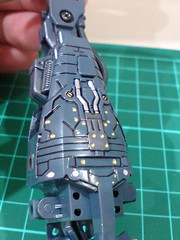
The right leg's plain inner frame. ^^
Inner frame details that were painted in Part 2.
The semi-completed right leg, with only a few armor parts left to be attached.
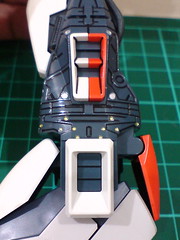
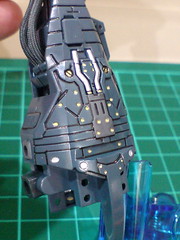
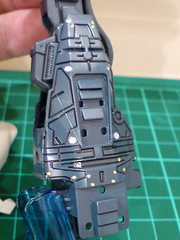
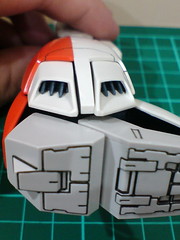
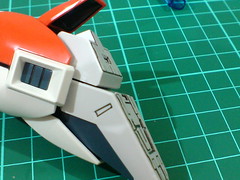
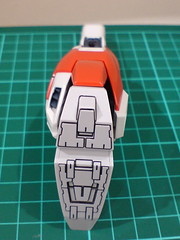
(Left) The upper vent made up of two parts of different colors that are split right in the middle is a very distinctive design feature of Zeta Plus. ^^
(Right) Details of the soles are amazingly similar to that of MG Zeta Gundam Ver. 2.0. ^^
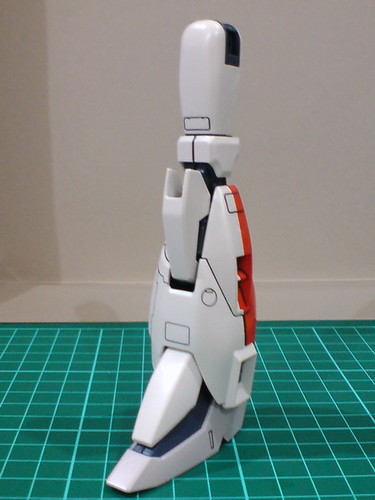
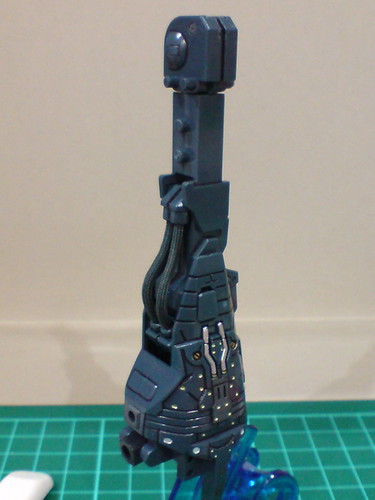
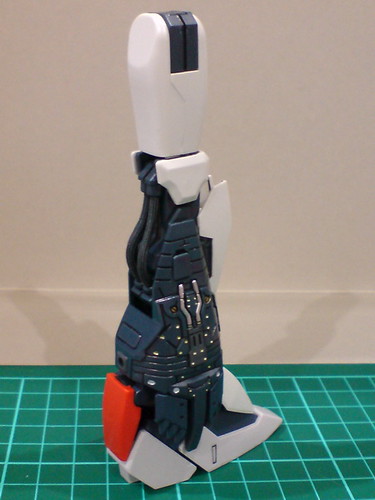
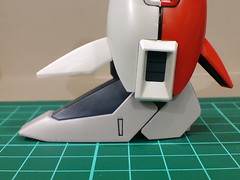
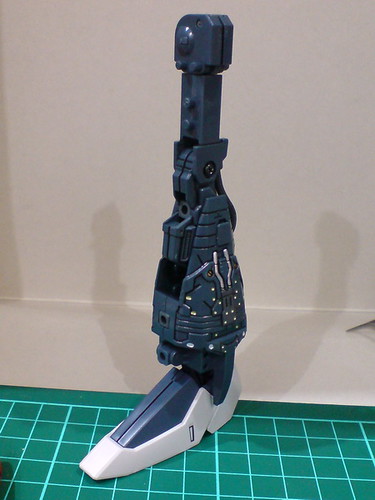
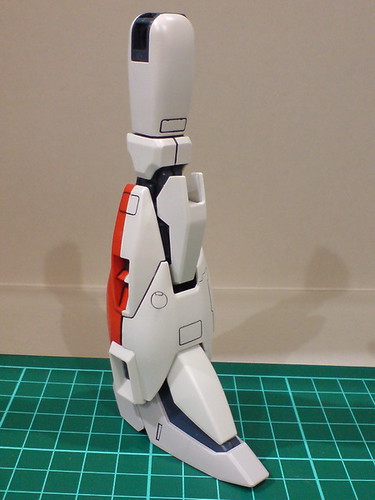
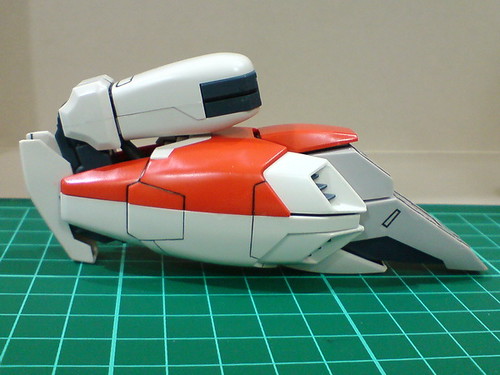
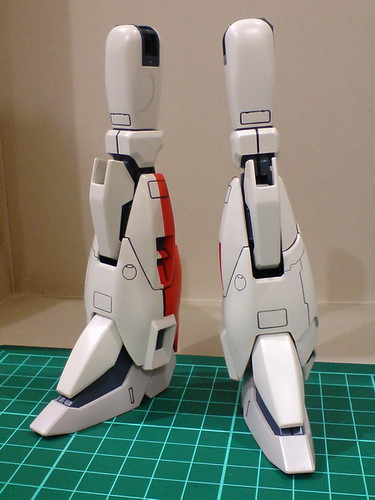
Completely done for the right leg. ^^
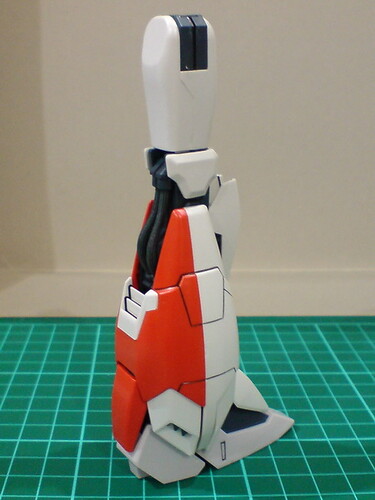
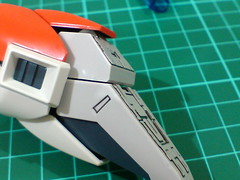
(Left & center) The vertical color split now extends to the entire leg. ^^
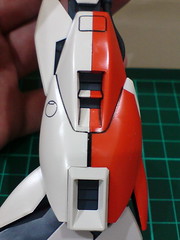
(Right) Individual protruding pieces of the vents are great details.
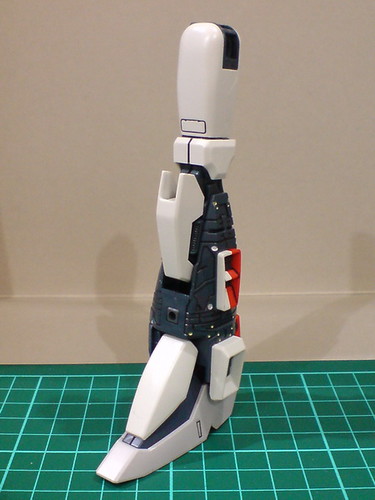
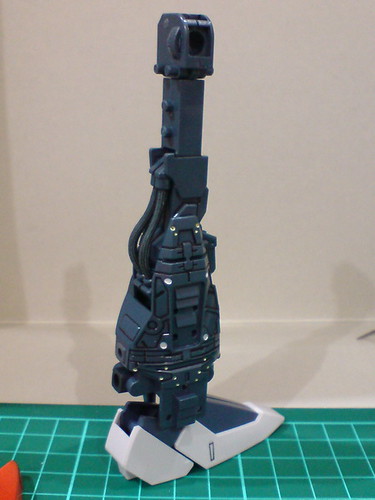
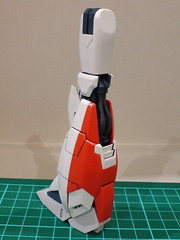
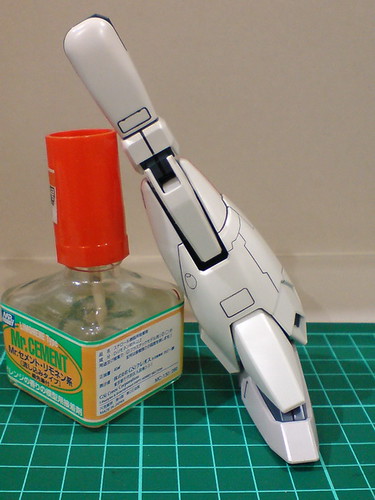
Mainly for facilitating the leg's Waverider transformation design, the knee joint allows the thigh and lower leg to be bent for 90 degrees.
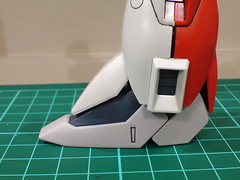
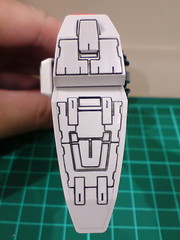
The ankle and heel guards can be lifted.
Mainly for transformation design again, the heel can be slide downward.
Very impressive ankle joint articulation for an eleven-year-old transformable Gunpla kit. ^^
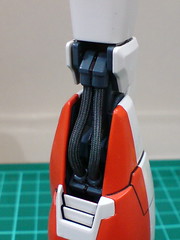
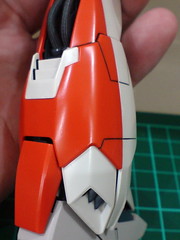
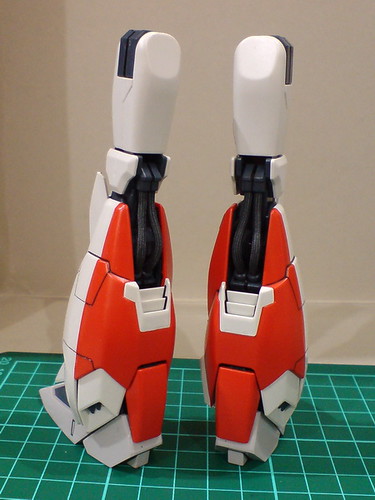
Another look at the mesh pipe behind the knee joint. ^^
Parts of the left leg.

Assembled the mesh pipe component to the back of the knee joint.
The left leg's plain inner frame. ^^
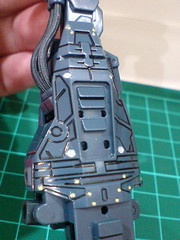
Painted details on the inner frame.
Done for the left leg.
The same articulation range as the right leg.
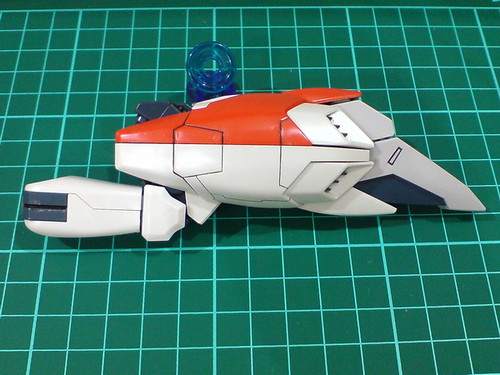
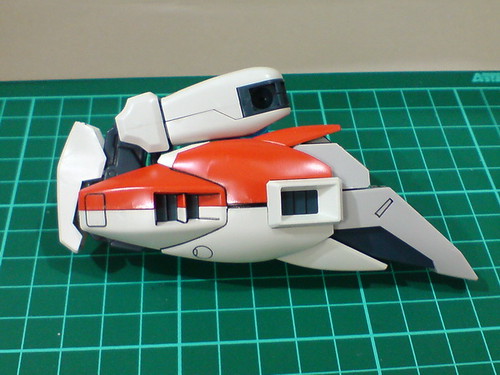
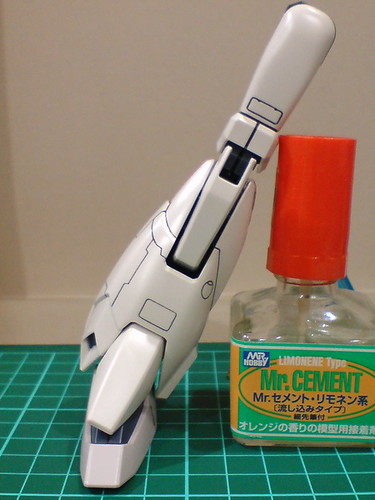
Special "reversed bend" of the knee joint for the leg's Waverider mode.
Done for both legs.
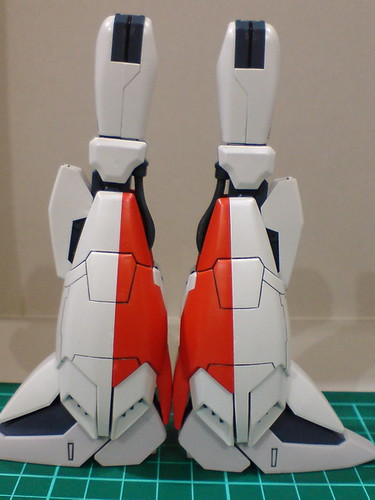

Very nice color contrast and arrangement. ^^
Although a lot of polycaps are used on this kit, most of the joints feel pretty stiff and tough to move. This is especially true for both arms. I could actually hear the upper arm's joint clicks as it's bent. The fingers are very stiff as well. It would be a nightmare to adjust the hand units again and again if the kit comes with many weapons to pose with. ^^; Luckily it only has a beam rifle and two beam sabers. ^^ I don't mind tough joints really, but the constant worry that I might break something when the part is moved forcefully is not fun at all.
The issue of stiff joints isn't particularly new to Zeta Plus actually. I remember when I assembled its variation unit - Zeta Plus C1 many years ago, its joints were very hard to move as well. ^^; It should be an issue with the design where the joints were made to be hard to move to help with the kit's overall stability in MS and Waverider modes.
Moving on to the assembly of the weapons and wings next. ^^


1 comment:
You keep using 90 degrees bend. Aren't those closer to 180 degrees bend? Especially the legs...
Post a Comment