Done with the "sweets" in the previous posting, there are still quite a few parts on Tamama Robo Mk-II that require extensive paint work, all which are not as complicated though. ^^

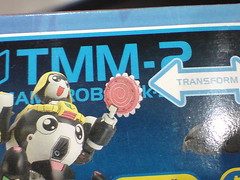
The "lollipop" left hand (XD) which houses the round saw have silver panel lines on the parts instead of the conventional black ones.
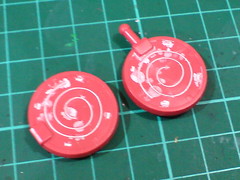
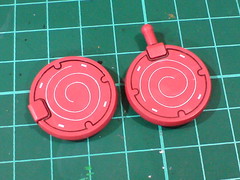
(Left) The line details' color should be silver to compliment the round saw I guess, but the metallic quality of a silver paint would make the lines rather messy to look at. So paint from Gundam Marker White is used on the parts for form the panel lines. ^^
(Right) Excessive paint is rubbed away using cotton swab soaked with thinner. The white paint that remains in the molded lines becomes the panel lines. ^^
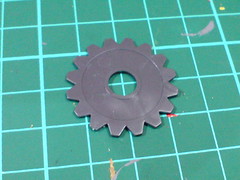
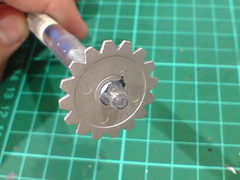
The round saw is painted using Tamiya Paint Marker X-11 Chrome Silver, which was recently used to paint the claw parts of Kotobukiya's M.S.G. Weapon Unit MW-28 Impact Edge.
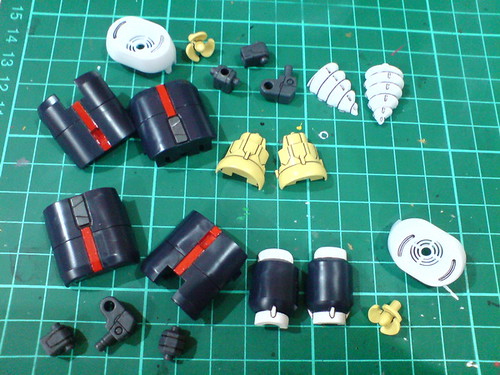
A gathering of all the arm parts, including parts with just simple panel lining using a combination of normal panel liner and Tamiya's Panel Line Accent Color (Black).
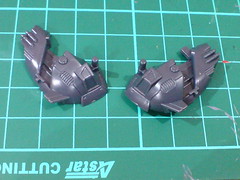
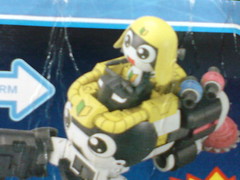
The headlights (?) on the little control vehicles are going to be painted, but even though black is a more prominent color on Tamama's body than white, it's not a particularly attractive color. ^^; So I'll follow the box side image this time (as compared to Keroro's control vehicle) and paint the headlights white.
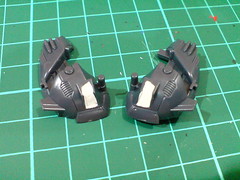
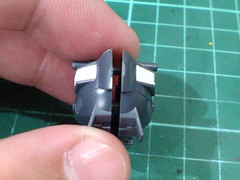
(Left) Since the color I prefer is the color intended for this component, paper stickers are actually included, but I decided to paint the two sunken area anyway. ^^ The paint used is White Surfacer from Mr. Hobby.
(Right) With excessive paint scratched away using a knife.
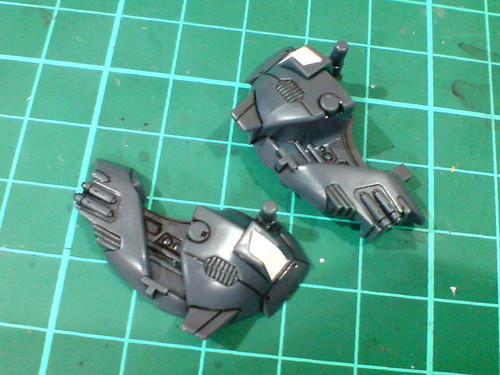
Simple panel lining applied to the two vehicle parts. ^^
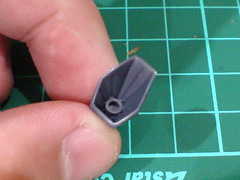
The cannon muzzle (?) part (actually Tamama Robo Mk-II's mouth) is supposed to be left in its molded color of gray, but I suppose it can be painted with a bright color to highlight its destructive power. ^^

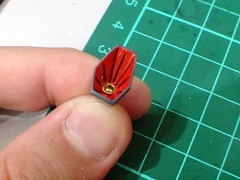
(Left) Painted the part red using Gaia Color No. 003 Bright Red Gloss.
(Right) With excessive paint around the muzzle scratched away using a knife. Panel lines are added inside the part, and the inner-most point is painted gold using normal pen.
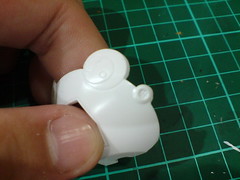
Some red paint is also needed for the robot's face part.
Two small vents on either side of the cheek (dimples XD) will need to be painted red.
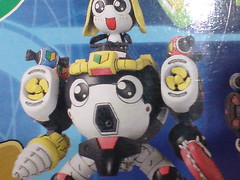
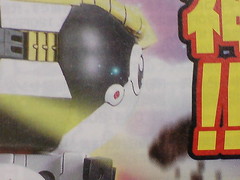
The red vents as shown on the completed model.
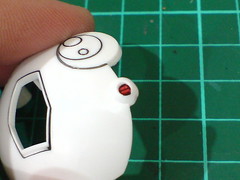
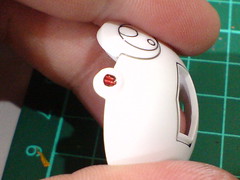
Painted the vents using Gundam Marker Red, with excessive paint scratched away after the paint has dried.
You can see that panel lines have already been added to the entire face part. ^^
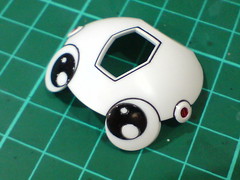

(Left) The eyes are painted using normal marker. ^^
(Right) Test fitting the painted parts to see how the robot's face would turn out when assembled.
Only a few more body parts and those for the little figure of Tamama himself remain after this batch of work. The next posting will wrap up the entire work for Tamama Robo Mk-II. ^^


No comments:
Post a Comment