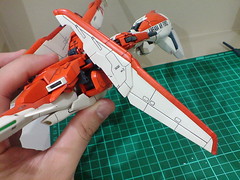
Even though its action poses weren't that great, the Waverider transformation design of MG Zeta Plus is a totally different story. ^^

The beam rifle and shield must be removed first.
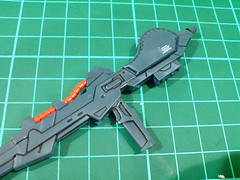
Configuration for the beam rifle in Waverider mode is very simple: just bend the handle upward, much like the storage mode shown in the previous posting, then flip out a small tab hidden beneath the stock.
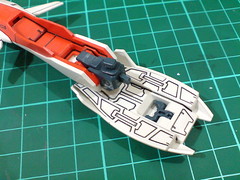
Configuration for the shield to form the MA's nose: the connector to the forearm and a smaller clip behind the plate are bent upward for 90 degrees respectively.
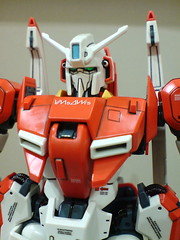
Transformation of the upper body is very similar is not identical to that on other versions of Zeta Gundams: the V-Fins are bent upward and the entire cockpit module is flipped outward from the abdomen.
The head is adjusted backward to facilitate a smoother slide into the chest later.

As the entire chest assembly is bent upward, the head with the neck area must be pulled downward into the body space at the same time. The two waist halves are then collapsed inward to sit right beneath the neck area.
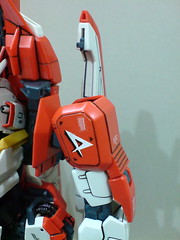
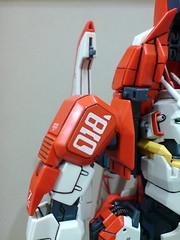
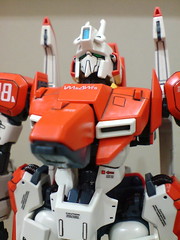
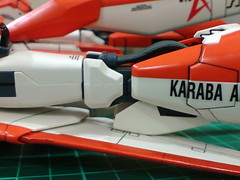
Transforming the shoulder armors: flip out the side panels and adjust the armors downward for 90 degrees.
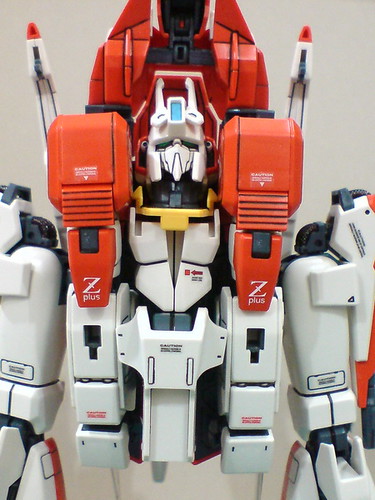
Progress so far. ^^
Further transformation for the upper body can only proceed after adjustments are done for the hip.
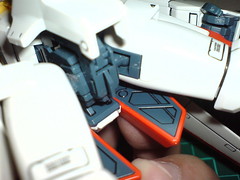
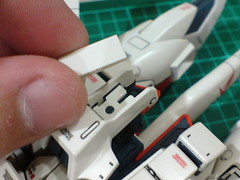
A tab that locks the two halves of hip joint must be unhooked first.
The two halves of hip joint are pulled away from the main block.

The hip joint plate is bent upward, while the thigh is kept in the same position as it was in MS mode.


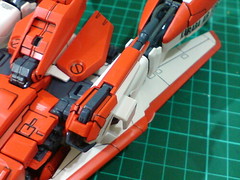
Two locks are incorporated to secure each hip plate's connection to the body: one tab on the hip plate itself that slide into a slot beneath the back armor plus another rather large pin at the edge of the rear skirt armor that peg into a slot behind each hip plate.
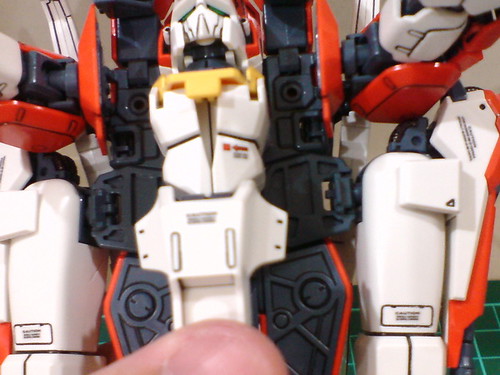
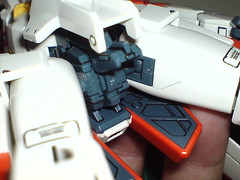
With both hip plates attached to the main body.
The two long spots are meant to store the arms.
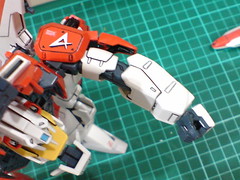

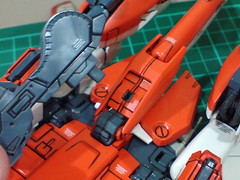
Time to finish the arms' transformation: the elbow joint is bent inward until the forearm is one level lower than the shoulder plate.

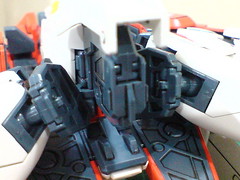
The left arm is bent inward until it sits nicely in its designated space between the body and left thigh.
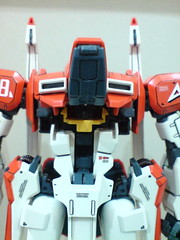
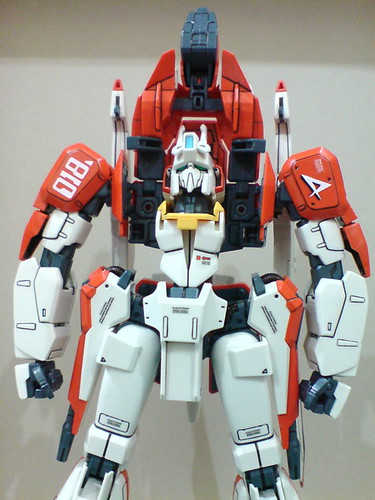
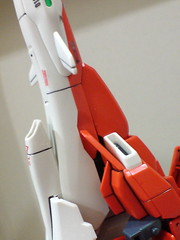
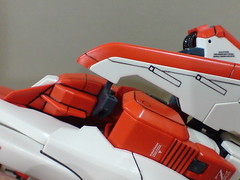
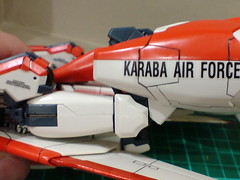
Just enough room between the cheek and shoulder armor to not have them rub against each other and ruin the latter's decal. The tolerance level between the transformed parts is accurately low. ^^
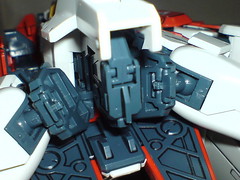
With both arms inside the body now.
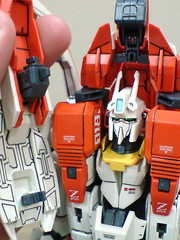
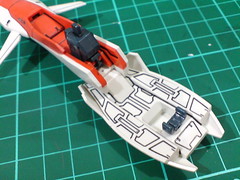
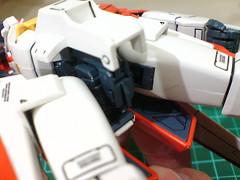
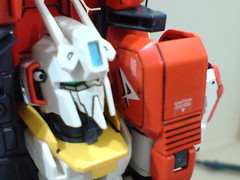
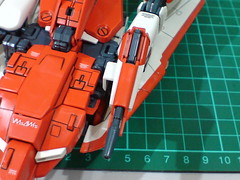
Attaching the shield to upper body. The upper connector pegs into a small polycap between the top of the head and the cockpit module, while the lower clip on the shield grasps onto the small segment in front of the neck area.

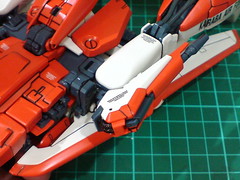
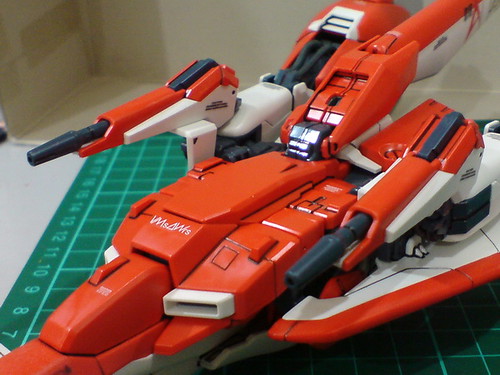
(Left) The shield plate covers up Zeta Plus head completely while adhering to the shoulder armors' outline.
(Right) Just enough clearance for the shield's body to fit right between the protruding pieces on the chest. ^^

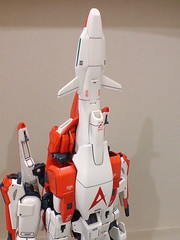
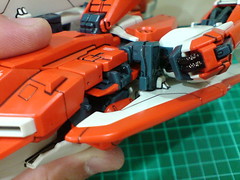
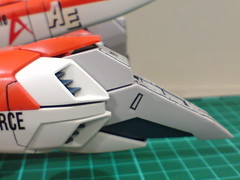
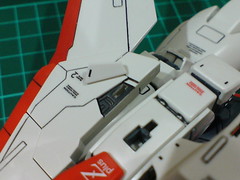
The tail stabilizer is adjusted to the back of the MA.


Transformation of the wings is a lot simpler than that on Zeta Gundam Ver. 2.0. ^^
From the Waverider's front view, the wing is first rotated to the front for 90 degrees ...
... before it's bent downward until it touches the shoulder armor.

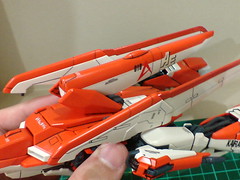
(Left) In that downward position, use the wing's joint to slide it up and to the back of the MA.
(Right) Once that's done, the joint should be between the body and beam cannon, while the wing sits nicely beneath the entire leg. ^^

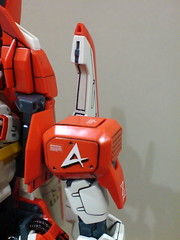
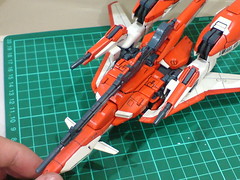
A tiny connector near the edge of the wing's front most tip is adjusted outward to peg into a slot on the side of Zeta Plus's chest piece that will secure the wing's position in transformed state.

With both wings transformed.

Thanks to the many segments of joints designed into the beam cannons, transforming them is extremely easy. ^^
The beam cannon is first pulled to the side, ...
... then bent upward before rotating it to the front to complete its transformation.
The two cannons are done. ^^


To transform the feet, the heel piece is slide downward first ...
... before the entire foot is bent upward at ankle level.
The knee's transformation is all the same as Zeta Gundam Ver. 2.0's (or most Zeta variations in that matter ^^), which was already shown in Part 5 too. ^^


Done with both legs' transformation. ^^
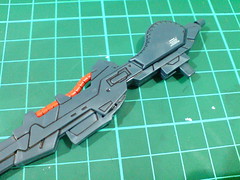
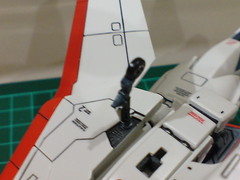
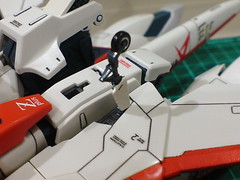
As the tail stabilizer is adjusted backward in an earlier transformation step, a slot is revealed at its base to mount the beam rifle.

All done for Zeta Plus's transformation. ^^

Bottom view of the Waverider.

To show Waverider landed on the ground, all four landing gears will need to be equipped - all via part-swapping as shown in Part 6 and 7.


One landing gear beneath the shield.

One landing gear beneath the front skirt armor.

Two landing gears beneath the wings.

A "fully equipped" Waverider XD

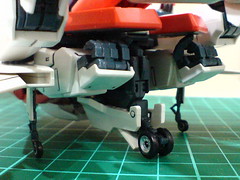
Instead of just accessories for show, the four landing gears really do support the entire Waverider. ^^
More images of this completed Waverider in the next posting. ^^


No comments:
Post a Comment