Finishing up with MG Zeta Plus after Part 5 and 6. ^^
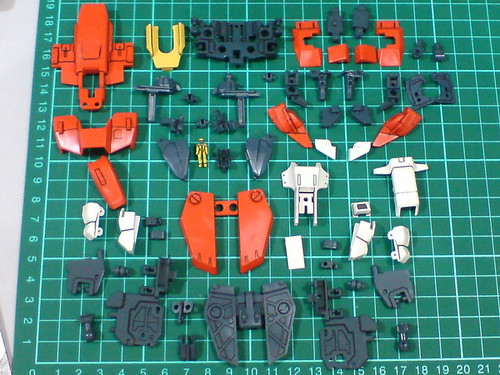
Parts of the body and hip.
Due to the transformation gimmick, the extensive array of parts to make up the torso as seen in the image above is just normal - refer to the same component on MG Zeta Gundam Ver. 2.0. ^^
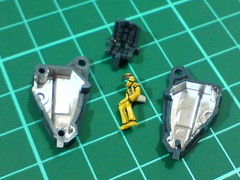

Assembled the painted pilot figure (it's Amuro Ray actually ^^) into the painted cockpit. ^^
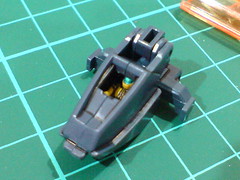
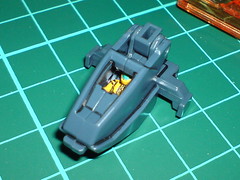
The upper body of the pilot figure can still be seen inside the cockpit module after that component is done.

The old-school trick of painting over the pins to match the color of the component they are connected to seems to be working well. ^^
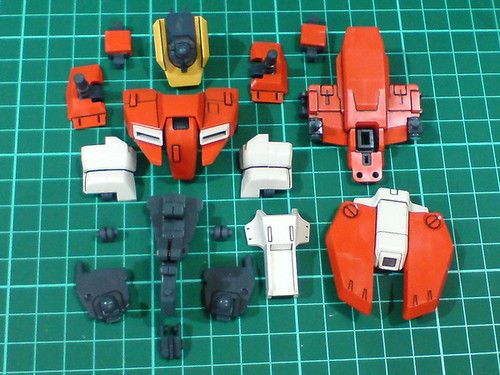
Major components of the torso before the final assembly.
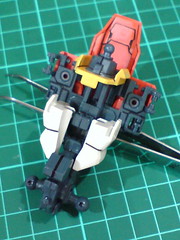

The retractable neck joint platform and collapsible waist pieces are among the most significant features of Zeta Gundam's and its variations' transformation design. ^^
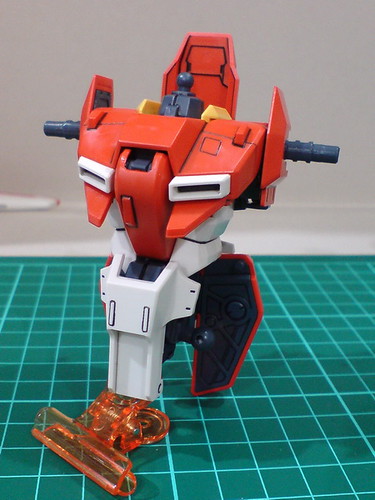
Done for the torso. ^^

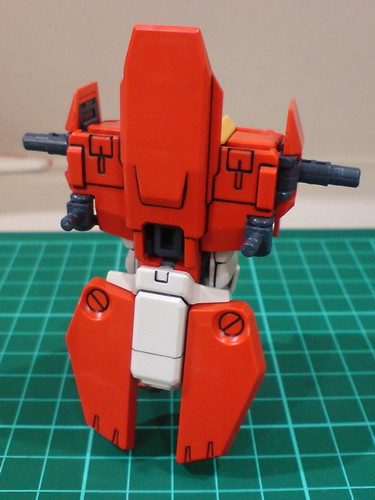
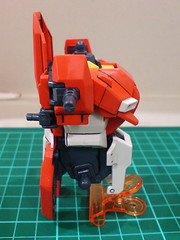
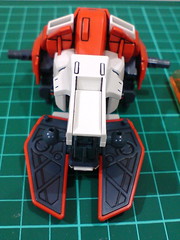
Except for the front skirt armor (and color of course), the rest of the torso is very close to the original Zeta Gundam in terms of appearance and design.

The cockpit hatch can be opened.
The paint applied to the hatch's rear face gave it a whole different dimension as opposed to just leaving it in the same color as its exterior armor. ^^
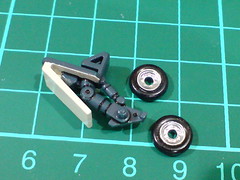
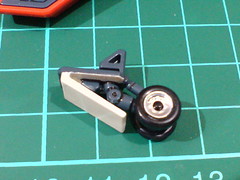
Assembled the fourth landing gear.

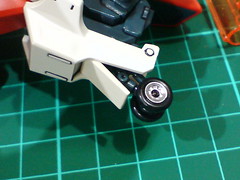
Simple part-swapping to equip the landing gear to the front skirt armor.
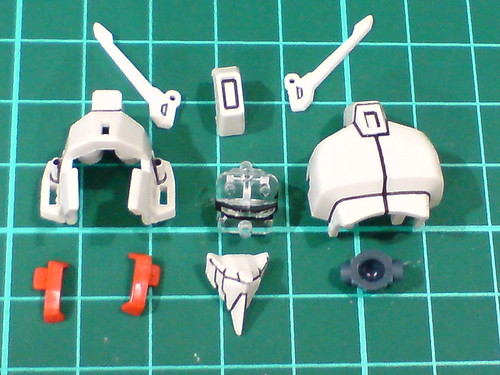
Parts of the head.

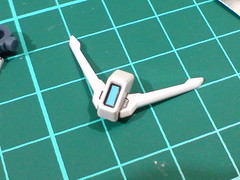
(Left) Foil stickers are used for the eyes, forehead and rear sensors.
(Right) Only one foil sticker is included for the forehead sensor, so for the optional non-transformable V-Fin set, I cut out a piece from the leftover light blue area on the sticker sheet and used that on the said sensor. The panel line added around the sticker is to hide some spaces not covered by it. ^^;


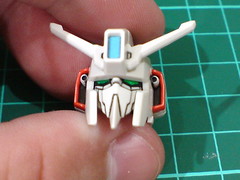
Done for the head.
Very narrow and small eyes makes Zeta Plus looks like it's very tired. ^^;
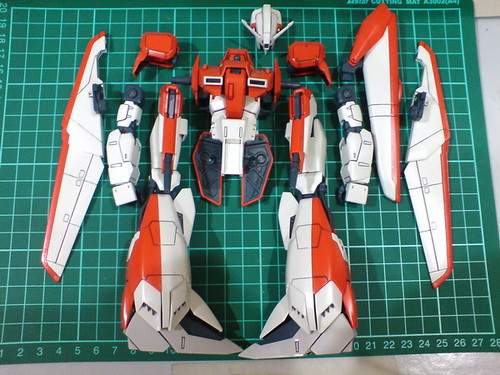
A gathering of assembled components from Part 5, 6 and this posting. ^^
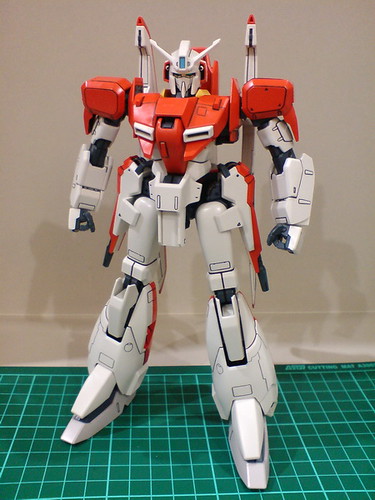
Zeta Plus without any weapon equipped.
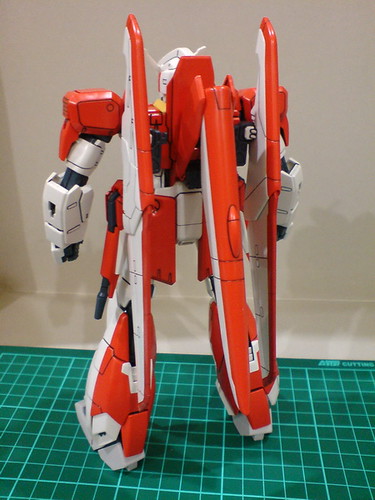
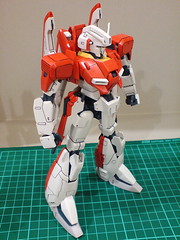

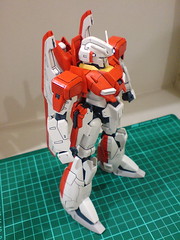
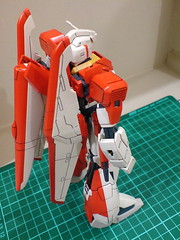
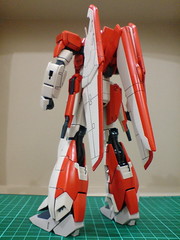

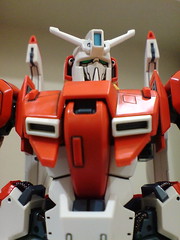
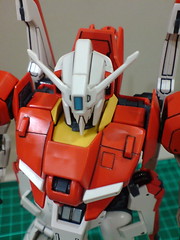
Closeups on the upper body.

A fully armed Zeta Plus with its beam rifle and shield.
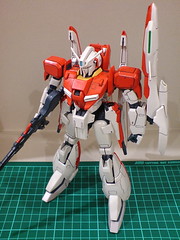

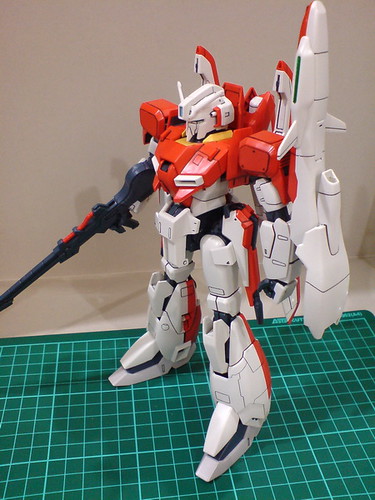
I normally just stop at this point and consider the whole model to be completed, but for Zeta Plus, the signature "A" insignias of Amuro Ray must be applied to show Zeta Plus in its "true" form. ^^ With Zeta Plus C1 being a mass production type unit, I'm sure that's the case with this version - Type A1 as well. Its unit specification indicates that all too well: "Karaba Production Type Transformable Mobile Suit". So I suppose a unit without any marking would working nonetheless. However, in this color, and for the more conventional image of Zeta Plus in my mind, the decals must be applied.
And so I applied all the markings, there's nothing too special about the decals and clear stickers of this MG kit as compared to the others I assembled in the past anyway.
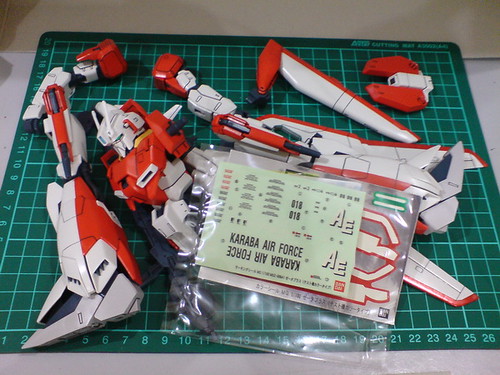

Everything was going well. There were a few dry transfer decals that didn't attach well to the parts and were almost ruined, but they were just scares and turned out just fine in the end. ^^;

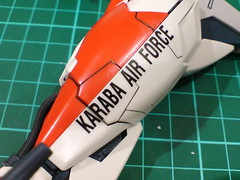

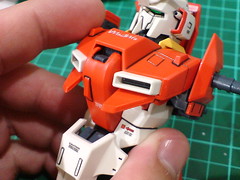
Until this particular piece:
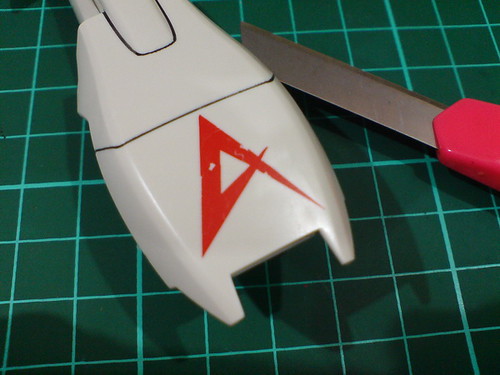
The biggest and probably the most significant piece for the shield is ruined. X_X I can't really remember what went wrong at what moment, but the "A" is definitely broken for my MG Zeta Plus. ^^;
A huge anticlimactic turn in the whole assembly this is. Just a few more markings to go and the whole thing would be totally-completely-no-more-other-ly done, and this has to happen. ^^;
Then again, I'm not going to leave such an eyesore on the shield. ^^; I'm not willing to find a decal sheet just for one "A" insignia, and I don't want to wait for it to come in to deal with the problem. Since I have no other decal suitable to replace the broken piece, I guess I'll just have to paint it myself. ^^
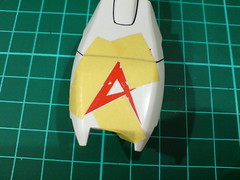
(Left) Masking tape is used to mark the border of the insignia.
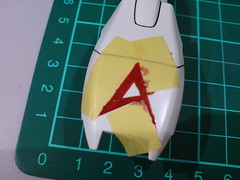
(Right) Painted the entire decal (cracks and unaffected areas) using toothpick with paint from Gundam Marker Red.
As you can see, the masking tapes are used just as guides for painting over the "A". They can't prevent the paint from flowing over to unintended area on the shield. ^^;
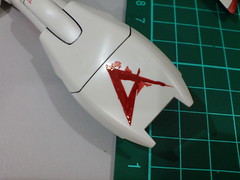

(Left) With masking tape removed after the paint has dried.
(Right) Excessive paint is scratched away using a knife.
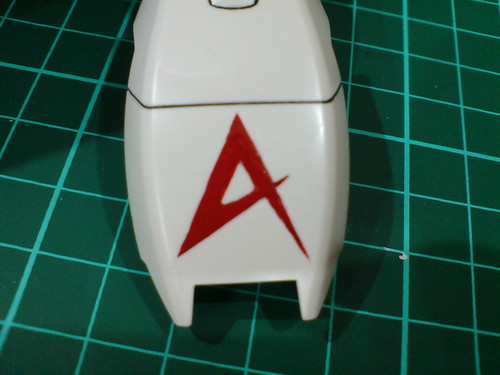
Not a perfect result, but at least the insignia isn't broken anymore.
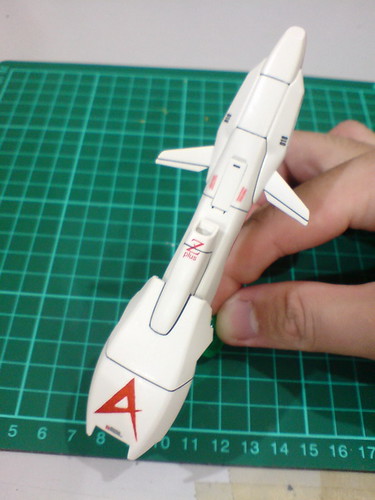
Top coat is applied to the entire shield, especially the top cover to protect the paint.
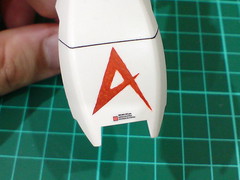
The final result of the painted insignia. ^^;
Got my painted "A" insignia on the shield, not as awesome as the original decal if it was applied without any incident, ^^; but I suppose I can live with it.
Then again, after the decal problem, I kind of lost the motivation to talk about this MG Zeta Plus for now. It's going to be temporary, and the review will be completed, but for now, I'm thinking of going for something else for a change.


1 comment:
Your paint work with decal looks perfect to me ngee.
But yeah...these mistakes are a deadly first to our will in work with gunpla.
Take your time and back totally recovered to your awesome works on gundam kits!.
Post a Comment