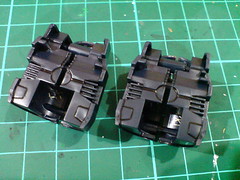
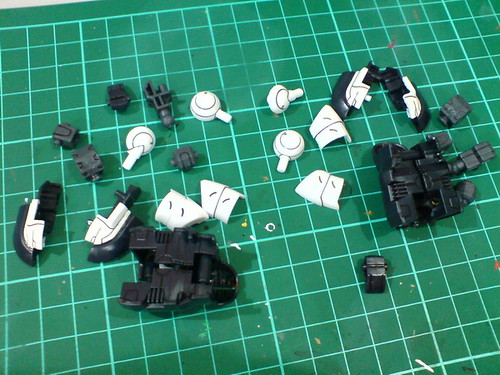
Starting the work on the second set (just the second set, out of five ^^;) of Keropla from God Keron after Keroro Robo Mk-II, and it's everybody's favorite tadpole - Tamama and his mecha that get the pick. ^^
After an overview of all the parts, I say the amount of painting and detailing needed to realize Tamama Robo Mk-II's color scheme is about twice the work on Keroro Robo Mk-II. ^^; Since Tamama is needed for God Keron's formation and is part of this bundled Keropla kit set anyway, starting the perceivably more challenging detailing work is just a matter of now or later. ^^;
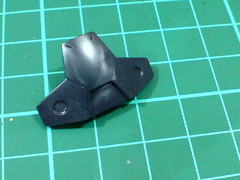
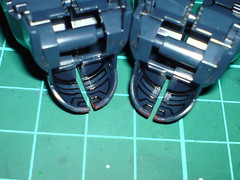
The top portion of the feet will need to be painted white.
Panel lines are added between the feet and targeted paint area.


(Left) The targeted area is painted white using White Surfacer from Mr. Hobby.
(Right) With excessive paint scratched away and panel lines added when the paint has dried.
Simple line details on the sole are panel lined as well.

Two small pads on the knee (left image) and a large sunken area on the crotch piece will need to be painted.
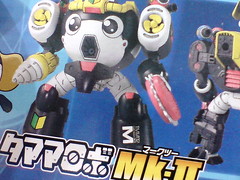
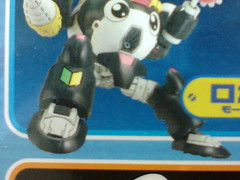
As shown on the box side image, the color needed for the knee pads and waist area is red.


Painted the targeted area using a new red paint. ^^
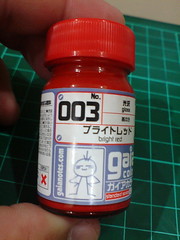
The paint used is Gaia Color No. 003 Bright Red Gloss.
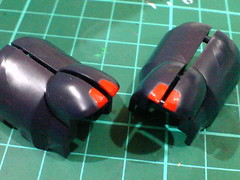
With excessive paint around the knee pads scratched away using a knife.
Panel lines are added to the four leg parts, including the rear side of the knees using a combination of normal panel liner and Tamiya's Panel Line Accent Color (Black).
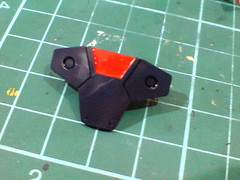

(Left) With excessive paint around the sunken area on the crotch piece scratched away using a knife.
(Right) Panel lines are added to the rear face of the crotch piece as well, as they would be visible in Tamama Robo Mk-II alternate mode. ^^
Just simple panel lining for all the other leg parts.
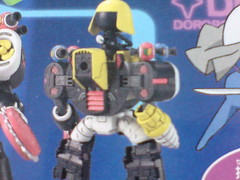
A few areas on each shoulder armor will need to be painted red.


The "bars" across the shoulder armors and vents on the back of the parts are painted red using Gaia Color No. 003 Bright Red Gloss.
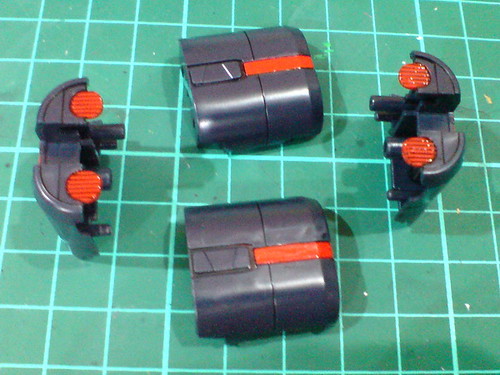
With the painted areas refined and panel lined.
Tamiya's Panel Line Accent Color (Black) makes panel lining those tight valleys on the parts a much easier task. ^^
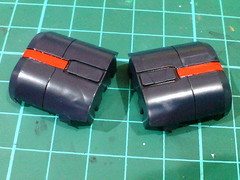
To add in a bit of variation to the overall paint work, the rectangular blocks behind the red bars are painted gray using Gundam Marker. ^^
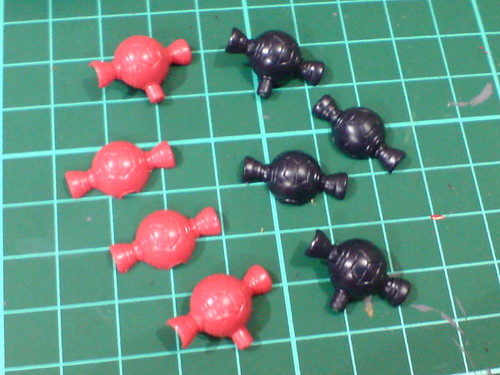
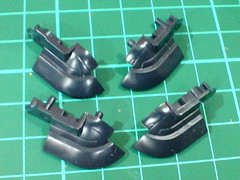
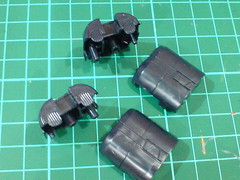
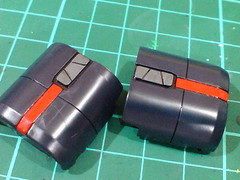
Moving on to the parts that require the craziest amount of paint work in this Keropla set: ^^; eight small parts that form four thrusters on the shoulder armors.
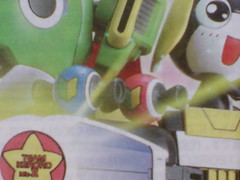
The thrusters' look on the assembled model.
Immediately, I can see that at least three paints are required for the parts: gray, white and blue. ^^;

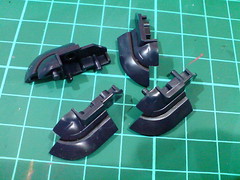
Painted the "rims" white using Mr. Hobby's White Surfacer.

A bit of extra paint work to enhance the look: ^^ the interior of the thruster nozzles are painted gold using Gundam Marker.

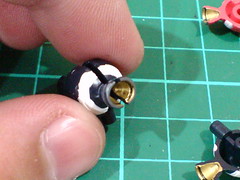
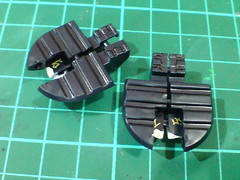
(Left) Panel lined the tiny rims inside the thruster nozzle when the paint has dried.
(Right) Test fitting the painted parts to see how the components would turn out when assembled. The golden interior of the thruster nozzles certainly makes it looks more outstanding as compared to just leaving it in the original molded color. ^^
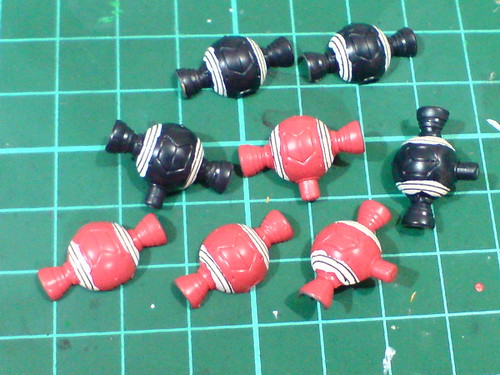
Panel lines are added to the external rims before the next round of paint work.
The paint work on those candy-like thrusters is only half done after this posting. ^^; Subsequent detailing work on those parts will be covered in the next posting. ^^


No comments:
Post a Comment