Moving on with the assembly of MG Zeta Plus after the previous posting, the weapons and wing units will be assembled this time. ^^

Parts of the beam rifle.
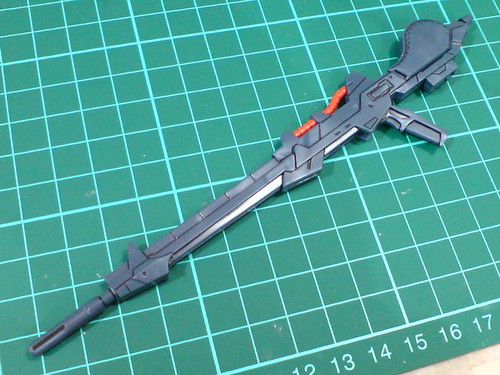
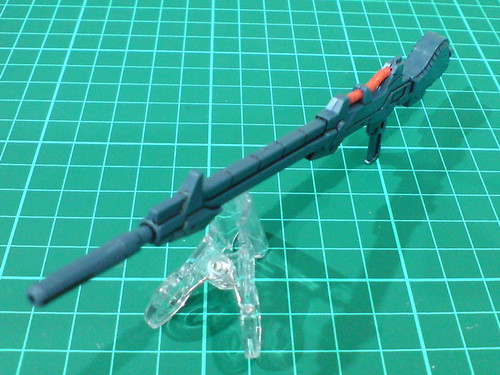
While the entire weapon seems to be pretty big, the assembly is actually very simple. ^^
Unlike the same weapon used by MG Zeta Gundam Ver. 2.0's, there's no retractable barrel on Zeta Plus's beam rifle, so the length is fixed at around 16.5cm. ^^
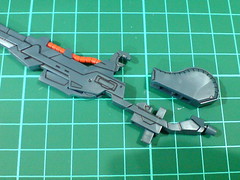
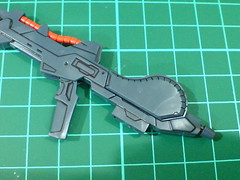
Like Hyaku Shiki's beam rifle, the magazine can be removed and there's a mount latch to store the weapon onto a slot near the wing. ^^
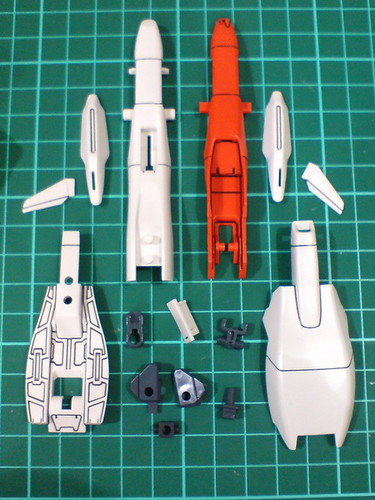
Parts of the shield.

The two long sensors on either side of the shield are from foil stickers.
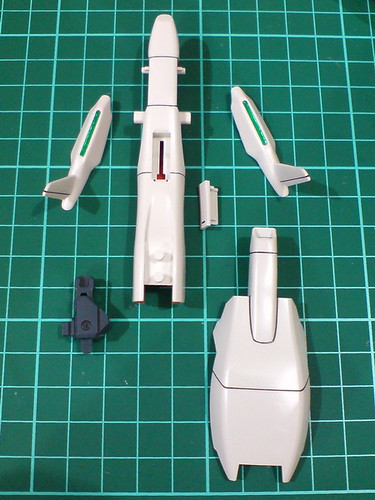
Major components of the shield before the final assembly.


Done for the shield.
It's kind of amazing how white seems to be the only color when the shield is viewed from the front only, but there's a significant amount of orange on the rear face. ^^

Pretty simple line details behind the shields.

The side sensors, which would look like strange eyes of the Waverider after transformation. ^^
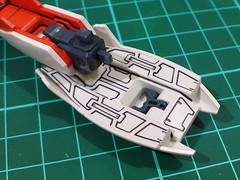
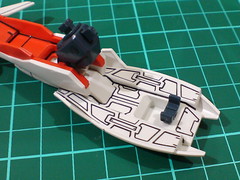
The two connector joints are movable. Their applications are for the Waverider mode only.
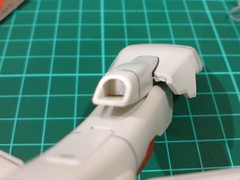
The vent above the shield cover has a "blank" interior, which made me panicked for a while that I might had missed a part when assembling it just now, ^^; but it's supposed to be empty - no details designed into it.

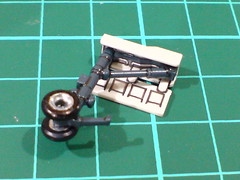
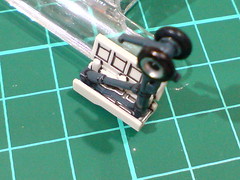
Assembled the fixed front landing gear compartment, which has four parts only but with really elaborate details to paint and panel line (completed in Part 3).

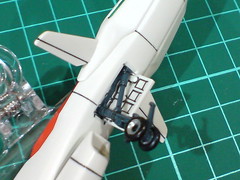
Part swapping to equip the front landing gear hatch onto the shield.

Parts of the beam cannons, which vaguely resemble the side skirt armors.
Tons of parts, including very small ones just for the two cannons as the joints that connect the cannons to the hips are supposed to be very flexible, and the beam saber's storage racks are designed to be inside the cannons' body as well.

Major components of the beam cannons before the final assembly.
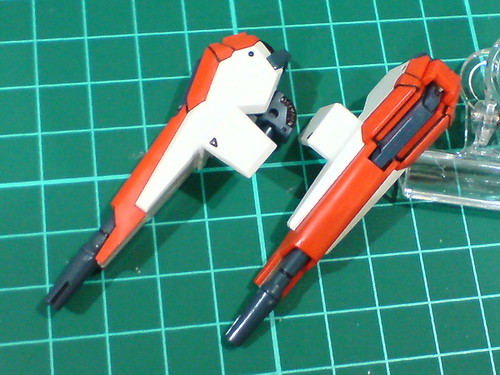
Done for the two cannons.
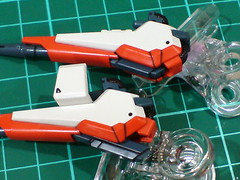
The latch that secure the beam saber inside the cannon can be adjusted upward for the weapon to be slide out.
The storage is extremely tight, making the process of removing the beam saber really troublesome - even before equipping the cannons onto the hips. ^^;

One-piece parts for the handles, and very rare light blue saber parts. ^^
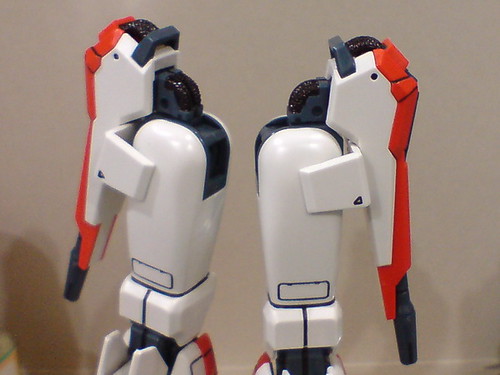
Equipped the cannons to the hips.

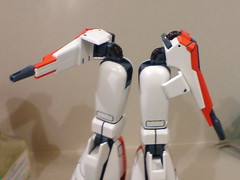
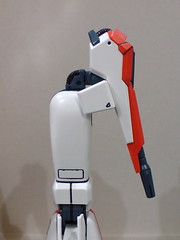

Much more flexible than average side skirt armors on other Gunplas since the joints are on the hip not the waist, the beam cannons can be adjusted to various angles to create different dynamic views. ^^
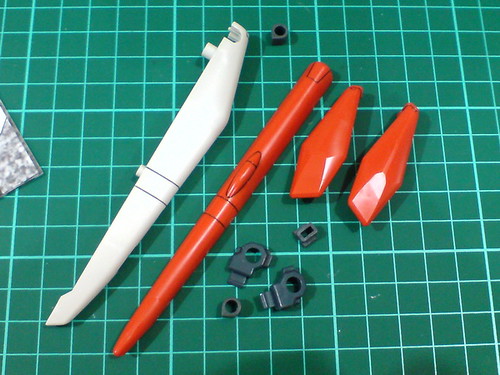
Parts of the tail stabilizer.

Like the leg armors assembled in the previous posting, the tail's distinctive color separation is very nice to see. ^^

Parts of the right wing.

While the tips on both edges of the wings were already painted in Part 3, the entire row of leading edge is still missing the color, which will be realized using foil sticker.

Just like this. ^^
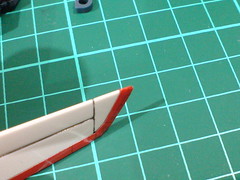
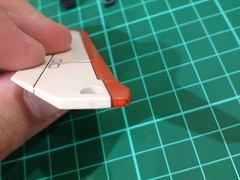
The very limited area where the sticker is attached to the actual wing on both edges is a huge warning sign that they might peel off (very easily) in the future.
So, how do you make the sticker more secure without affecting the current color? ^^

The solution is extremely simple really. ^^ Just cut out tiny pieces of unused clear stickers (or clear sellotape if you can cut them without adding in some fingerprints ^^;) ...
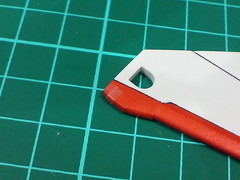
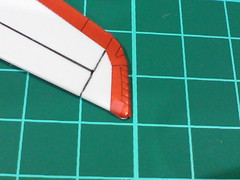
... and use them to reinforce the foil stickers at the edges.
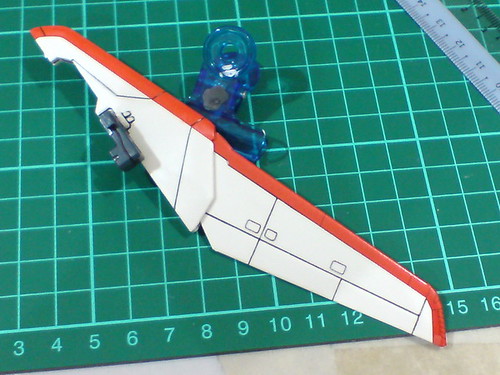

Done for the right wing. ^^
Much like the shield, the bottom face of the wing is designed with more mecha details than the top side. ^^

With the wing fully expanded outward for the Waverider mode.
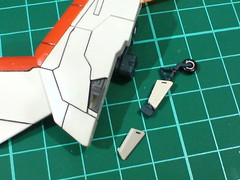
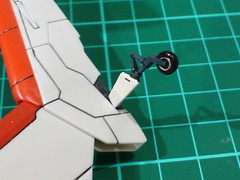
Part-swapping the landing gear, which was painted back in Part 3.

Parts of the left wing.
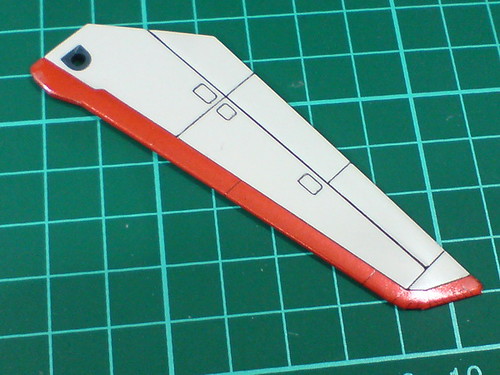


Foil sticker and "supplementary" (XD) clear stickers for the left wing's leading edge.

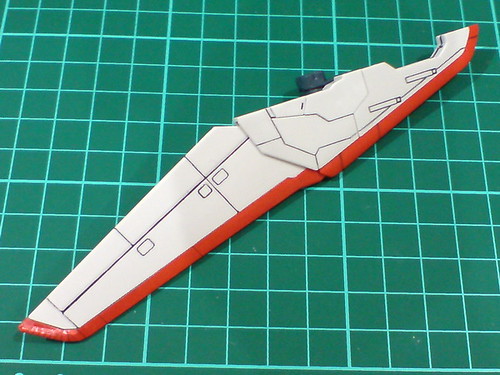
The left wing is done.
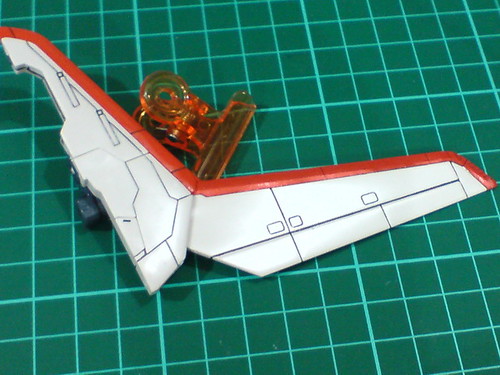
With the wing fully expanded outward for the Waverider mode.
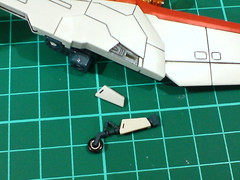

A look at the left wing's landing gear hatch.
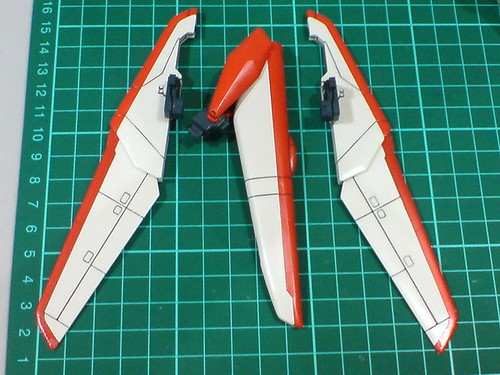
The three backpack components are completed. ^^
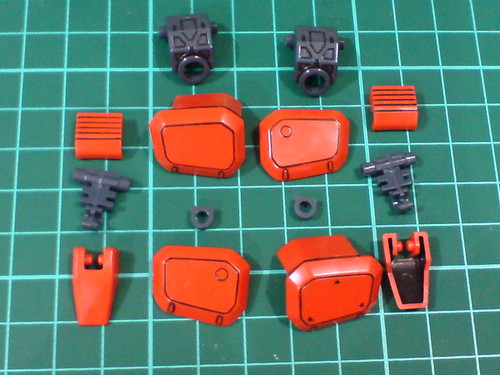
Parts of the shoulder armors.

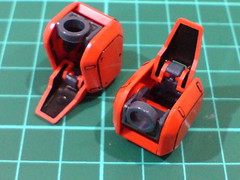
Very simple assembly needed for the two shoulder armors. ^^
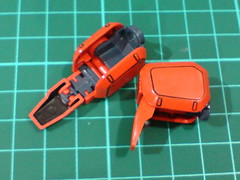
The entire side panel can be flipped up so that the shoulder armors can collapse onto the upper arm during transformation.
Assembly of the body and head will be featured next. ^^


1 comment:
Another option for securing the edge of sticker is by applying (very) subtly glue in the wingtip....and it surprise me you left the vent above the shield unattended NK, no love for home-made sensor?
Post a Comment