In a way. ^^;
Continue with the work on HGUC Sazabi's Funnels after attaching all the mini thrusters and preparing the main nozzle using Kotobukiya's M.S.G. parts in the previous posting.
In before any actual work on the painted parts, a bit of mentioning about something I tried in the previous posting. ^^
Looking at the extra clear rods given to HGUC Jadg Doga to display its Funnels, which is missing for Sazabi if you don't know that already, I was thinking of using something similar to support all the completed Funnels. Soul Stage Act 3 Action Support Clear Type can definitely fulfill this role, as it was shown supporting HGUC Nu Gundam's Fin Funnels when I reviewed that display stand set. However, something a bit simpler would be nicer, since Sazabi's Funnel bits are much smaller as compared to Nu Gundam's Fin Funnels. Also, there are slots provided on the backpack's mount rack to support the bits as well. The design is there, only the right medium is missing.
It would be even better if I can "recycle" something in my room to turn it into such medium. I'm looking for something that is good and free at the same time. Can there be such nice stuff? ^^
As a matter of fact, there is. ^^
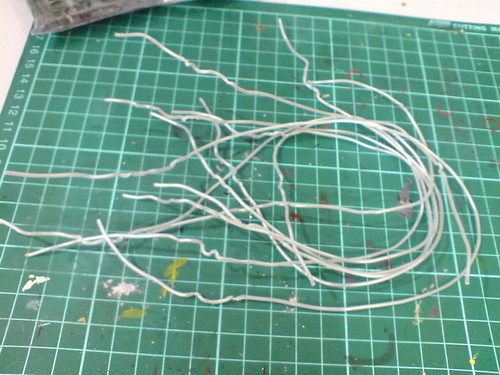
The strings that were used to hold down Transformers Movie 2 Leader Class Optimus Prime in its box. ^^
There are quite a few good points about these strings:
(1) They are semi-transparent, which made them pretty good for display.
(2) Coated inside each string is a metallic wire that is strong enough to support the Funnel (more than enough really ^^).
(3) They are extremely flexible and easy to bend. The shape can be altered freely and frequently. When bent, the wires can retain their shape very well too.
(4) The strings do not require a lot of work to modify to mount the parts.
(5) They are abundance. Apart from this Transformers action figures, most S.I.C. sets used them to hold down the figures as well. Replacement can be found very easily for any that is spoiled.
(6) Most of the strings are pretty long, so they allow tons of fun for the Funnel display.
(7) They are free. ^^
The last point in the list above really deserves a bold style formatting XD
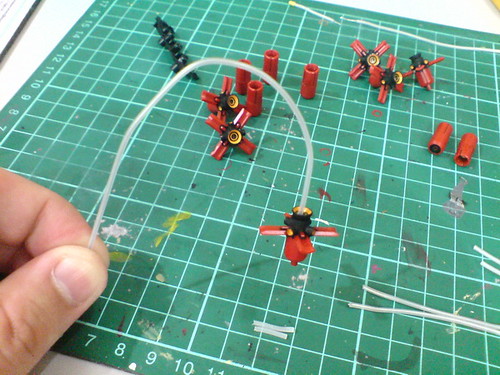
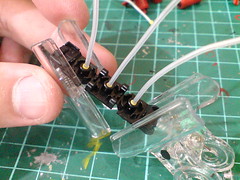
A bit of testing on how the strings can be utilized for the Funnels:
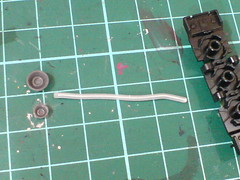
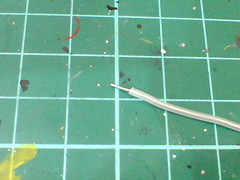
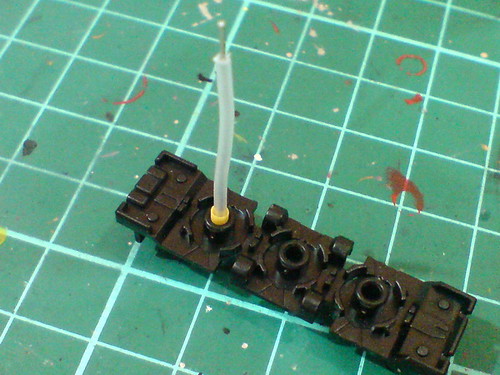
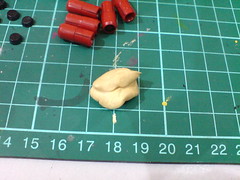
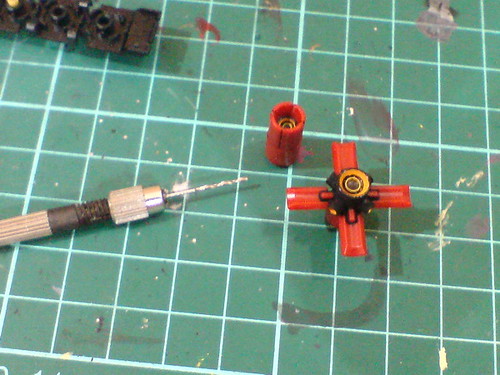
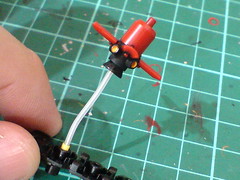
Just a very short segment for testing first. As shown in the right image, the wire inside the string is very thin, so tiny slot in the middle of the nozzle that can be made easily using pin vise would be enough to let the wire go through to hold the entire Funnel.
Two nozzle parts shown in the left image are the "test subjects" that were painted later on, shown first in the previous posting. ^^
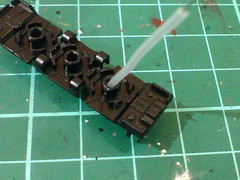
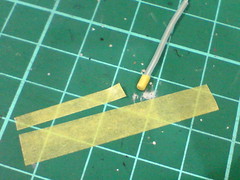
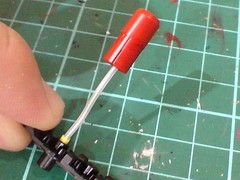
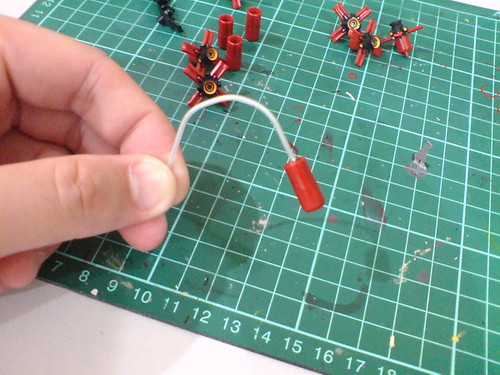
The diameter of the slot on the mount rack is a bit too wide for the string obviously, but that's really a minor issue since the tail of the string can be coated with slice of masking tape to make it fit well into the slot.
Like this. ^^
So the strings do work. ^^
With the supporting medium consideration out of the way, it's time to resume the work on the Funnel bits. ^^
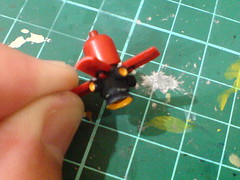
The next part of the work is to attach the nozzles to the back of all the Funnel bits. As shown in all previous postings on this kit, the parts are hollow on the back because of how they were molded, so a bit of filling is needed to hold the nozzle parts.
Luckily, a good friend who contributed in Part 3 is here to help with this task again. ^^
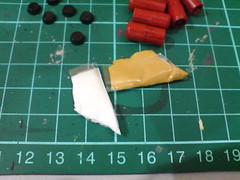

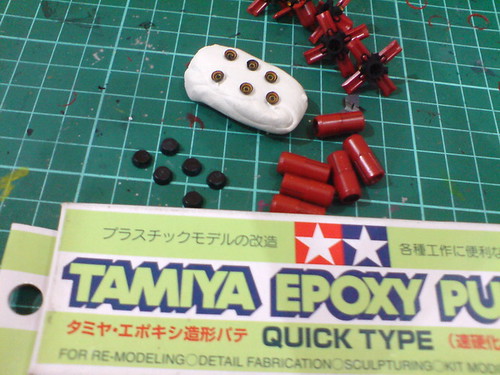
Created the filling using Tamiya Epoxy Putty Quick Type.
Filled the putty into the Funnel using toothpick before inserting the nozzle part. The latter is kept away from being too close to the opening because ...
... the Funnel still needs to fit onto the mount rack correctly.

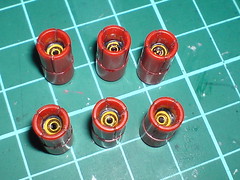
Done for all six of the Funnels.

Tested each and everyone of the Funnels to make sure that they do fit onto the mount rack correctly. ^^
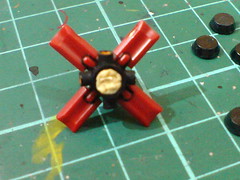
Same technique for the deployed type Funnel, but the filling is made "to the brim" to create enough surface right behind the Funnel for the nozzle part to sit on.
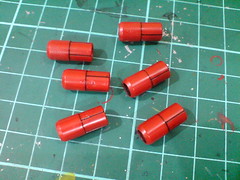
Done attaching the nozzles to the Funnels. ^^
A bit of paint outside the nozzle parts came off during the adjustment on the putty, which can be easily repainted, but that do reminds me to check on the sequence of tasks to make things more effective and efficient next time. ^^;
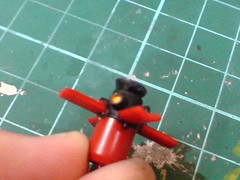
(Left) Repainted the exterior of the nozzle parts black using Mr. Color 33 Flat Black.
(Right) The "mouth" of all the nozzle parts is painted black using the flat tip of a Gundam Marker as the last step for this component.
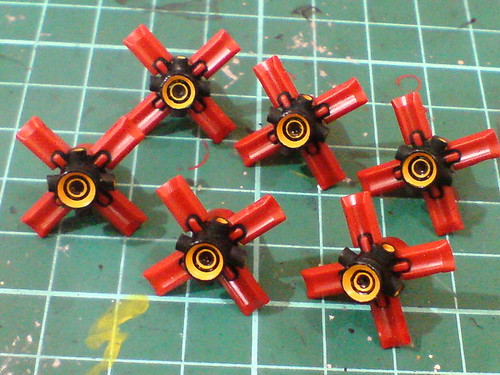
Done for all the Funnels. ^^
The black inner nozzle will effectively hide the pin slot later on. ^^
While the Funnels are all done, there's still a little bit more that remains for the overall task. After leaving the Funnels to dry for a few hours (for the putty filling especially), the final stage of the show begins. ^^
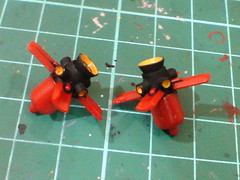
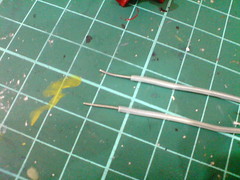
Time to drill all the slots needed for the strings. ^^
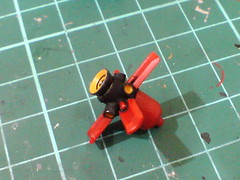
Trying on two Funnels first. ^^
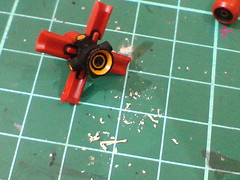
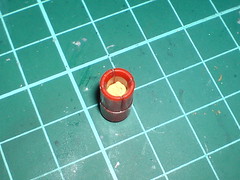
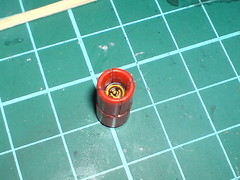
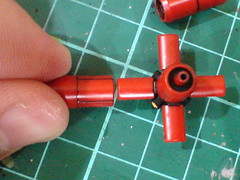
Red Funnel, black tail and nozzle and yellow wall inside the nozzle, but it's all white bits that came out from the drill bit.
Suddenly, mystery ya~ XD
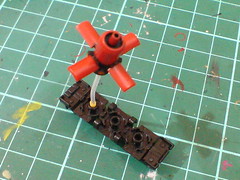

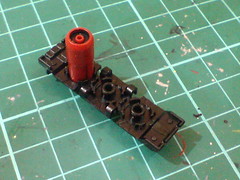
Testing out using the string and mount rack.
All green for further pursuit to the completion of this entire task. ^^
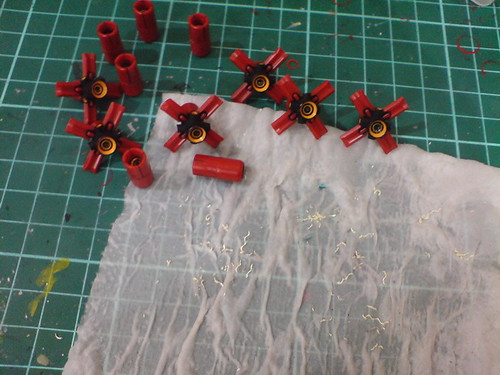
A piece of wet tissue is useful in keeping all the bits from dirtying the desk.
It's toilet paper there actually, since that's a lot more economical than tissue. ^^;

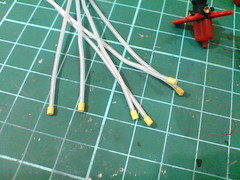
Six strings are prepared for a potential full Funnel attack from Sazabi XD
The three different lengths are just to make the display more interesting.
Quite a lengthy portion of the wire is exposed as compared to the initial test shown earlier on to give each string a better grip on the Funnel.
Adjusting the Funnel bits downward and they don't slide off the wire. Very nice. ^^
Coating all the tails of the string with a layer of masking tape to make them fit onto the mount rack.
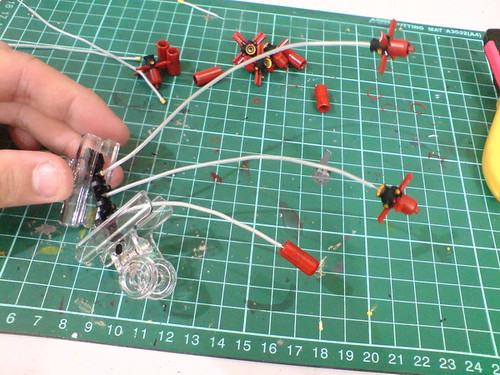
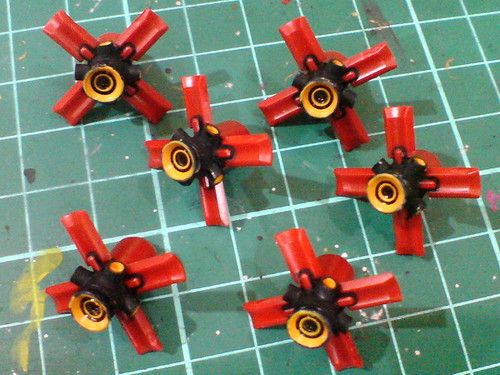
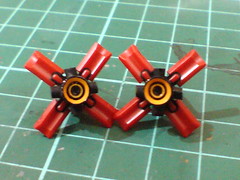
Testing with multiple Funnels with strings of different length this time.
Funnels are OK, strings are flexible ...
... and the mount rack is fine too. ^^ Very good~

Nobody falls out when all of them are posed facing downward.
此乃大成功也! ^^
Adding in all the missing line details on the fixed type Funnels after clipping off the gates between the parts in Part 3.
Despite lacking actual expansion gimmick like the Master Grade equivalence, the size of each flap on the fixed type Funnel is exactly the same as the expanded type. The precision in part design to make everything consistent on an overall scale is very good. ^^
All is done with the Funnel parts! ^^ It's been quite a long process but the result is very nice. Apart from making the fixed type Funnels individually removable and posable, the expanded type has greater details, closer to the actual design for better display, with supporting rod too. A lot of effort and time was spent on getting all those extra bonuses, but all is well worth it in my opinion, to get that image of mightiness on Sazabi. ^^


2 comments:
Metal wires! Nice idea! Thanks for the idea but I don't have the Kotobukiya spare parts. orz
I'm always impressed with how you use household items as well as other materials to make up with the modding effectively! Never thought about those annoying packaging wires can be that useful for this situation :O
Post a Comment