Continuing on the work of repairing the broken HGUC Gundam RX-78-2 after the previous posting.
Moving on to the shoulder joint this time.

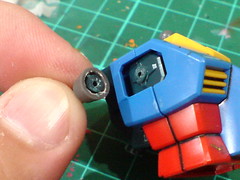
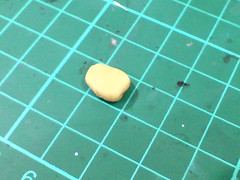
From the previous posting, the remainder of the separated nozzle unit.
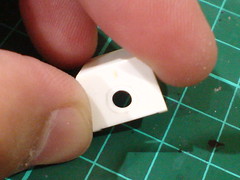
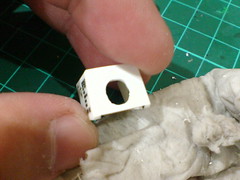
The existing slot on the shoulder armor obviously won't fit the nozzle as the joint's supporting base, so it must be enlarged.
The new slot is roughly marked on the shoulder armor part using a pencil ...

... before the excess plastic bit is removed using pin vise with 0.8mm drill bit (literally poked away XD).
Those spiky edges around the new slot needs some seriously trimming. ^^;
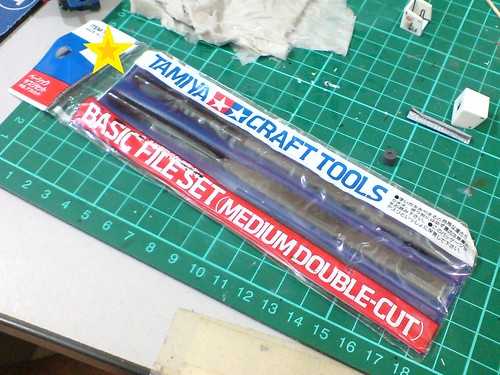
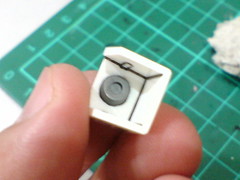
The usual flat metal file is not suitable to be used on the round targeted spot, and using paper file seems rather troublesome. One of the metal file from Tamiya Basic File Set will be mighty useful as substitute for this task. ^^
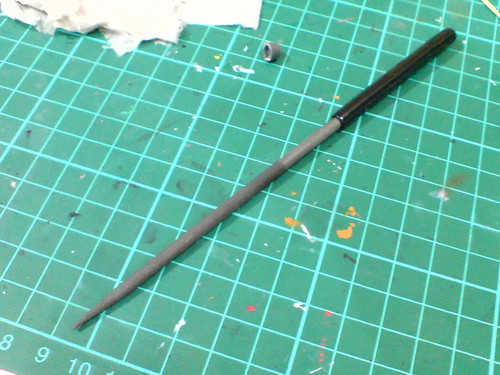
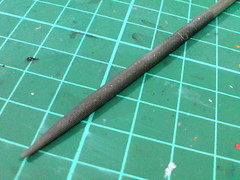
This round type will be able to reach into the slot and sand off all uneven edges easily. ^^
Temporary result.
More sanding is applied to ensure that the nozzle unit can fit through the slot, and to make the edges as smooth as possible. ^^

After a couple of attempts, the nozzle unit is now a nice fit to the slot. ^^

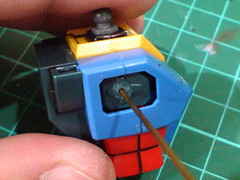
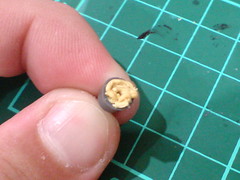
Like the nozzle ring for the hip joint shown in the previous posting, this nozzle unit will support the shoulder peg. However, in order to incorporate that, a hole must be made on the part first.
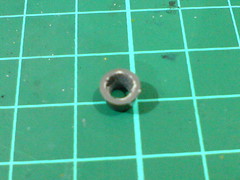
Like the shoulder armor, the hole on the nozzle created using pin vise just now is enlarged using the round file.
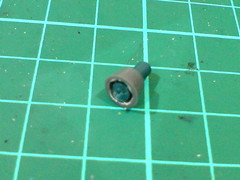

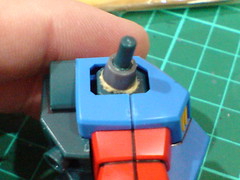
(Left) The slot is enlarged until the broken shoulder peg fits through it nicely but tightly.
(Right) Test fitting the whole component on the shoulder armor again. ^^
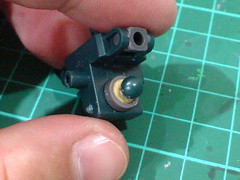
Using pin vise again, holes are made on the shoulder peg and block to incorporate a metal connector that will link the parts.

Test fitting the brass pipe (the same one used for the hip joint in the previous posting) on the shoulder block.
It's good to see that the connector isn't interfering with the shoulder block's forward bend. ^^
The shoulder peg is attached to the connector. A bit of cement for plastic kit is also applied to secure the connection, but that won't be enough for such a heavy-duty joint part. ^^;

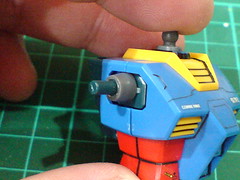
(Left) With the shoulder armor attached.
(Right) It's very satisfying to see that the joint, especially the "new" nozzle unit isn't visible in front view. ^^
A bit of Tamiya Epoxy Putty Quick Type will be the last material to be used for holding the broken parts together firmly.
The putty also serves to fill in the gap between the broken joint and the nozzle unit.

After reattaching the shoulder joint to the body, a bit of putty is applied to the edges using toothpick to "strengthen" the "foundation". ^^
Same putty treatment to the hip joint did in the previous posting.
Applying the putty is pretty much the last step in the entire repair. Some of the uneven edges caused by the putty will be cleaned away using knife and maybe paper file, but that won't be done until the puttied parts have completely dried. ^^


No comments:
Post a Comment