Continuing with the assembly of HG 1/144 G-Exes Jackedge after the previous posting. ^^

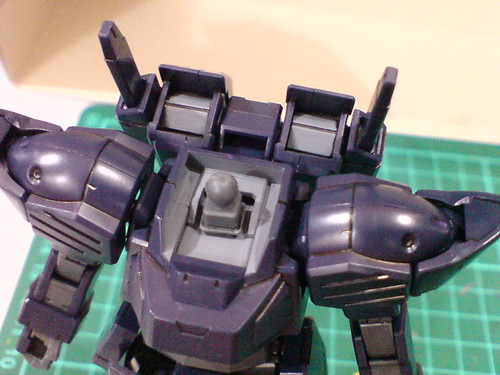
Parts of the body and backpack.

As mentioned in Part 2, the small protruding part in front of the neck area has helped to cover up the untreated spillover paint from the collars.
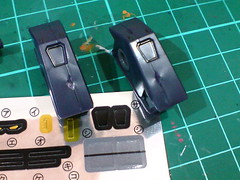

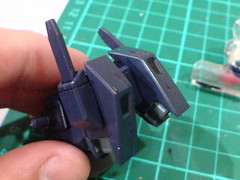
Foil stickers used for the "vents" on the backpack thrusters.

Separable components of the body before the final assembly.
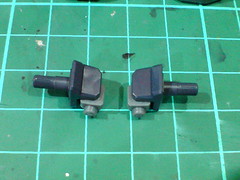
The very standard shoulder joints for High Grade kits.
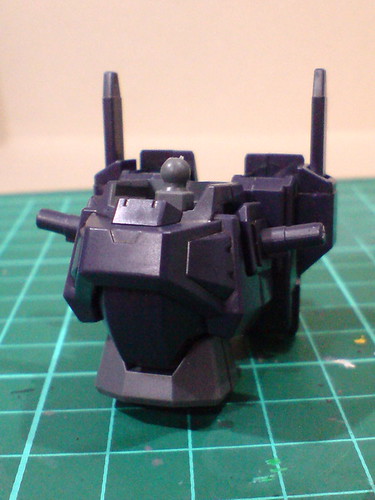
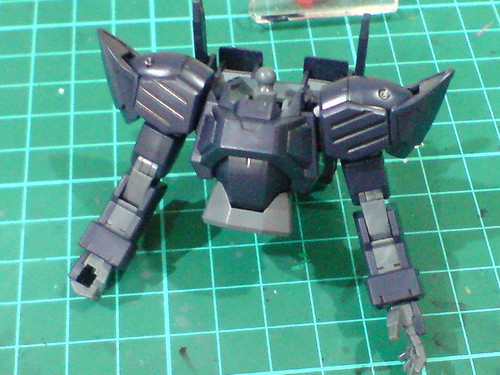
Done for the body unit.

Side-to-side and forward-backward bends are possible for the waist, thanks to the abdomen's ball-type joint.

Very standard vertical and forward-backward bends from the very standard shoulder joints for High Grade kits. ^^
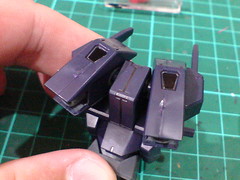
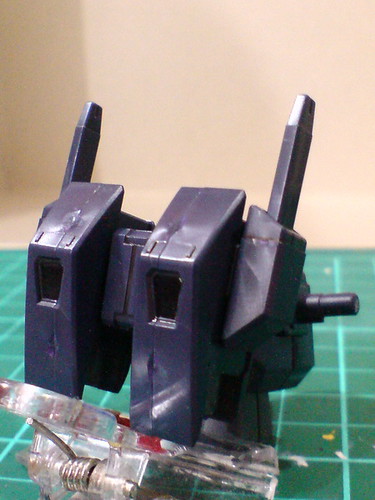
The thrusters have a wide range of movement thanks to the ball-type joints that connect them to the backpack.

The painted areas near the thruster nozzles are just as unclear as the side skirt armors' missiles shown in the previous posting. ^^;

Combined with the arms assembled in the previous posting, the upper is completed.
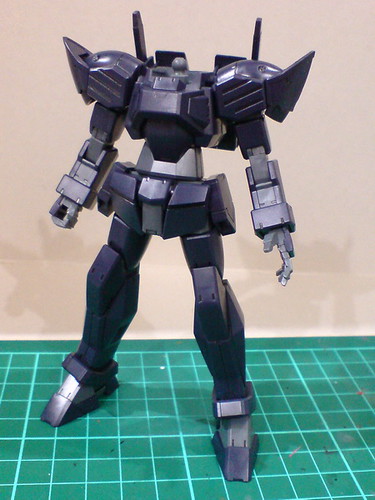

Only the head and weapons remain now. ^^
The "vents" on top of the thrusters turn out well on the completed kit. ^^

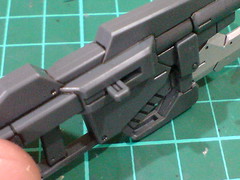
Parts of the weapons.
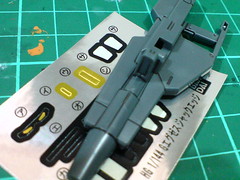
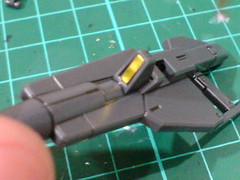
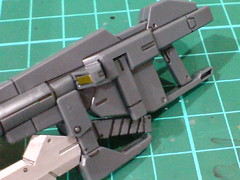
Foil sticker used for DODS rifle IIB's targeting scope.
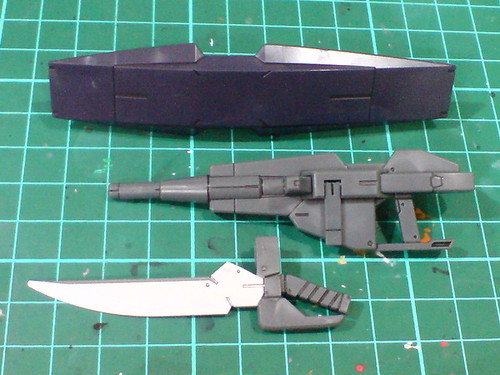
Excluding the standard beam sabers, these are the three handheld weapons of G-Exes Jackedge.

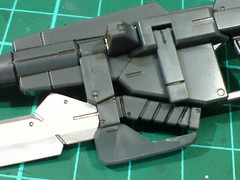
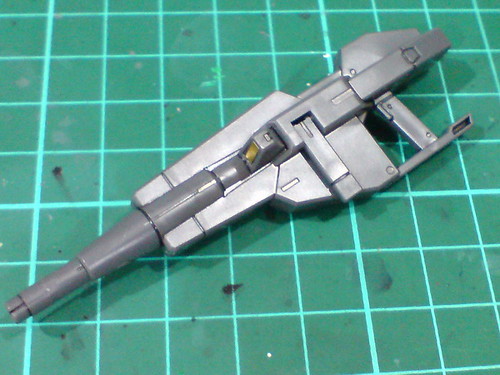
A simple clip-on feature to mount the large knife to the beam rifle's body.
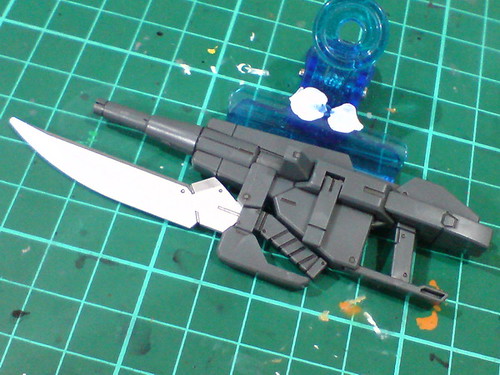
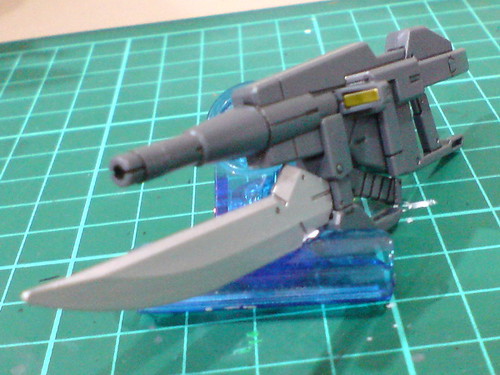
The completed DODS rifle IIB.

The supporting handle is of course movable.


A tab on the rifle's body can be flipped outward to mount the beam rifle to the rear skirt armor.
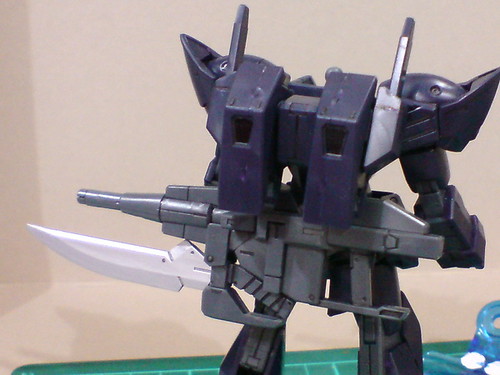
With the knife attached, the mounted beam rifle looks like a huge baggage on the rear skirt armor. ^^

With the knife attached, the rifle's length is about 10cm.
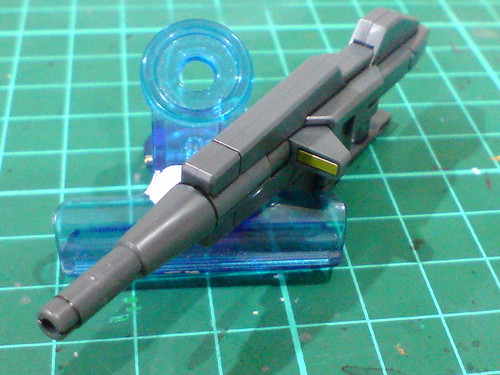
Even without the knife, the beam rifle's size is considerably big when compared to most other High Grade kits. ^^
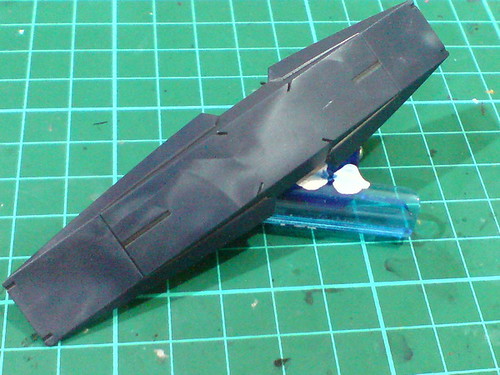

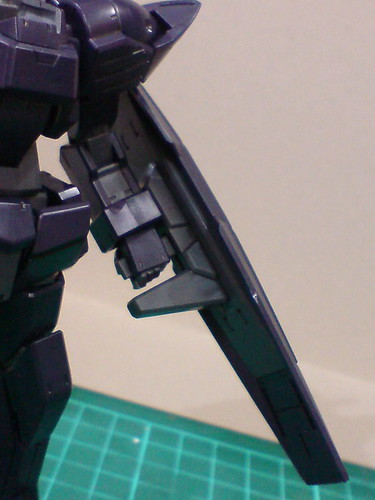
Just two parts to complete the shield is pretty amazing, but that also means the handle is completely fixed. ^^;
The shield is a little bit shorter than the beam rifle it seems.


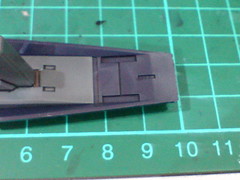
Mounting the shield to the back of the forearm.
The way the hand is grabbing the handle is more natural-looking, but the shield becomes hard to maneuver and pose. ^^;

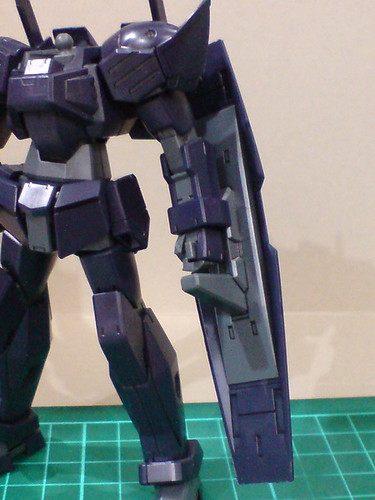
Mounting the shield to the side of the forearm.
Note that the left hand unit must be adjusted to the same direction as the slot as well.
While the range of movement for the arm and shield improves, the look of the hand grabbing the handle is very awkward to me. ^^;

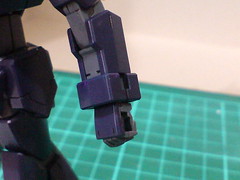
The standard beam sabers.

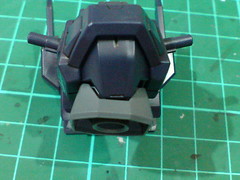
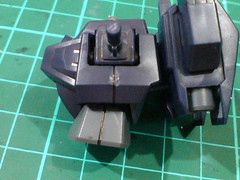
Parts of the head.

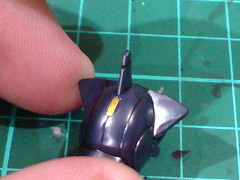
Foil stickers for the eyes and rear sensor.
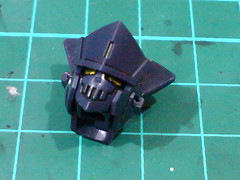
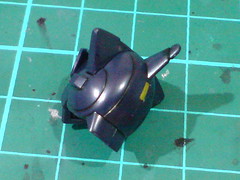
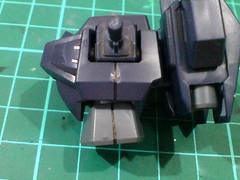
Done for the head. ^^
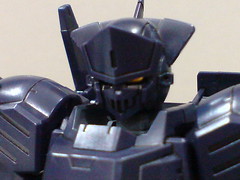

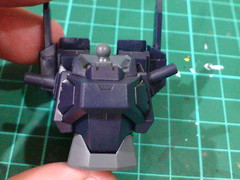
Assembled the head onto the neck joint.
Since the entire model has a very dark color scheme, the eyes are not easily visible, which in turn helps to reinforce G-Exes Jackedge's pirate look I think. ^^

With flash turned on to reveal more of the eyes and skull face. ^^

My comments about the assembly alone is pretty much the same as what I said in the previous posting. ^^; The way most components are assembled is just standard design for most High Grade kits. Because of that, I see no need to repeat myself here.
The completed model's look however, as I anticipated before even working on it last month, is just awesome. ^^ I'll save that till the next posting with more of its images. ^^


No comments:
Post a Comment