Still on Gundam AGE-1 Normal after completing the work on the Master Grade version in the previous posting. This one is the smaller scale version with even simpler design and details: the Advanced Grade version put on hold since the beginning of this month. ^^

It's time to assemble this kit for the second time (review wise) after Part 2 of this review series. ^^ However, before doing that, some extra detailing can be done to give various parts of the kit a level-up for their appearance. ^^
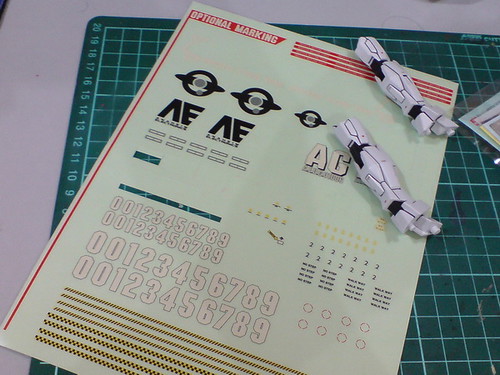
Using decals and clear stickers would be the easiest way for this task, but out of my spare marking collection, which would be the most suitable ones to be used for this AG 1/144 scale version? ^^; Other kits might give me a bit of hard time in deciding that, but not this kit. ^^
Straight from the previous posting, the spare decals and clear stickers of the MG version can be used. ^^

There are plenty leftovers to be used, which despite being of different scale, seem all suitable for this kit as all the markings are pretty delicate in size and design. I think one of the "trends" in recent years' Master Grade releases is increased level of details on much smaller pieces for most markings. They can be a real nightmare to apply, but their "compatibility" for smaller kit is much higher as compared to the ones in older MG kits.

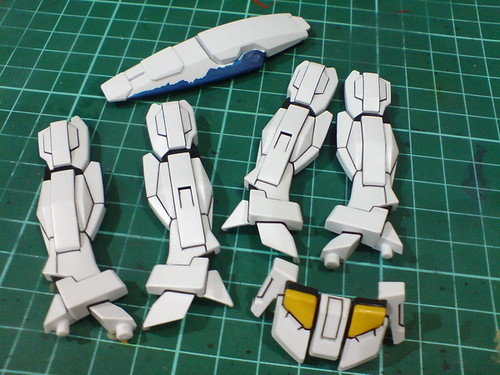
Stickers applied to the leg, waist and arm parts.
Placement of the stickers is in accordance to the marking guide of the MG versions as well. ^^

Markings on the forearm, abdomen and feet parts.
Additional stickers with white text from other spare sheets are used for the three red parts.
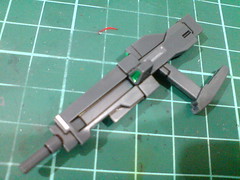

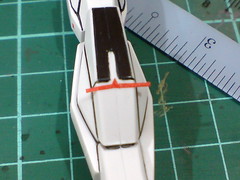
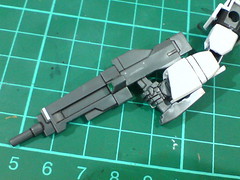
The white stripes on the DODS Rifle are measured and cut from the leftover area on the MG's clear sticker sheet. The original pieces from that area were actually for the same weapon on the MG version. ^^
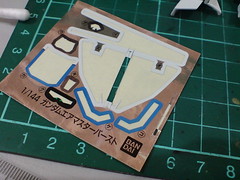
The white stripes on the "spoiler" are from foil stickers actually - from 1/144 Gundam Air Master Bust to be exact. ^^
The "spoiler" is a lot shorter than the MG version. ^^;
EFF decal originally meant for the MG version's upper is applied onto the shield instead.
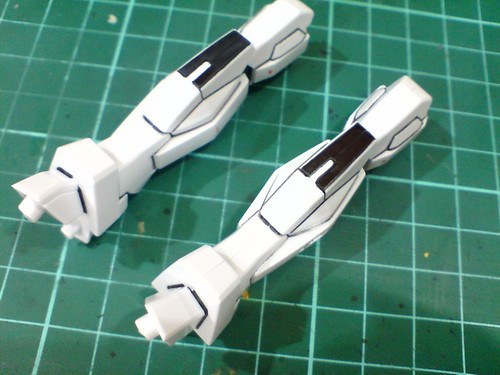
The legs need to be assembled first before more stickers can be applied onto the knee and calf.
Since the connectors and pins inside the leg parts were cut away in Part 1, plastic cement was used to connect the parts.
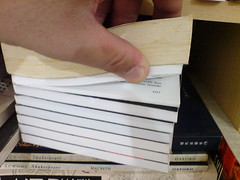
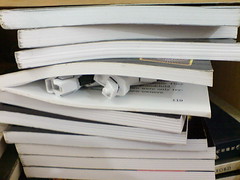
The legs were placed in between pages of a book stacked in a bookshelf for a while to put pressure on the connection.
Most tutorials showed the usage of rubber bands to strengthen the bond, but I think books would be somewhat more "gentler" to the parts. ^^

Stickers on the calf and lower leg armors.
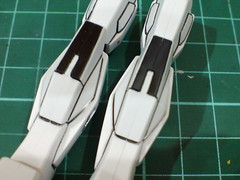
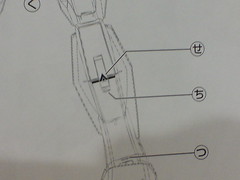
The markings on the knee armors are more complicated to apply, as the pattern is not common in most kits. ^^;
It's DIY time again. ^^
Scouting through the various spare marking sheets I have, this one from Perfect Grade Zeta Gundam has a few that would be very useful for this task. ^^
Sharp corners and red stripes are just what I need for the knee armors. ^^
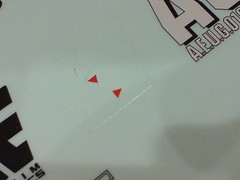
Two red triangular markings are cut and slightly modified from the sharp corner shown above.

Two smaller red stripes are placed on the knee armors first, with a bit of space in the middle for the red triangles.

Excessive stripes at the edge of the part are cut away. A warning message-type sticker from the MG kit is placed right beneath the stripe to complete the work. ^^

Operation mimic-the-MG is completed XD

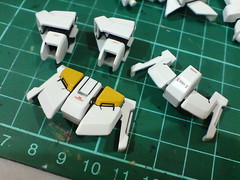
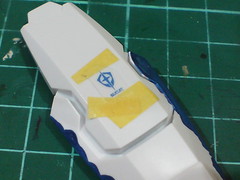
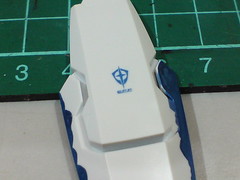
Completing an unfinished business from Part 5: the area beneath the collar on the rear body part is painted yellow using Gundam Marker.
All done with the markings, it's really-really-really the time to assemble the whole kit XD

All 32 parts of this kit.
The legs were already assembled earlier on.
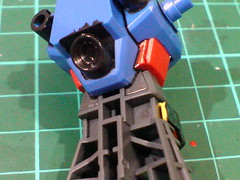
With the area behind the yellow trapeziums painted dark gray in Part 4, they seem further separated from the chest vents and collars now despite being of the same one-piece part.

(Left) Painting the area beneath the collar on the rear body part was a good call apparently. ^^
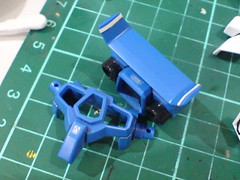
(Right) The outcome of the red and gray areas behind the waist painted in Part 5.
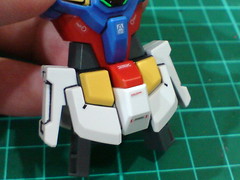

The completed skirt armor. ^^

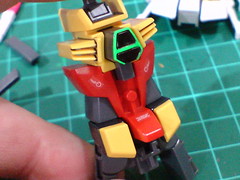
Pretty good outcome for the "A" crest inside the chest which was painted with Mr. Color 175 Fluorescent Green Flat in Part 5. ^^


The outcome of the painted shield, with the narrow slit between the segments well covered. ^^
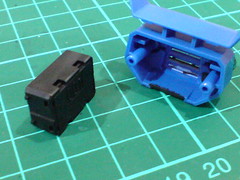
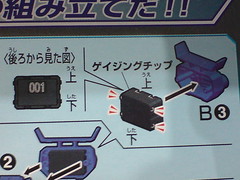

Inserting the "Gage-ing" chip part into the backpack.
Apparently, the design is very adamant of having the label "001" on top when the part is assembled, even though it's not going to be seen at all. ^^;

The interior of the white protruding hand armor that was painted gray in Part 4.
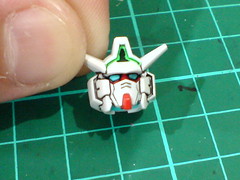
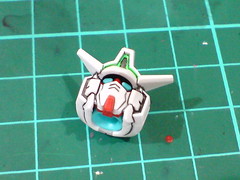
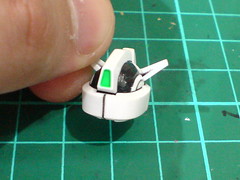
Done for the head. ^^

The area beneath the forehead that was painted dark gray in Part 5.

All components before the final assembly.

Equipped DODS Rifle to the right hand.
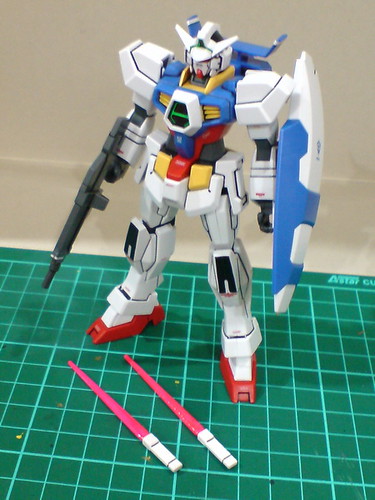
All done for AG 1/144 Gundam AGE-1 Normal. ^^
More images of this completed kit in the next posting. ^^


No comments:
Post a Comment