Starting the detailing work on AG 1/144 Gundam AGE-1 Normal. ^^
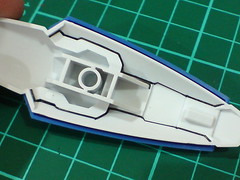

Panel lined the borders between gray and blue portion on the rear face of the shield.
The exact color separation is not clearly visible from the box side image though.

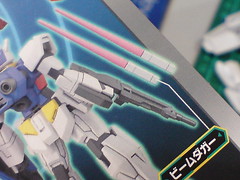
The HG 1/144 scale version has a much clearer reference to the shield's colors.
Image is from Hobby Search.

The middle portion of the shield is hand painted in dark gray.

The paint used is Gaia Color 075 Neutral Gray V.

The remaining portion of the shield will be painted in blue, but apart from the obvious larger surface on the rear face, the slit between the blue and white parts which might reveals a bit of the latter's interior portion will have to be painted as well.
To match the color of the blue part, Gundam Marker Blue will be used, but Gundam Marker paint is a bit too quick to dry, which often causes nasty-looking brush lines between layers of the same paint.
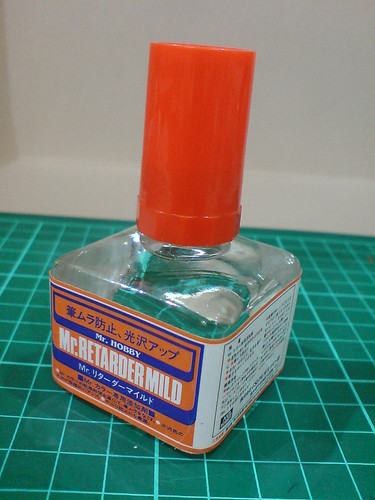
This particular tool can be used to address those two problems: Mr. Hobby's Mr. Retarder Mild. ^^
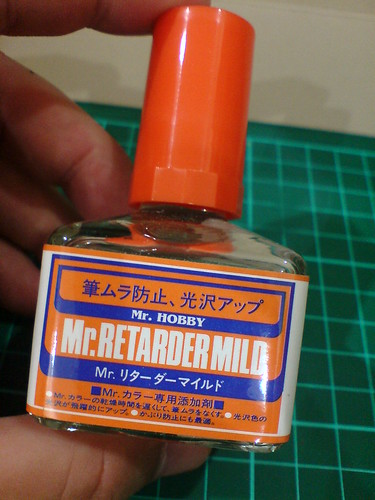
As shown on the label, its main purposes are: (1) slow down the drying time of Mr. Color paint, (2) eliminate paint brush lumps, (3) improve the luster of the paint.
All that makes it seems like the perfect tool for converting Gundam Marker paint to be used like bottle paint for the shield's large surface. ^^
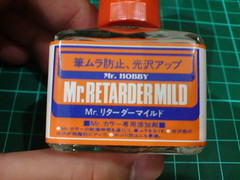

The solution is as clear as the plastic cement I used, and just like Mr. Mark Setter used on the shield's decal of HGUC Sazabi, how does the formula work in order to achieve all the objectives listed above, or at the very least, how was it invented in the first place is a huge mystery to me. ^^
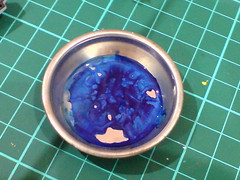
Quite a bit of Gundam Marker Blue paint is squeezed into a saucer first. With two large paint brushes of Mr. Retarder Mild added and dissolved with the paint, it's ready to be used like an ordinary bottle paint. ^^


The rear face is painted, as with the side area that might be exposed inside the slit mentioned earlier on.

Repainted a bit of dark gray on the border which has a bit of excessive blue paint over it from the previous paint work.
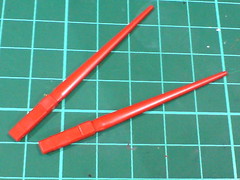
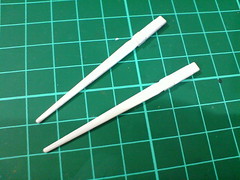
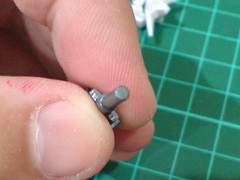
To repaint the beam daggers, the base color is covered using White Surfacer from Mr. Hobby, which was previously used on the flyer unit's wings from MG Force Impulse Gundam.
The handles are repainted with Gundam Marker White to hide all shades of red beneath the white surfacer painted just now. ^^
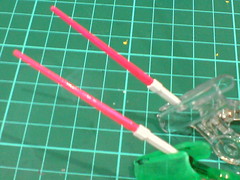
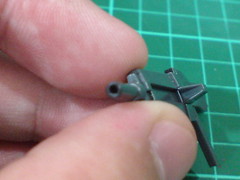
The beam areas are hand painted in fluorescent pink.

The paint used is Gaia Color 102 Fluorescent Pink.

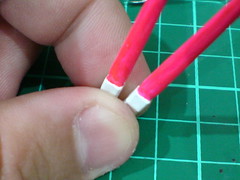
A bit of spilled over paint at the edge of the handles is scratched away using a knife.
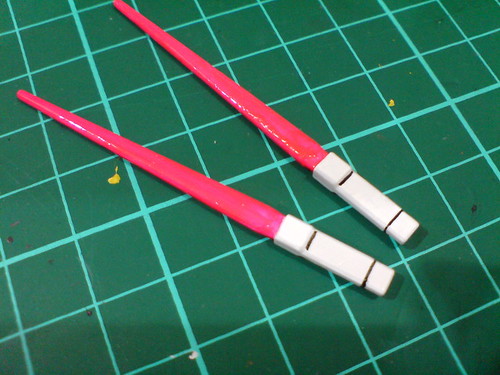
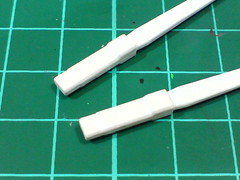
Added a little bit of panel lines to the handles.
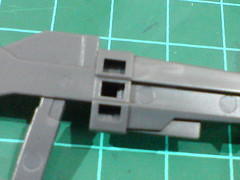

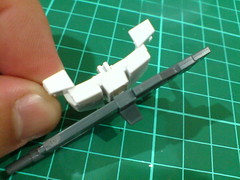
A small plate can be added to one of the blank spots on the beam rifle's body for the weapon to be mounted to the rear skirt armor, especially when that slot is also given.
Strangely enough, the completed model on the box side image doesn't show the three blank slots, and there's a small connector too. ^^;
Not an honest representation of what to expect from the actual kit it seems. ^^;
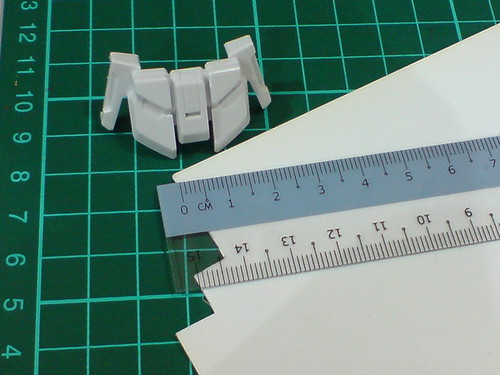
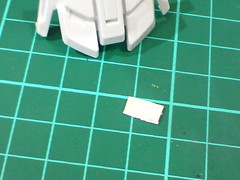
Pla plate is used to create the extension piece on the beam rifle. The 1mm thick type used for the figures' display bases in MG Char's Gelgoog Ver. 2.0 is just right for the task. ^^
The plate is measured, cut, sanded with metal and paper file and constantly compared to the slot on the rear skirt armor to make sure that it will fit when finalized.


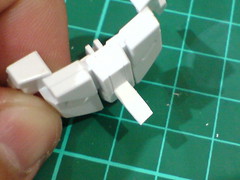
When the plate is done, it's attached to the beam rifle and held down by Tamiya Epoxy Putty Quick Type that filled up the remaining blank spots.
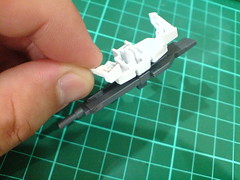
Testing out the mount rack. ^^
Will wait for the putty to completely dry before painting the parts.
Added muzzle to the rifle using pin vise with 1.0mm drill bit.

The knee and ankle areas are panel lined first to define the borders between gray joint and white armor parts.


Painted the different areas using Gaia Color 075 Neutral Gray V.
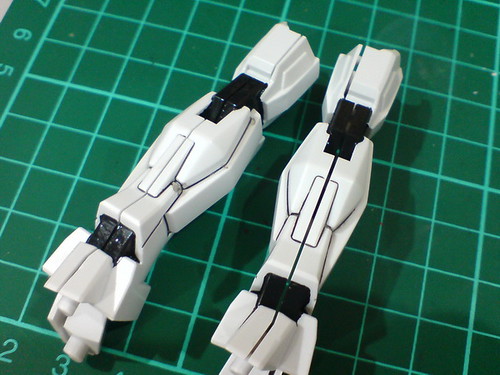
Test fitting the painted parts to see how the components would turn out when assembled. ^^
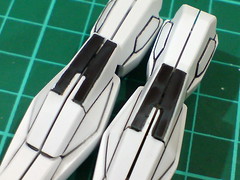
Some deep slits that are hard to reach using normal panel lined are already done using black paint with thinner method.
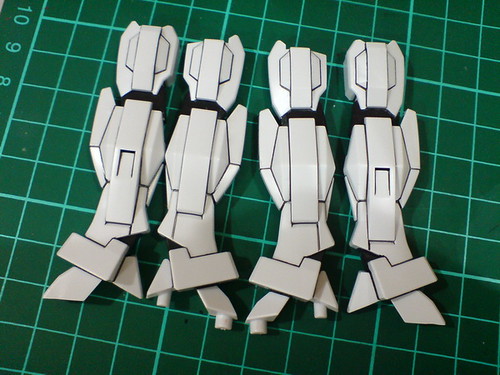
All the parts are panel lined.
The knee plates are painted black using Gundam Marker.

Based on the appearance of the straight assembled version, some molded lines on the hip area of the body frame part are panel lined as well.
More parts to be painted and panel lined coming up in the next posting. ^^


1 comment:
Hi,could you tell me how to make the gaia fluorescent color work the best? I mean...there is a procedure or what? Thanks a lot!
Post a Comment