More work on AG 1/144 Gundam AGE-1 Normal after the previous posting. ^^
Returning to the beam rifle's mount rack first:

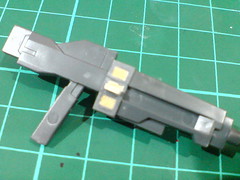
After the putty that filled the three blank spots has dried, the rifle's body area is cleaned by sanding off excessive putty using paper file.

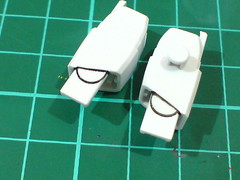
The area is painted using Gundam Marker Gray.

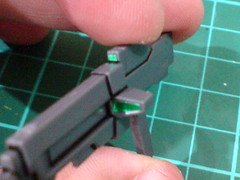
Two targeting sensors are added using leftover metallic green foil stickers.
The trapezium-shaped one on the side is particularly hard to measure, so I just used the old-school "observe, guess and redo" method to get one in. ^^;

The completed rifle, with panel lines added.
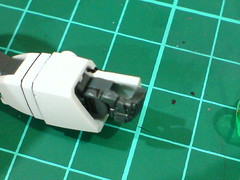
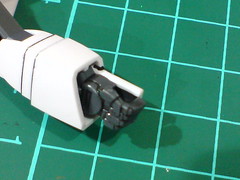
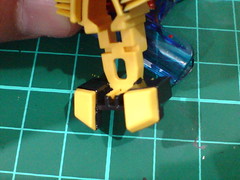
The thruster area beneath the feet parts are painted using Gaia Color 075 Neutral Gray V.
Those hard-to-reach "valleys" are painted by "flooding" them with the same paint dissolved with more thinner. ^^;
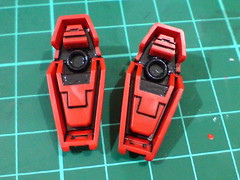
With panel lines added and excessive paint scratched away using knife.

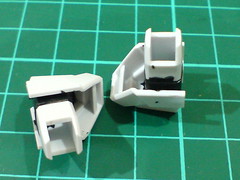
The shoulder joints area which are molded together with the upper arms and shoulder armors are not too hard to paint, especially when a fine-tip paint brush is used, but to paint the parts well to reduce spilled over paint is very difficult. ^^;
Some serious cleaning work will be needed to get rid of those excessive paint. ^^;

Long period of scratch-scratch-scratch with different angles of maneuver using the knife to clean off most of the excessive paint. ^^;

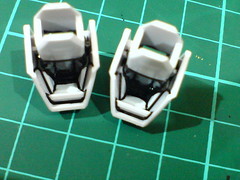
(Left) Excessive paint at the deepest, most hard to reach spot in the entire shoulder armor. ^^;
(Right) Instead of cleaning off the paint, I just cover up that area using panel liner to pretend that it's the shadow instead. ^^;
Problem
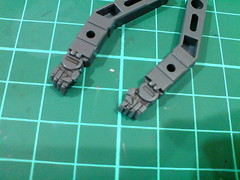
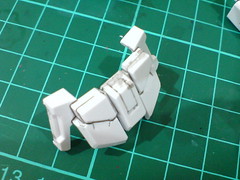
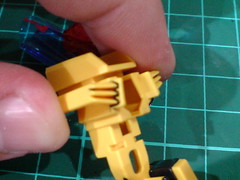
The hands are panel lined using black paint with thinner method.

Since they are supposedly the joint parts, the semi round areas of the wrist are painted dark gray.

With panel lines added and excessive paint scratched away using knife.

The interior of the white protruding hand armor is painted gray using Gundam Marker to disguise it as part of the hand instead of the armor.

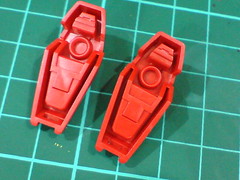
The trapezium-shaped parts on the rear skirt armor are painted yellow using Gundam Marker. The "base" of the yellow parts are painted dark gray using Gaia Paint. The narrow valleys between the different skirt armor's segments are painted the same way as the feet part mentioned earlier on.
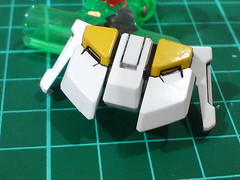
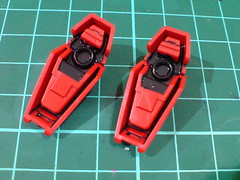
With panel lines added when the yellow paint has dried.

As with the yellow trapezium-shaped parts on the front skirt armor, their base is painted in dark gray as well.
Panel lines added to the chest vents.
Adding that extra connector to the beam rifle was pretty fun. ^^ Now that I think about it, the blank spots on the rifle's body and the mount rack on the rear skirt armor feel like Easter Egg features to me. ^^
Only parts from the body and head remain now before the detailing work on this kit is all done. ^^


No comments:
Post a Comment