Continuing the assembly of 1/100 Gundam Kyrios after the previous posting:
Parts for the waist.
True to it being just a 1/100 scale kit, there's zero details behind the large front skirt armors.
Also, on a technical note, the polycap between the two parts is assembled the other way around as compared to most other Gunplas. ^^
Waist completed.
Top view.
The small arrow on the top gray part conveniently shows you which side should face the front of the kit. ^^
Beam saber mount rack can be turned outward to reveal the weapon.
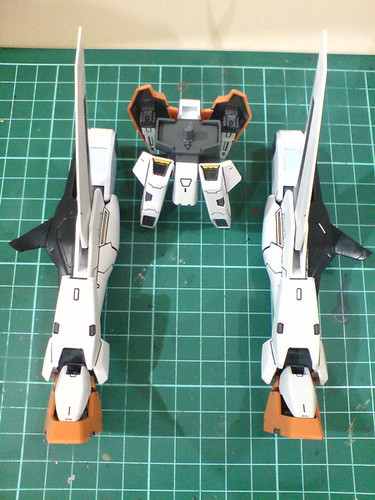
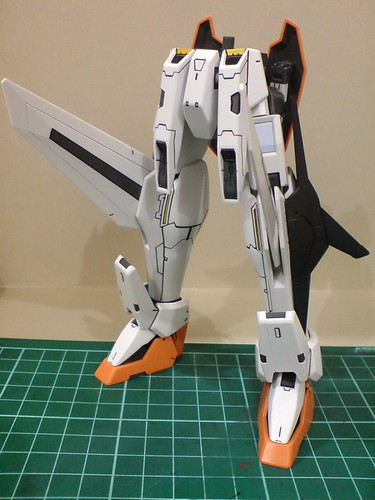

Lower body completed.
Another look at the knee articulation.
Like 1/100 Gundam Exia, the two-point hip joint, together with the lack of side skirt armor allow the hip to be lifted for a wide degree from the side of the waist.
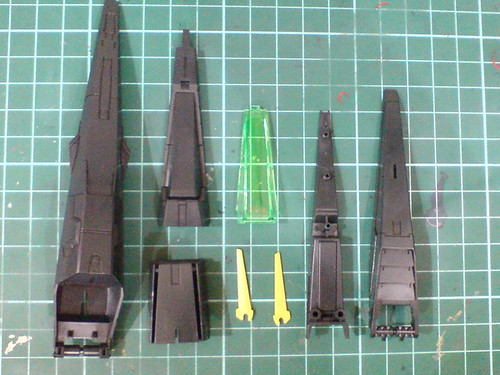
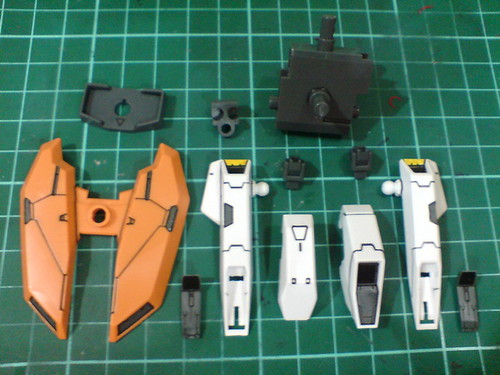
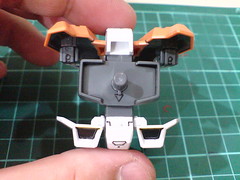
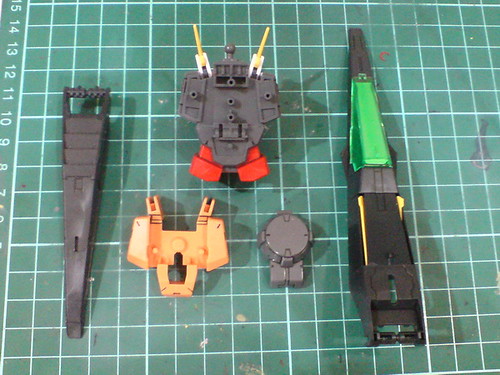
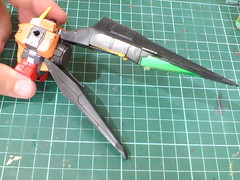
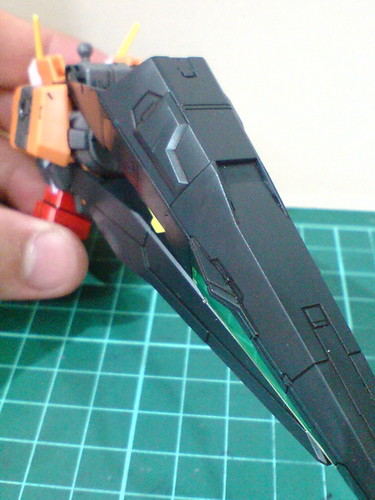
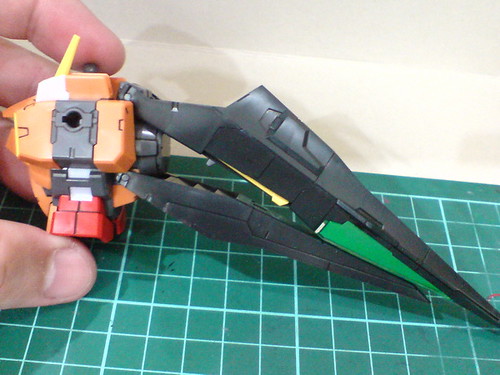
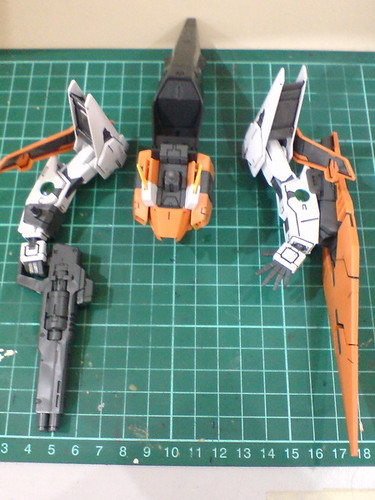
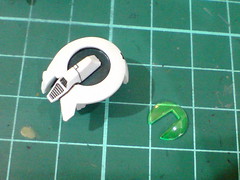
Parts for the backpack, or more accurately, the nose and tail of the MA mode. ^^
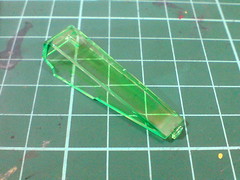
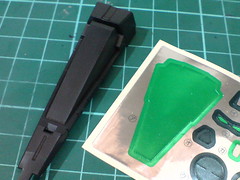
The largest clear part I've seen in quite some time, plus the largest sheet of green foil sticker I've seen in quite some time. ^^
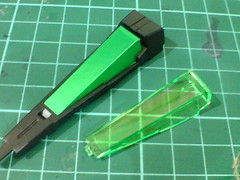
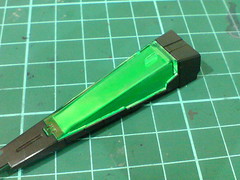
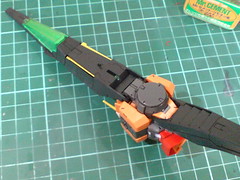
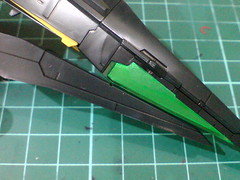
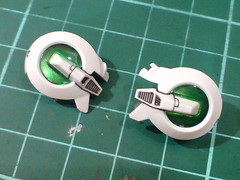
Combination of the painted clear part and foil sticker to form a large sensor (?) area.
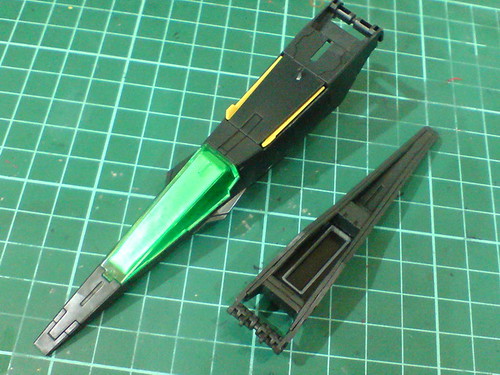
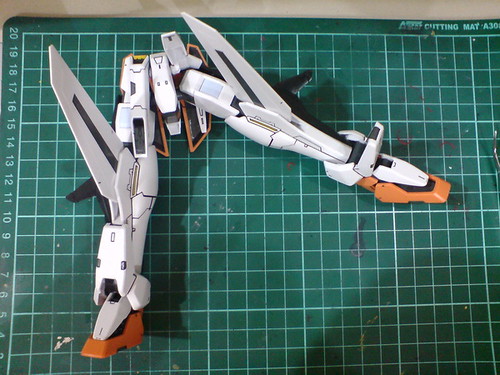
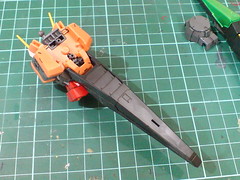
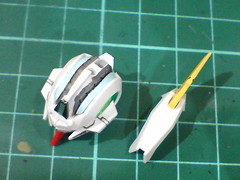
Done for the nose and tail.
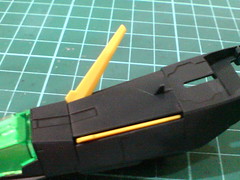
The pair of V-fin on top of the nose can be lifted/retracted.
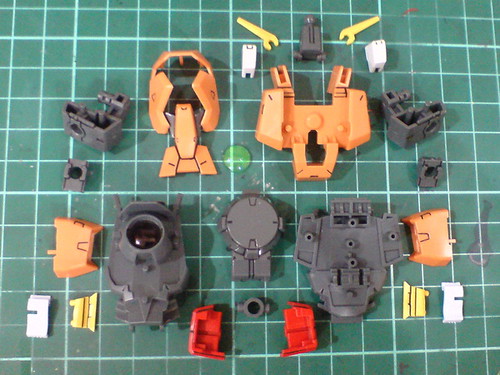
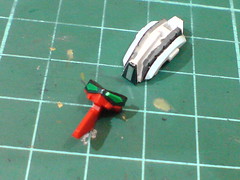
Parts for the body.
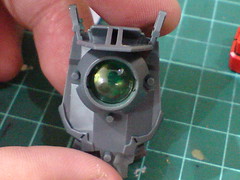
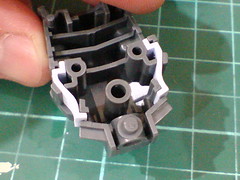
(Left) Combo of glossy paint in the middle of the chest and painted clear green part for the GN Drive. ^^
(Right) Two small curvy pieces of soft rubber parts for the GN Stripes around the waist.
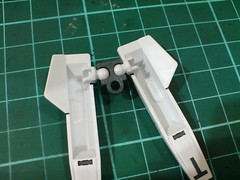
Very unique slide-mechanism for the shoulder block. ^^
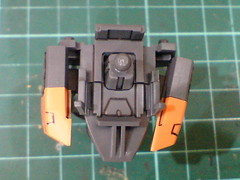
The said slide mechanism allows the shoulder blocks to not just expand outward from the body (left), but to bend to the front as well (right).
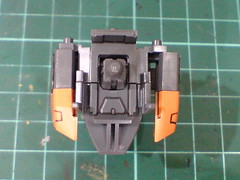
Done for the body.
Side view
Following the design pattern of the four Meisters' Gundams in "Gundam Double O" Season 1, the V-fin on top of Gundam Kyrios's chest can be lifted/retracted.
Some of the details on the body.
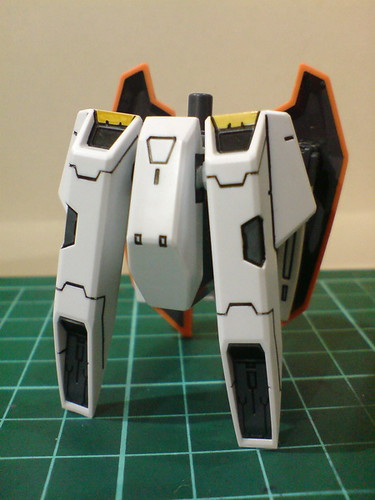
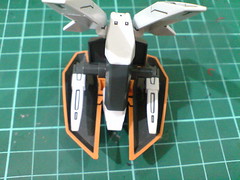
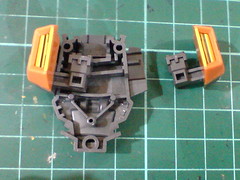
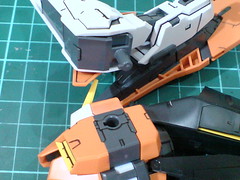
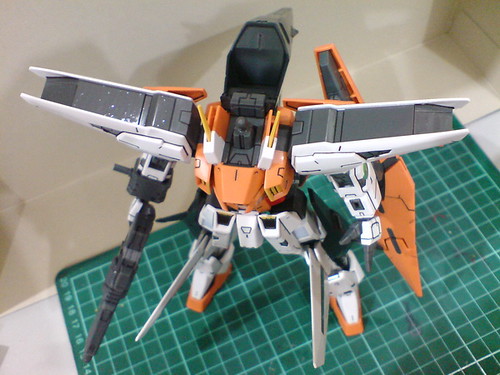
Two extra backpack parts to connect the nose and tail to the back of the body.
(Left) The larger orange part clips the tail unit to the back, while the gray part locks the nose unit's position.
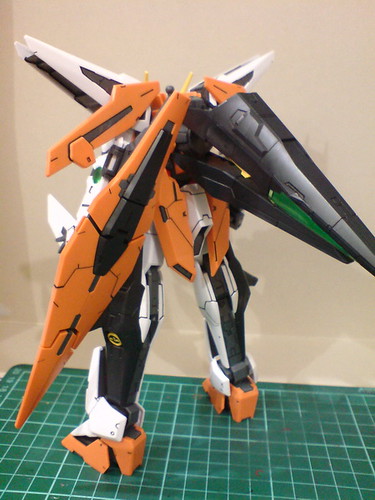
The nose and tail units are flipped to the back until they clip together via a pair of small connector (nose) and slot (tail) to complete the entire "backpack".
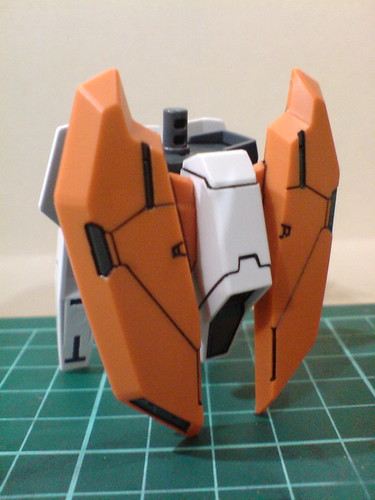
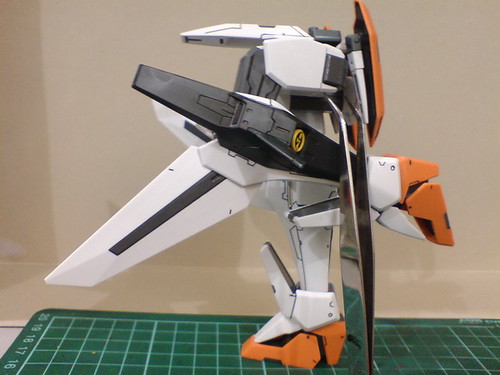
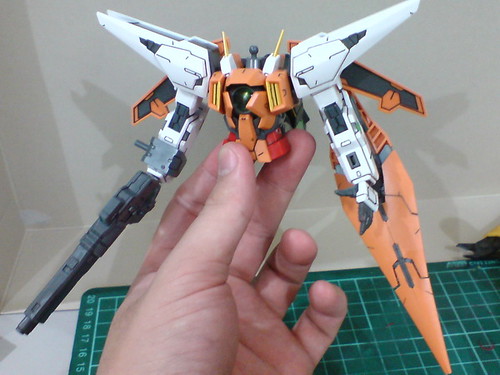
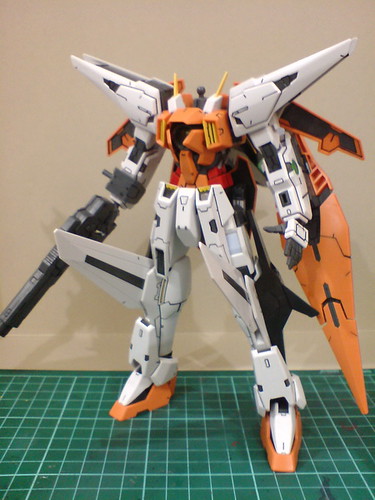
Now the body unit is completely done ...
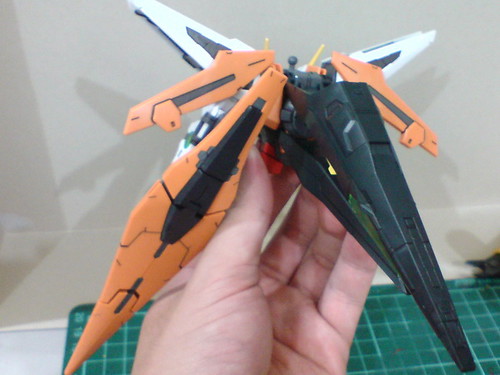
... with the massive size of its backpack totally stealing the show XD
Very imbalanced proportion of the body and backpack ^^;
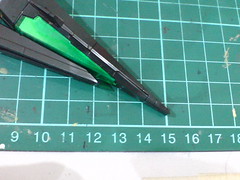
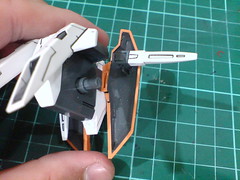
The dimension of the entire body unit = 15cm.
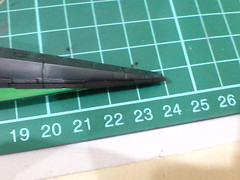
The length of the body with the nose expanded = 24cm.
Shown with the arms completed in the previous posting to form the upper body.
Clever insert-and-turn design to lock the arm into the shoulder block.
Upper body completed.
Only the head remains now.
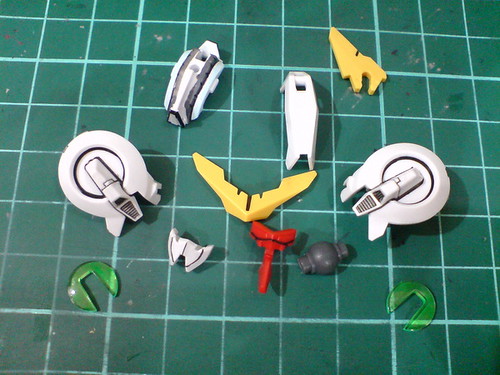
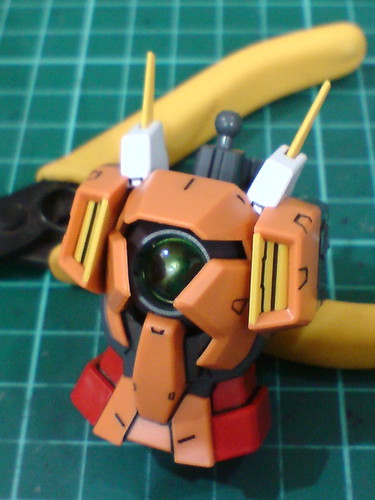
Parts for the head.
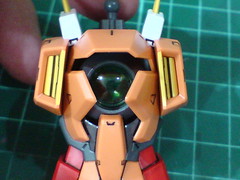
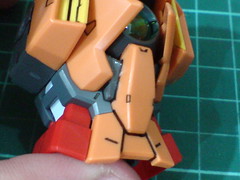
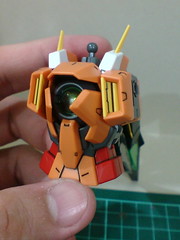
Foil stickers are used for the GN Condensers on either side of the helmet before the clear parts are assembled.
Foil stickers are used for the eyes and forehead scope as well.
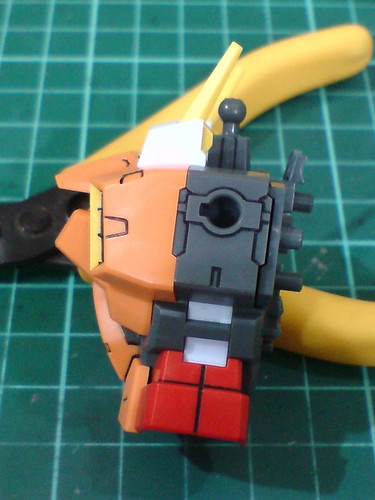
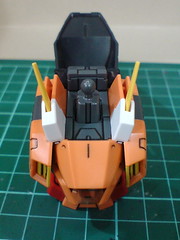
A look at the painted gray portion and light blue GN Stripes before the top part is assembled onto the head.
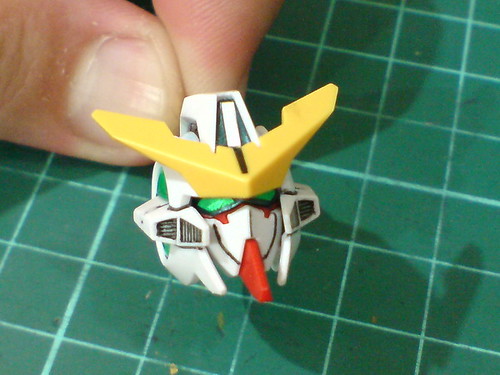
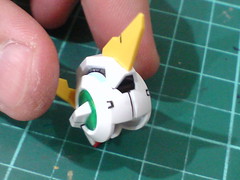
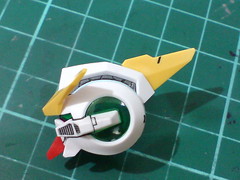
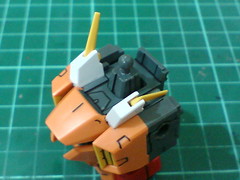
All done for the head.
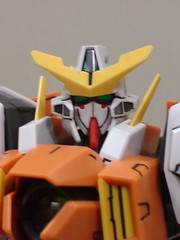
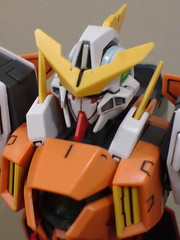
Assembled onto the body.
And thus 1/100 Gundam Kyrios is completed. ^^ More images of this completed kit will be in the next posting. ^^


No comments:
Post a Comment