Continuing with the assembly of HG 1/144 Gundam Exia after the previous posting. ^^
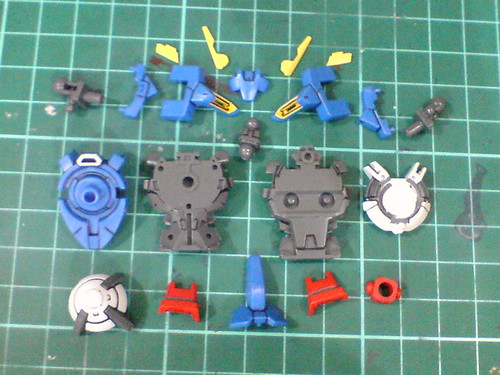
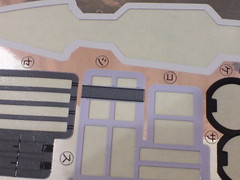
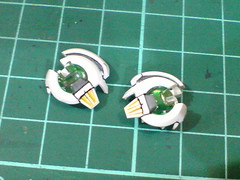
Parts for the body.
That red polycap for the waist is actually a spare one from my old HG 1/144 Astray Red Frame. ^^; I used to keep all the polycap sets with unused parts to not waste anything. ^^
I only panel lined the GN Drive cone back in Part 2. Looking at the painted metallic green ring on the same component of the First Grade version, I'm thinking of getting the same effect, preferably without painting so that I won't have to spend time waiting for the paint to dry before continuing with the work. ^^;
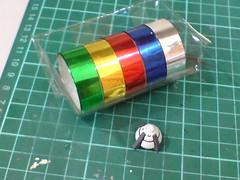
The shiny metallic tape initially used for the enhancement of MG Infinite Justice Gundam's cockpit would be a simple and fast "solution" for the GN Drive's metallic green ring. ^^
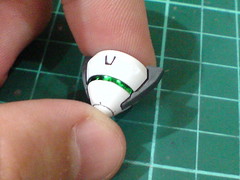
Cut out and applied the stickers after rough measurement is taken for each segment of the entire ring.
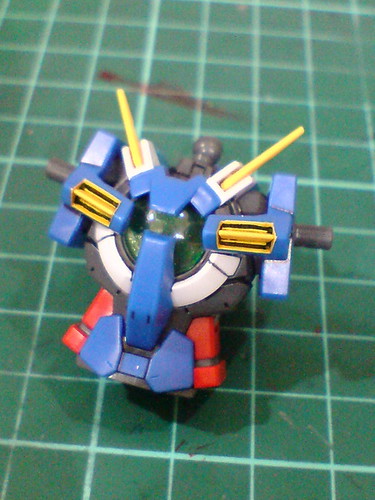
Done for the GN Drive's enhancement. ^^
Metallic green leftover foil stickers would be great for this task as well, but the metallic tape was the first thing I thought of before the work, and I don't have to sort through a bunch of leftovers to get the pieces I want too. ^^
Foil stickers are used for the GN Stripes beneath the armpits, but there's a bit of trick before applying those two foil sticker pieces as well. ^^
Only the light purple part is needed - the gray segment in the middle of the sticker is not necessary since that particular segment is already on the body parts to begin with.
The light purple parts are cut out and applied onto the intended areas.
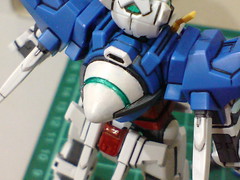
Foil sticker and then clear parts already painted using normal green highlighter for the chest GN Drive.
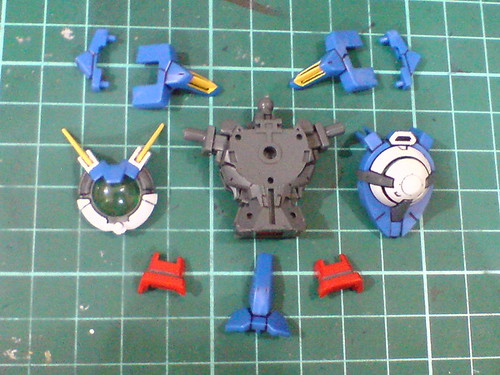
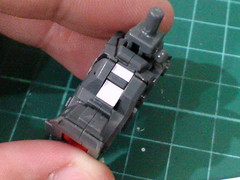
Major components of the body before the final assembly.
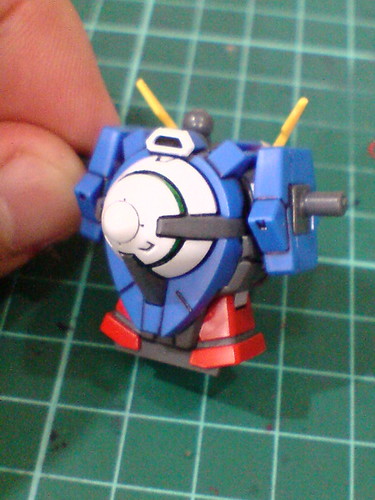
The only connecting point between the blue shoulder block parts and the gray joint part is the ball-type joint shown in the left image. Apart from securing the shoulder block parts, the ball-type joint allows them to move with the shoulders. ^^
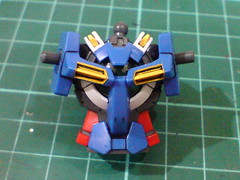
Done for the body unit.

The V-fins on top of the chest can be retracted.
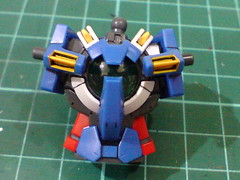
Expansion/retraction of the shoulder blocks.
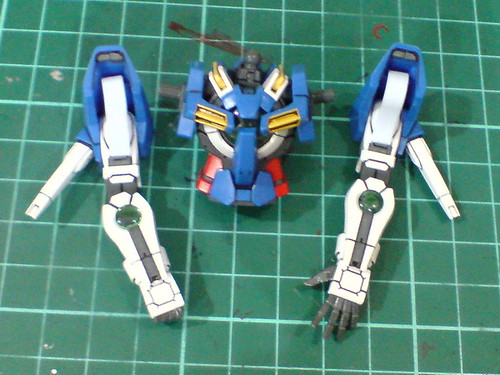
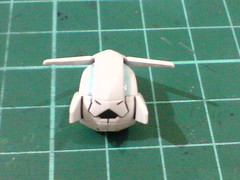
With the arms completed in the previous posting.
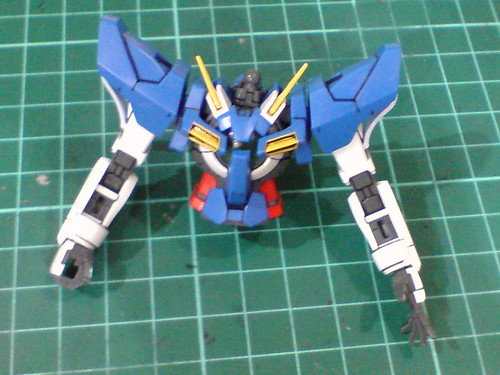
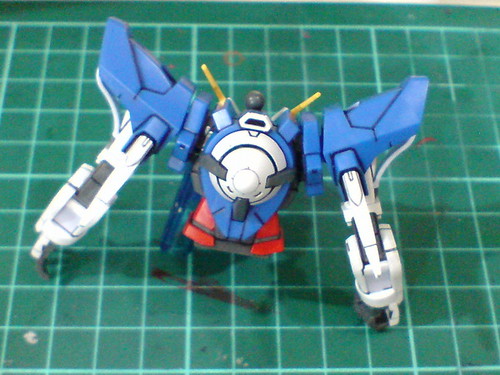
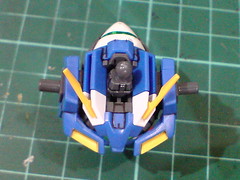
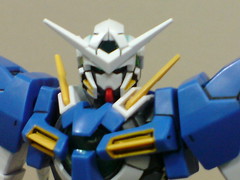
Upper body completed.
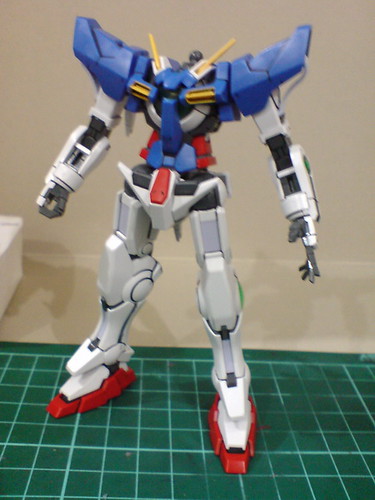

Connected to the lower body done in the previous posting.

No restriction for the waist's horizontal movement. ^^
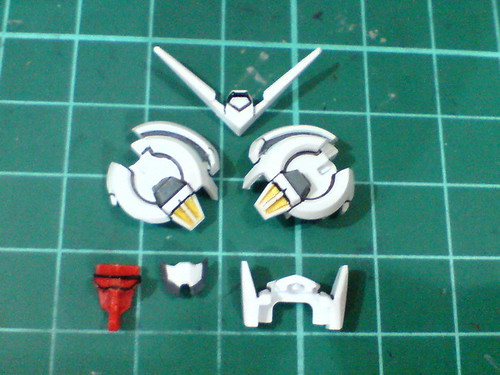
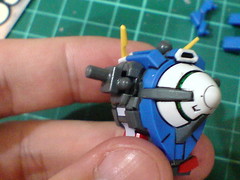
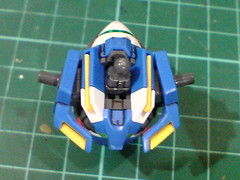
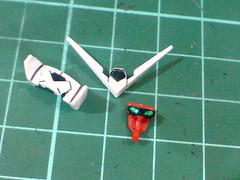
Parts for the head.
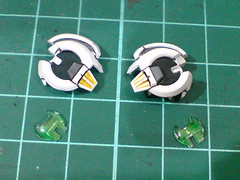
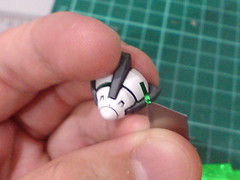
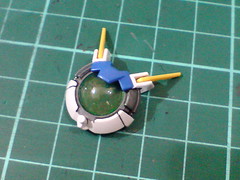
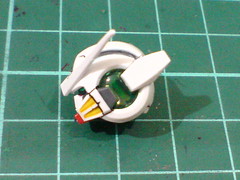
Foil sticker and then clear parts already painted using normal green highlighter for the GN Condensers on both sides of the helmet.
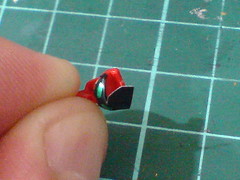
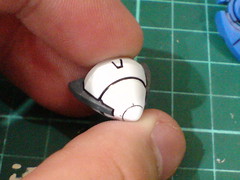
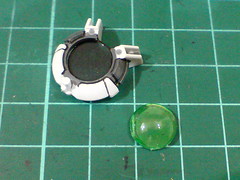
(Left) The foil sticker piece for the eyes comes with a large "top wrapper" to secure the sticker to the red part.
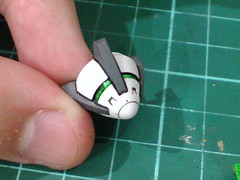
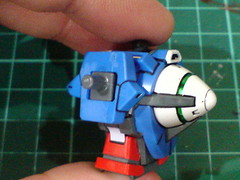
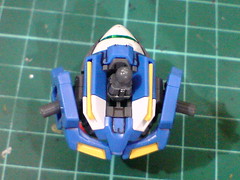
The "plain" face of Gundam Exia XD
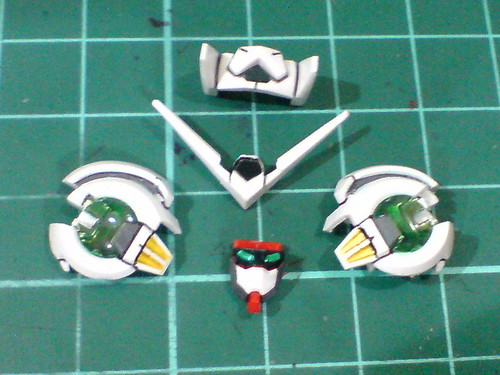
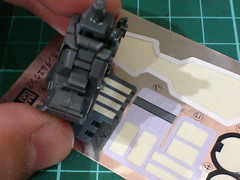
Major components of the head before the final assembly.
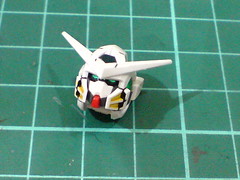
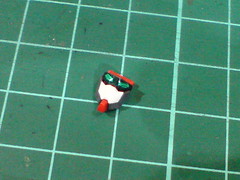
Done for the head.
A lot of paint work was put in to get all the details right for this small component, but the work is not as much as that on the FG version, that's for sure. ^^

Assembled the head onto the neck joint.
More images of this just completed HG kit in the next posting.


1 comment:
I am puzzled why you used a red polycap from HG Astray Red Frame. Is it necessary? Or did you lose a polycap from this Exia kit?
Post a Comment