Assembling Keropla Pururu Chief Medic after the introduction in the previous posting.

Body of the syringe.
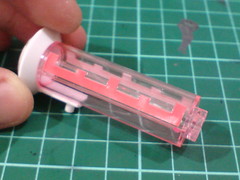
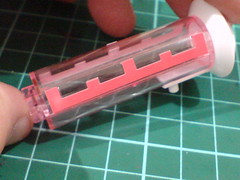
Paper stickers used for the bars on both sides of the syringe's body.
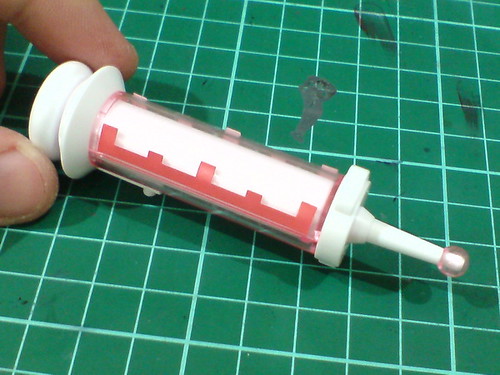
All done for the syringe after the "needle" is assembled to the front of the body.
The base of the "needle" should be in pink according to the box art, but I just omitted the paint work since it doesn't seem important to me. ^^
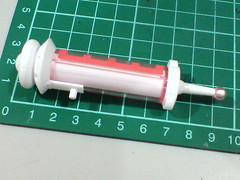
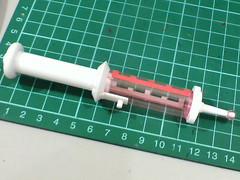
The pump action as seen on any regular syringe is of course possible, since the entire component is pretty big in size. ^^
The full length of this "weapon" when the plunger is pulled out to its limit is 14cm - pretty impressive length for an SD-class kit. ^^
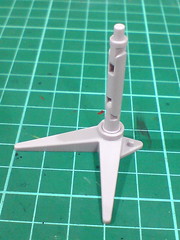
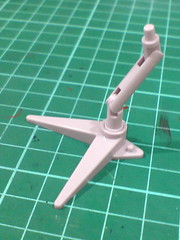
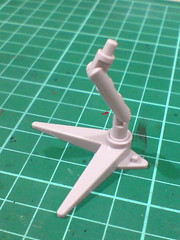
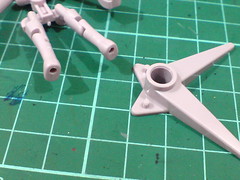
Just two parts for the simple display base.
The stand has two molded joints that can be bent very easily.
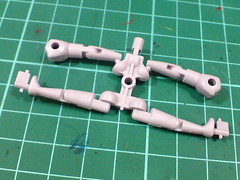
The single body and limbs part.
While Keropla fans would have seen this part over and over again on model kits of other characters from the series, this is actually the first one for me. ^^
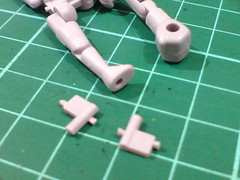
A little tab on her soles to be pulled out.
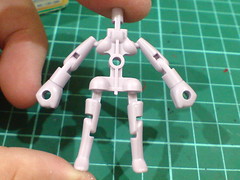
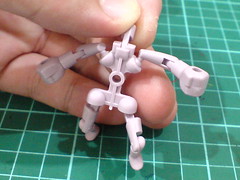
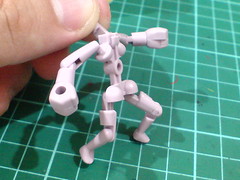
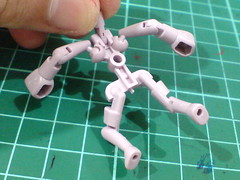
Pretty standard articulation for all the limbs via peg-type, hinge-type and ball-type joints, but I do consider the design to be very nice as everything is molded on a single part. ^^
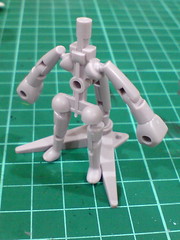
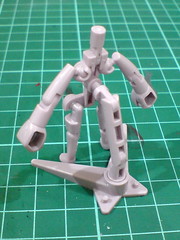
The body frame has a little slot on the back that can be connected to the display base.
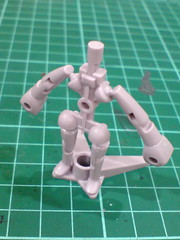
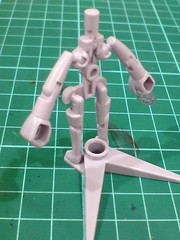
The slots on the soles can be connected to the pins on the display base to show the kit standing without the stand as well.
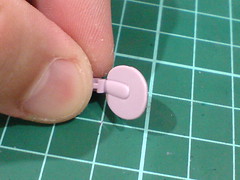
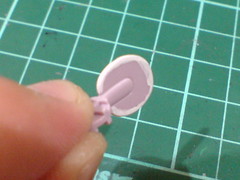
A little bit of painting using Gundam Marker White to cover the edge of Pururu's tadpole tail. ^^

All parts for the body.
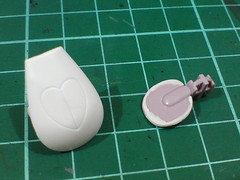
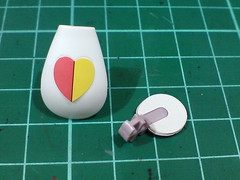
Paper stickers are used for Pururu's "emblem" on the stomach and the surface of her tail.
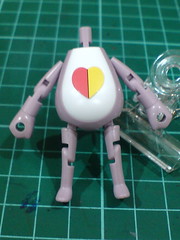
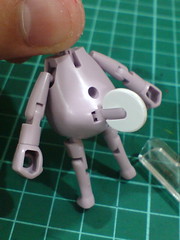
Done for the body.
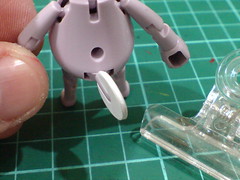
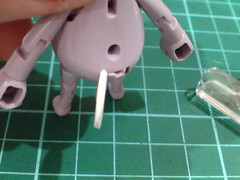
The tail can be flipped to the left or right.
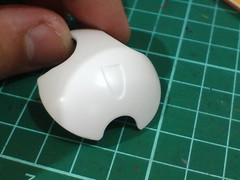
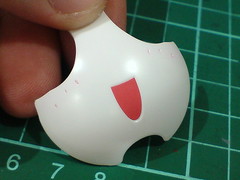
Apart from the paper sticker for her mouth, the three little line details under each of her eyes are painted using normal red pen.
Very little of the paint remains after the excessive paint is rubbed off, making the lines very subtle in their appearance. ^^
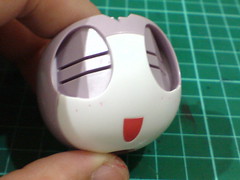
The purple part connects with the white face part seamlessly. ^^
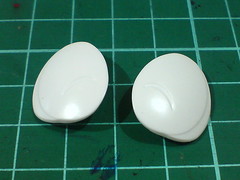
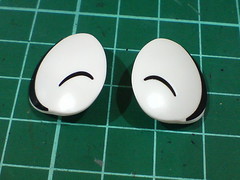
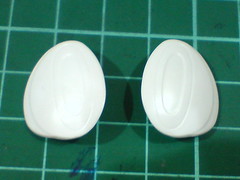
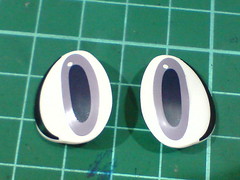
Paper stickers used for all four eye parts.
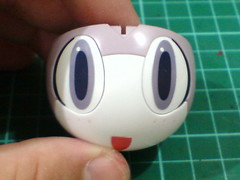
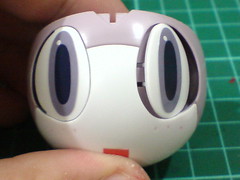
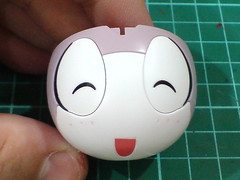
Simple part-swapping to get the different eye expressions.
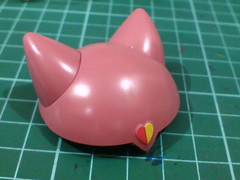
Three parts and one paper sticker for the top of Pururu's cap.
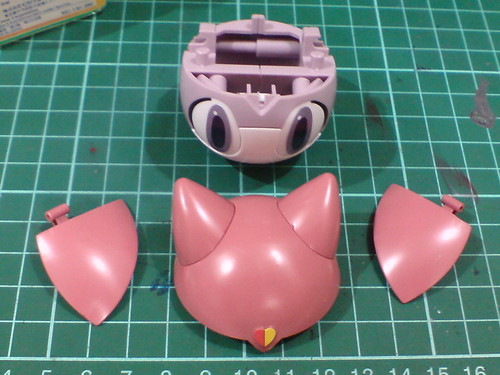
Components for Pururu's head.
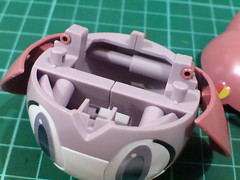
Simple hinge joint design that would allow the flaps of her cap to move.
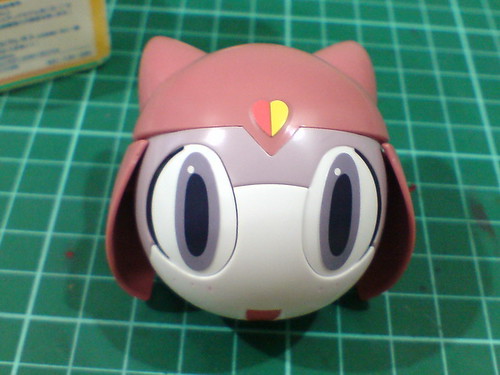
Done for the head.
Saved by her cap, I was just about to describe it as a very round pink and purple ball XD
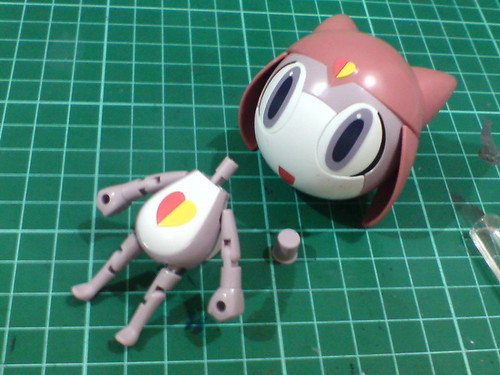
A neck cap joints the body to the head.
And just like that, the assembly of Pururu is done. ^^
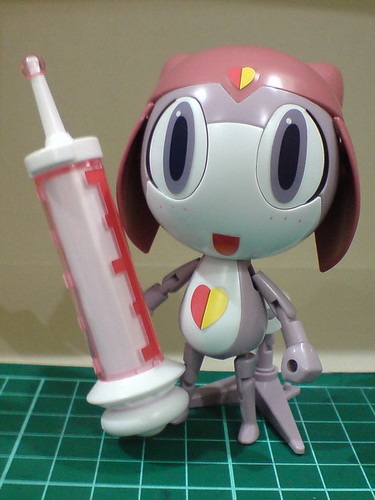
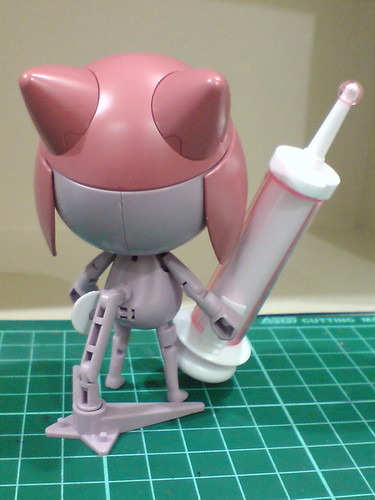
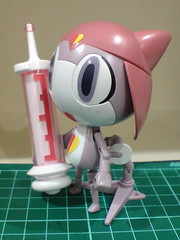
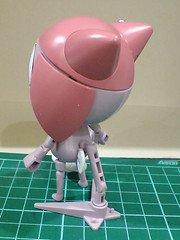
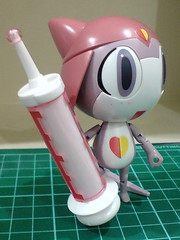
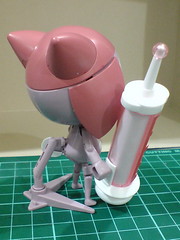
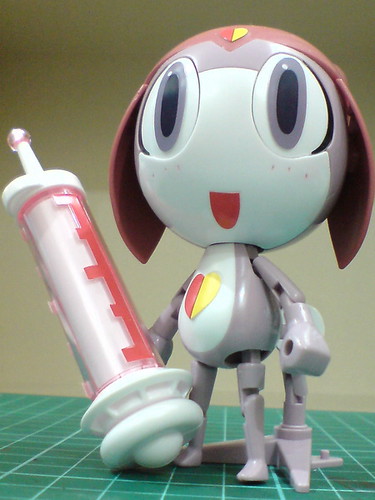
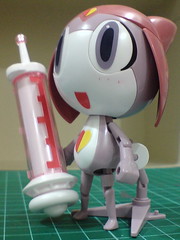
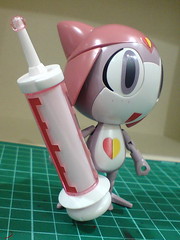
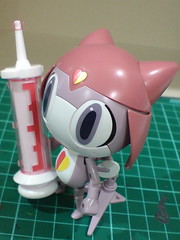
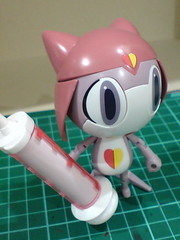
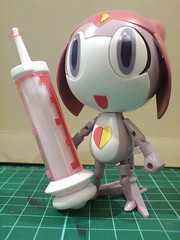
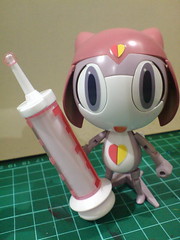
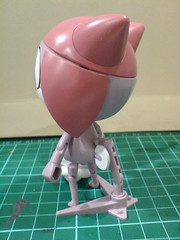
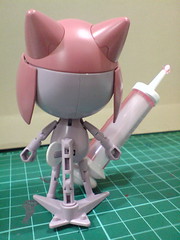
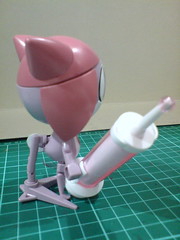
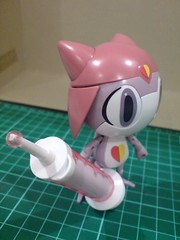
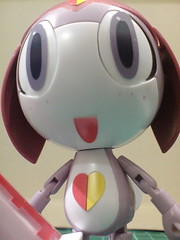
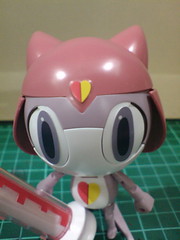
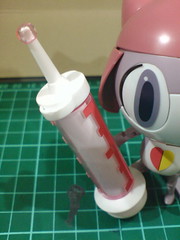
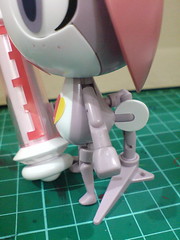
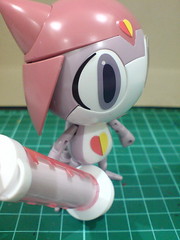
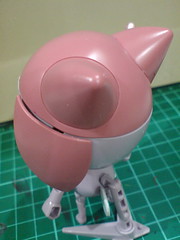
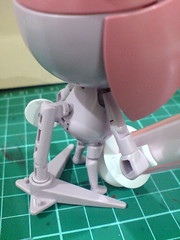
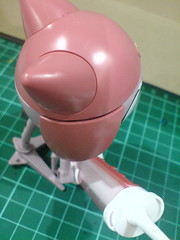
The assembly is extremely simple, even easier than any average BB Senshi Sangokuden kit I would say. ^^ In comparison to that, Pururu's head is bigger, so the parts are bigger and easier to handle. Furthermore, the entire body doesn't require much assembly at all because of the molded frame, which also made the overall part number to be lower.
Overall, the build experience was pretty fun, and I can see how this could be enjoyed by kids who would buy the kit after watching the anime series on TV. ^^ I believe this is relevant to the Pokemon Plamo Collection series as well.
On the other hand, those paper stickers included are pretty poor in adhering to the surface of the parts. ^^; The edges of the stickers tend to peel off every now and then - the ones for the eye expression parts especially. ^^; I can understand that the design is meant for the convenience to the kids, since the stickers can be removed quite easily when placed wrongly on the parts, but the disadvantage that comes with that feature is really not cool at all. ^^;
Some action poses of Kururu in the next posting.


No comments:
Post a Comment