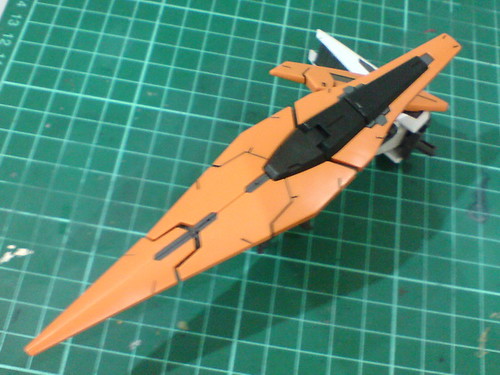
Time to roll out another Gunpla that has been left waiting for its final assembly for quite a while. ^^
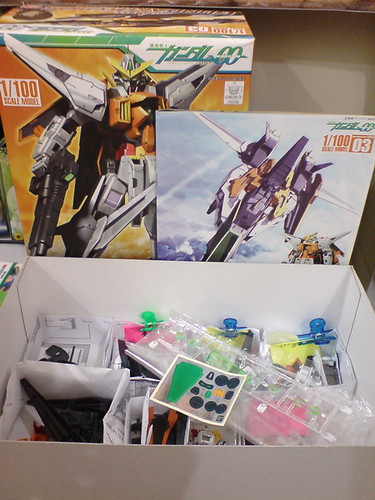
1/100 Gundam Kyrios last seen (XD) in early August gets the shot this time. ^^
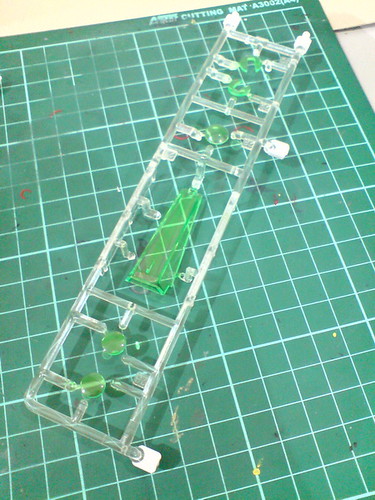
The separated runner featuring all the clear parts painted using normal green highlighter.
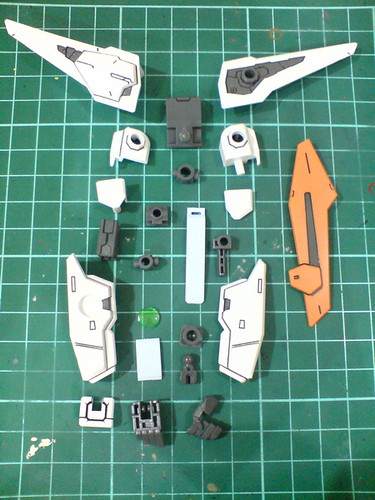
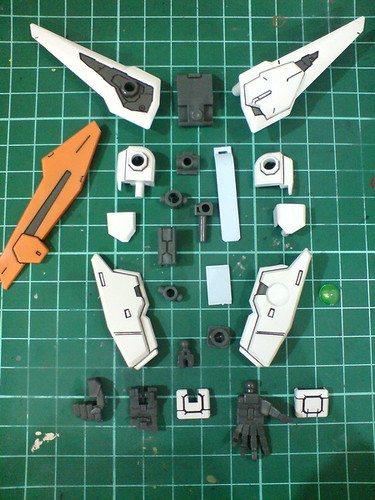
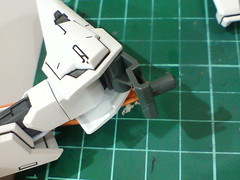
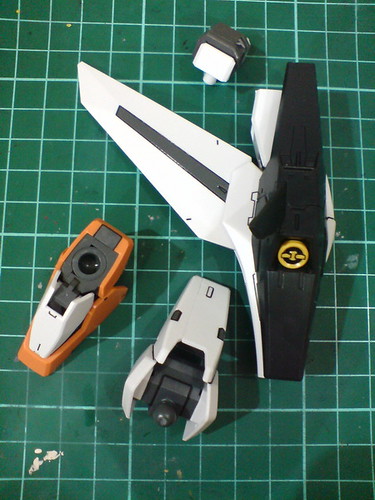
Parts for the right arm.
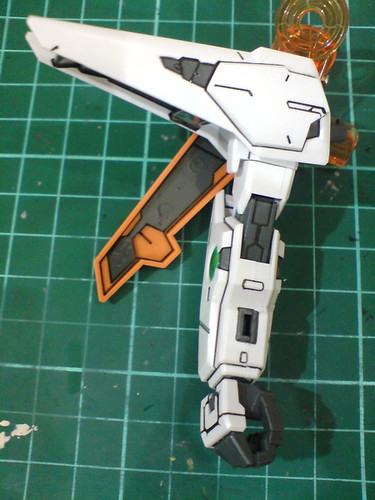
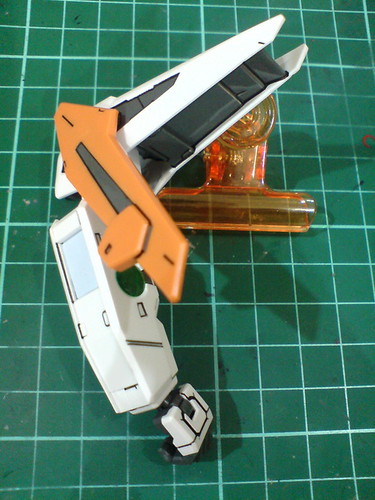
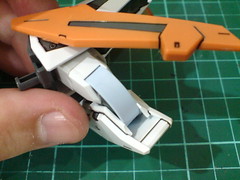
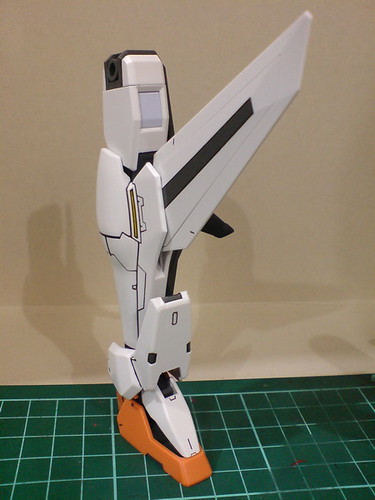
A look at the really long GN Stripe part that stretches from the elbow joint to about the model's wrist level. Since it's made of soft rubber, the stripe will follow the elbow when the latter is bent.
Another shorter but wider GN Stripe part is on the back of the forearm near the elbow, which is just for show. ^^
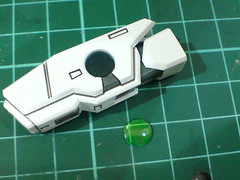
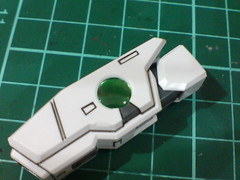
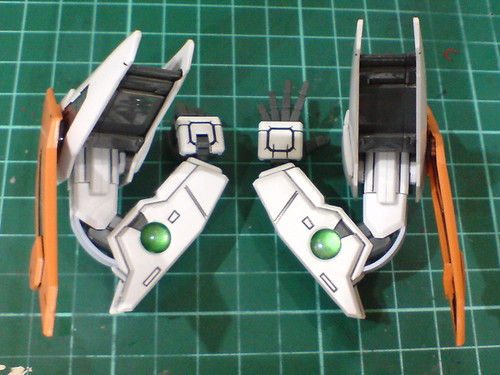
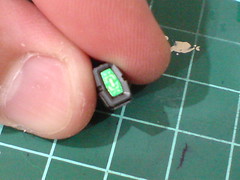
Foil sticker and clear part for the GN Condenser on the forearm.

Separable components of the right arm before the final assembly.
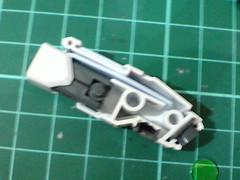
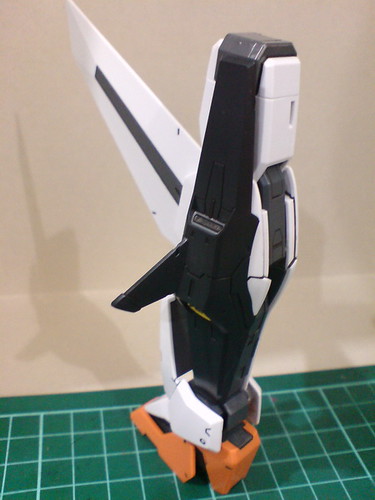
Right arm completed.
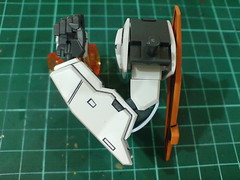
Pretty standard articulation for the elbow I would say, but the natural bend of the GN Stripe is pretty cool. ^^
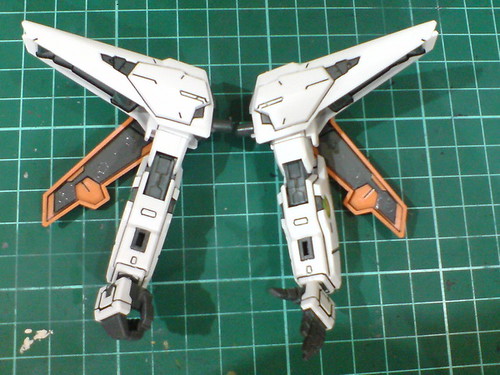
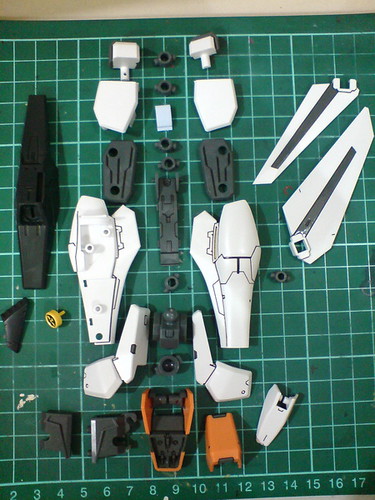
Parts for the left arm.
(Left) The shoulder joint's color matches the painted armor part very nicely. ^^
(Right) A look at the two GN Stripe parts for the forearm again.
Separable components of the left arm before the final assembly.

Left arm completed.
To facilitate the wide bend of the shoulder armor during the MA mode transformation, the joint can be released from the armor, which will be handy in creating more dynamic action poses for the completed kit.
The fact that the extremely narrow gap between the joint and the painted gray portion doesn't interfere with the articulation is another brilliant design point of the kit. ^^
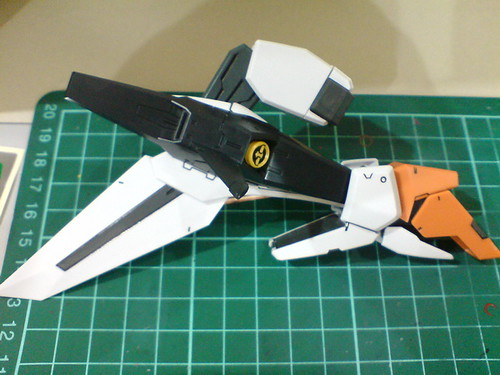
Done for both arms. ^^
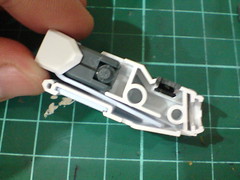
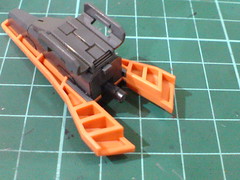
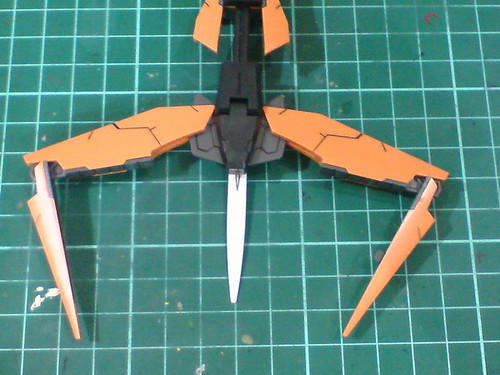
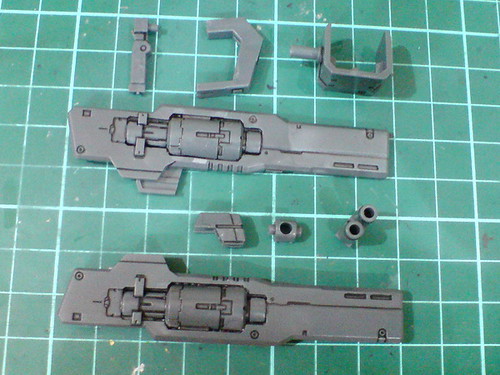
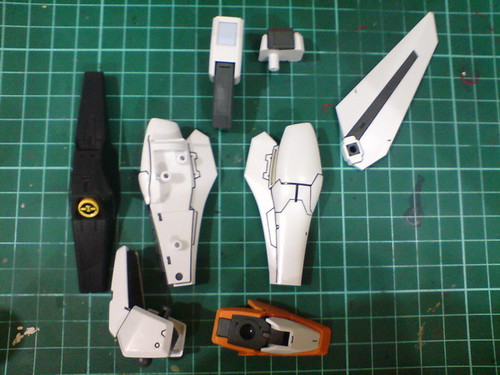
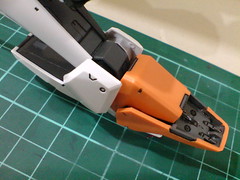
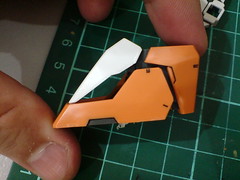
Parts for the shield.

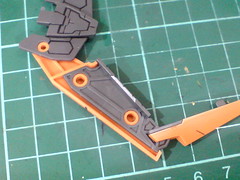
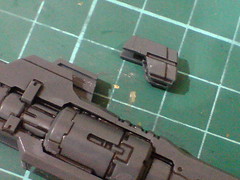
Two movable joints designed for each claw of the shield.

A rod inside the rear portion of the shield can be extended, which would allow the claw segment to move forward.
The two components of the shield.
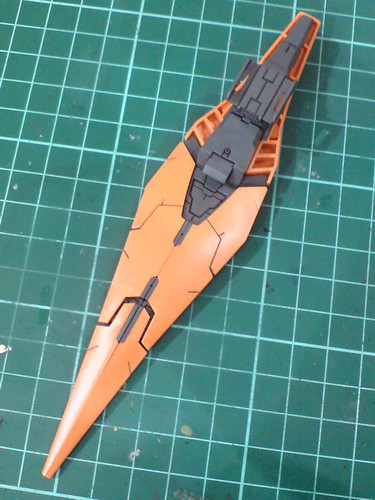
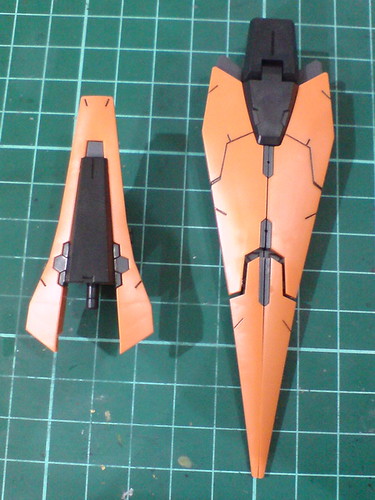
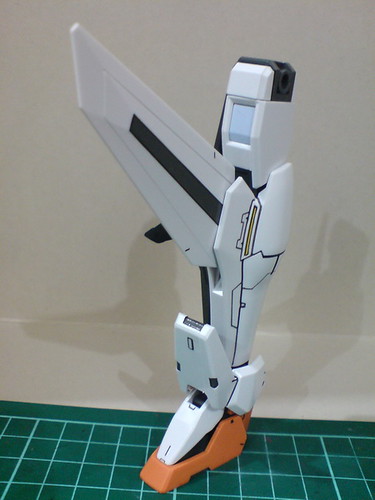
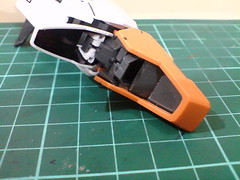
The completed shield.

Overall length in normal mode is 16cm.
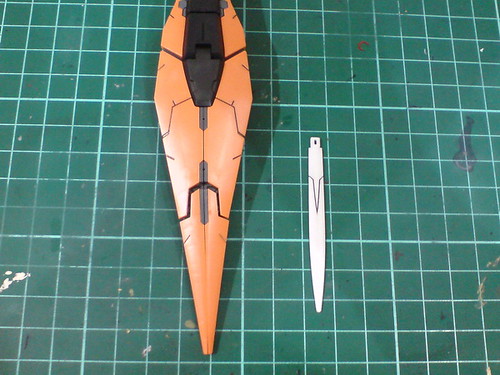
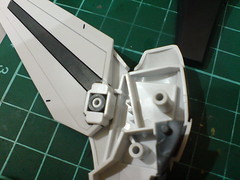
With the "notorious" blade part.
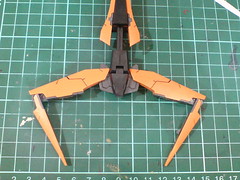
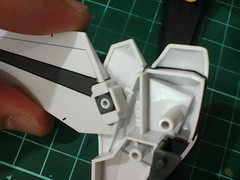
(Left) The front portion of the shield and the claws are extended.
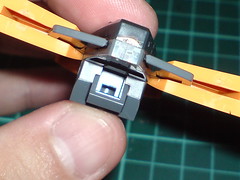
(Right) A slot beneath the joint to be used to mount the blade part.
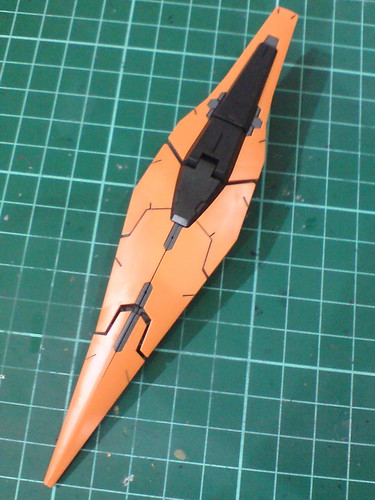
With the blade part attached.
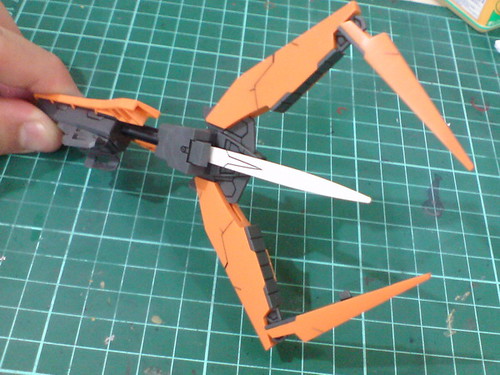
Using the extension rod, the entire claw segment can be rotated to show it grasping its victim at different angles. ^^
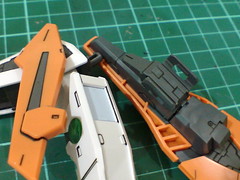
The connector on the rear portion of the shield can be clipped onto the back of the forearm easily.
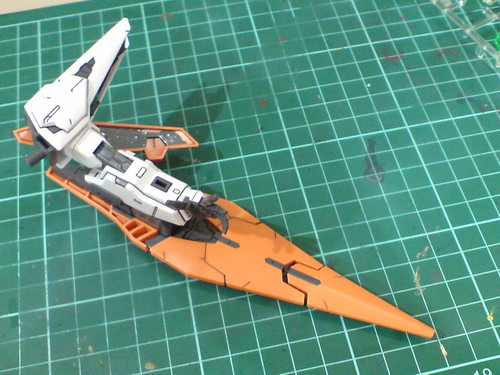
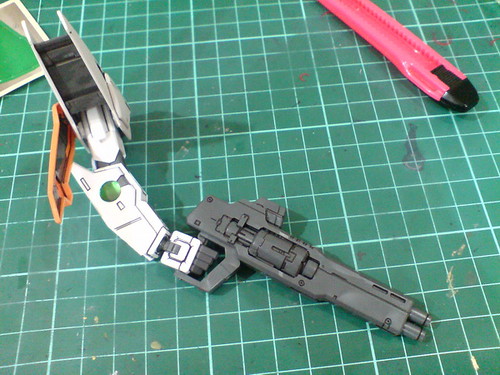
The left arm with the shield mounted.
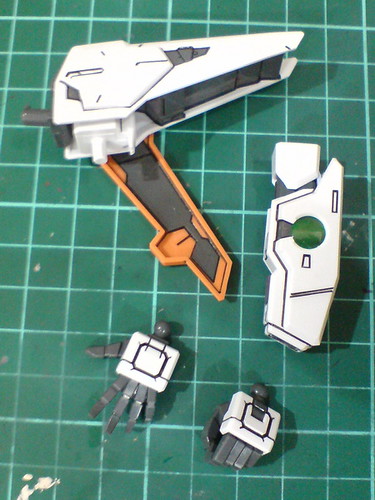
Parts for the GN Beam Sub Machine Gun.
(Left) Foil sticker for the targeting scope is designed with a neat silver cross hair pattern in the middle. ^^
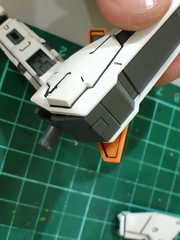
(Right) The slide-on design to assemble the scope part to the machine gun's body is pretty nifty as well. ^^
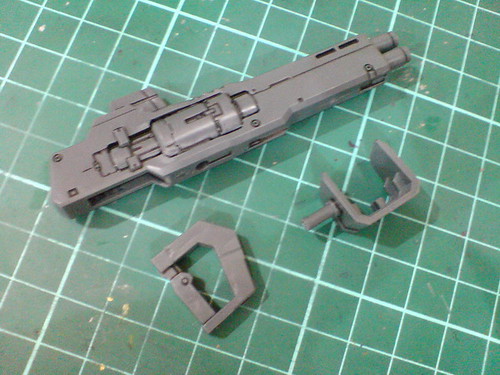
Apart from the handle, which is a separated component from the main body (for a purpose), an extra mount rack is included for the weapon in MA mode, which can be used in MS mode anyway. ^^
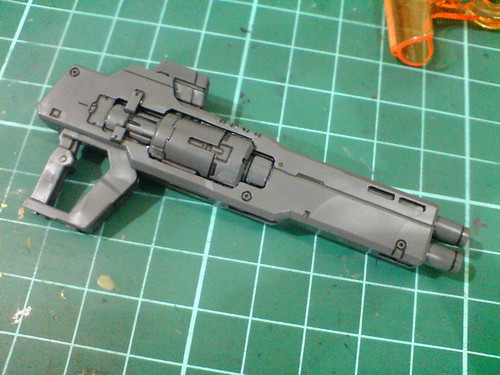
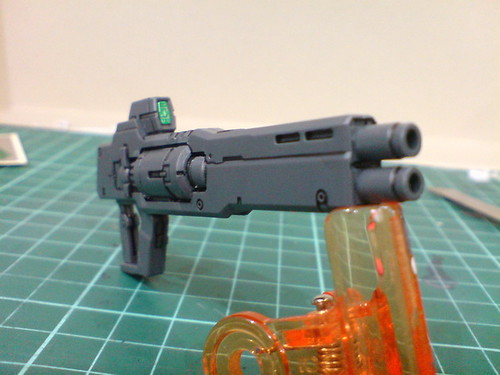
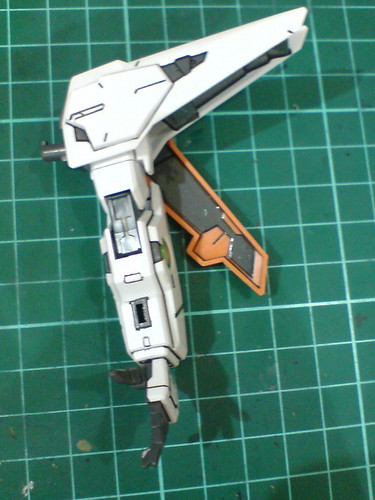
Done for the GN Beam Sub Machine Gun.
Hand carried (normal mode).
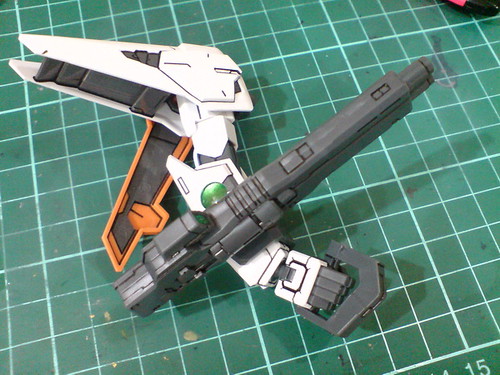
With the machine gun's body attached to the special mount rack included to form a remote controlled beam weapon. Very cool. ^^
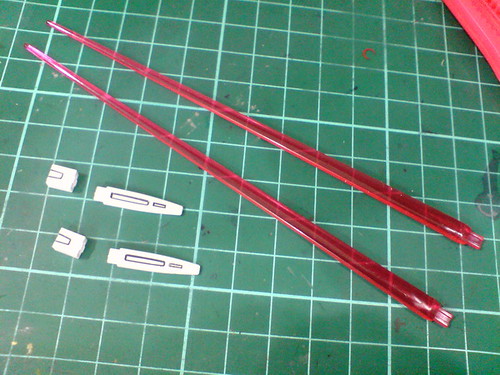
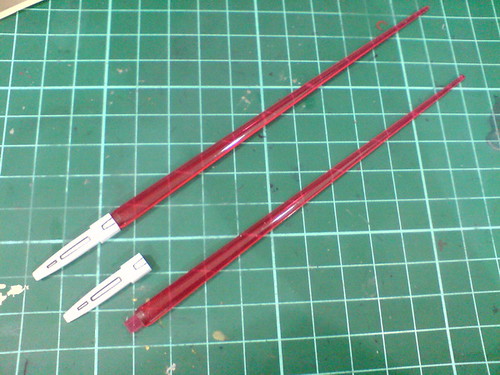
Like the ones for 1/100 Gundam Dynames, these are just very standard looking beam sabers. ^^
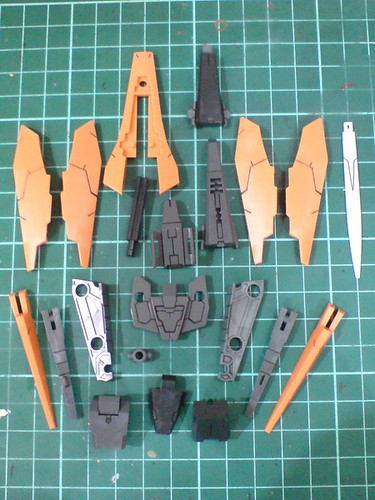
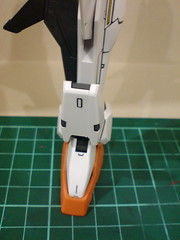
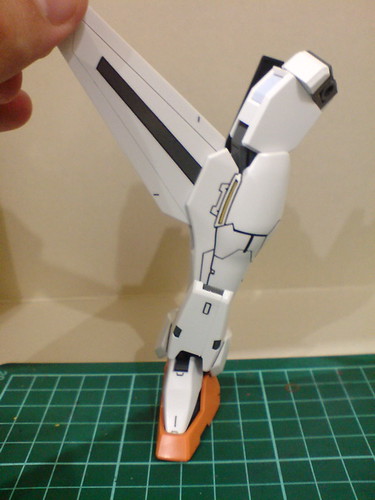
Parts for the right leg.
Components of the right leg.
A little bar beneath the knee/wing puts a limit to how much the latter can be bent.

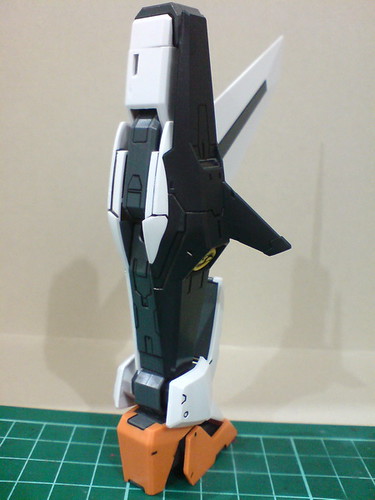
Right leg completed.
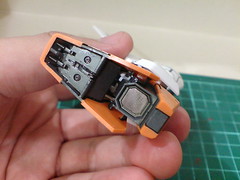
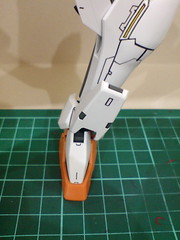
Painted details beneath the foot.
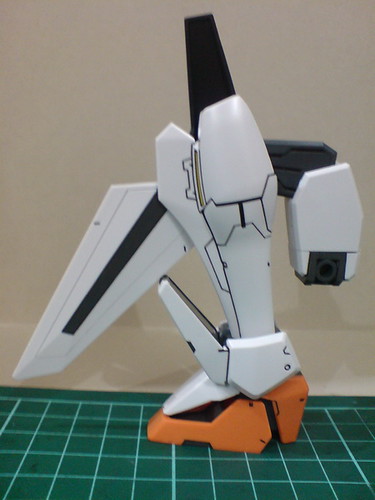
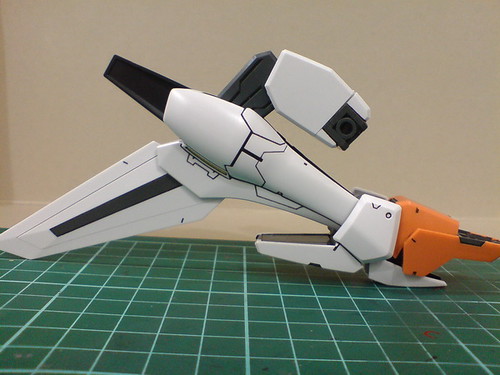
Extremely flexible articulation design for the leg. Consideration for certain parts to be movable for the transformation feature is the main reason for such flexibility I think.
A complete retraction for the foot.
The ankle component has separated joints for the foot (ball-type joint) and leg (peg-type), allowing both to move independently of each other.
Wicked multi-joint articulation for the leg XD

Parts for the left leg.
The ankle guard sits on top of the foot and cover its hollow surface very nicely. ^^
Components of the left leg before the final assembly.
Left leg completed.
The same flexible articulation design as the right leg. ^^
Everything is pretty simple and straight-forward. ^^ The shoulder armors and legs have a few really large parts that are such a joy to put together, ^^ but speaking of big parts, some of the largest ones for this kit are for the tail unit, which will be covered in the next posting. ^^


2 comments:
Neat panel lines. The kit would look nice even without much touch up.
hi, can somebody tell me where to get paint, top coat and cement?
Post a Comment