Back to Gunpla-ing after the end of the reviews on Revoltech Vash the Stampede and Nicholas D. Wolfwood. ^^
Bringing out another kit that has been waiting for its final assembly for quite a while - since July to exact: HG 1/144 Gundam Exia. ^^
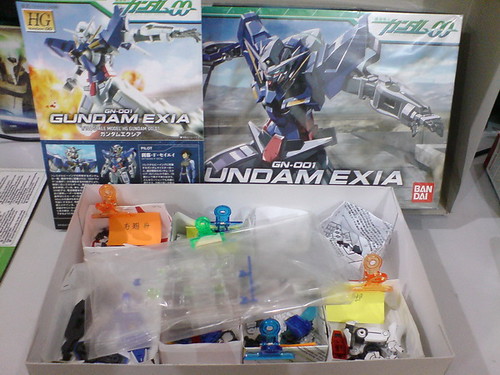
For the record, this is the 4th model kit version of Gundam Exia on my list, after the First Grade, BB Senshi and 1/100 scale versions. On the other other hand, this is also the 7th Gundam Exia to be reviewed on this blog, with the HCM-Pro, MSIA and Robot Damashii [Side MS] versions being the other three action figure-type incarnations of this Gundam already featured in previous reviews.
A "temporary" family photo of all that six different versions of Gundam Exia can be seen in the final posting of the review on the 1/100 scale Gunpla version.
After this review, another "new" member (technically it's still the same fella XD) will be joining that "growing family". XD

Since they are of the same scale, the First Grade version will be featured here and there for quick comparison with the different components throughout the assembly of this HG.
Starting the assembly with the weapons.
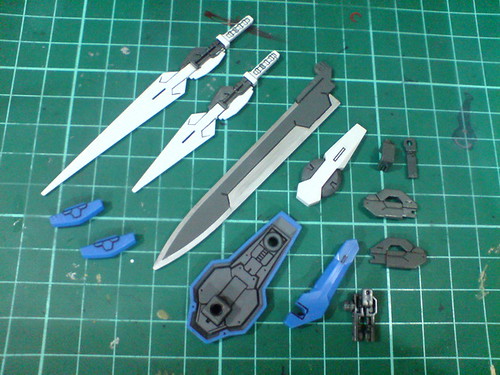
Parts for the weapons.
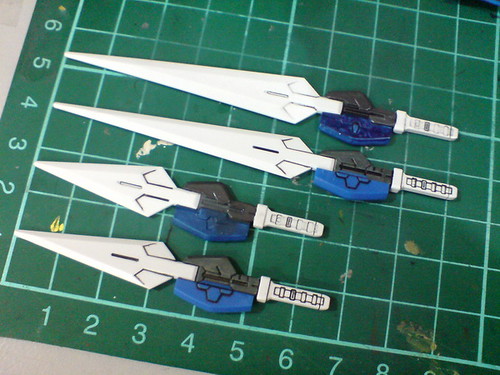
Just two parts each for the GN Short and Long Blades.
The GN Short Blade is slightly longer than its FG counterpart in comparison.
Given the size of the handles is the same, the two new GN Blades can be used directly by the FG version.
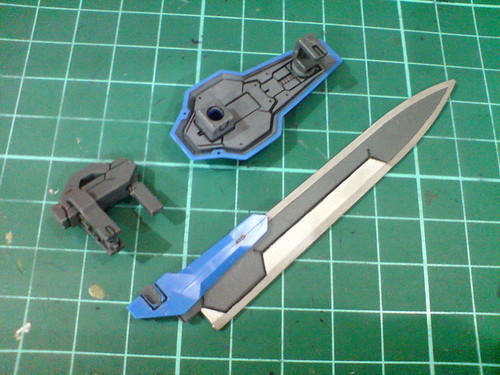
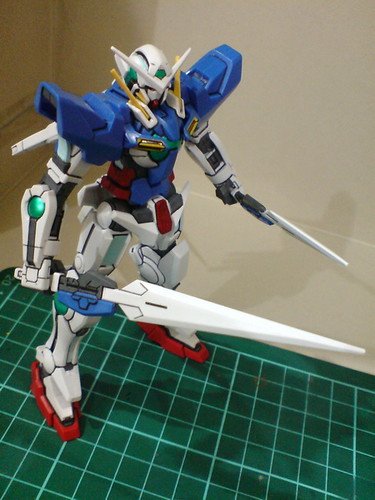
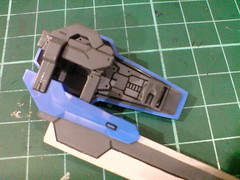
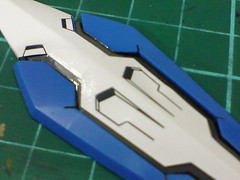
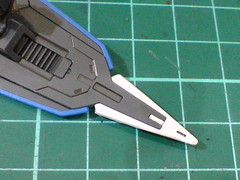
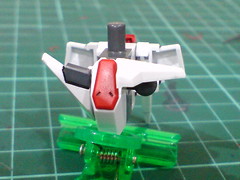
Components of the GN Sword before the final assembly.
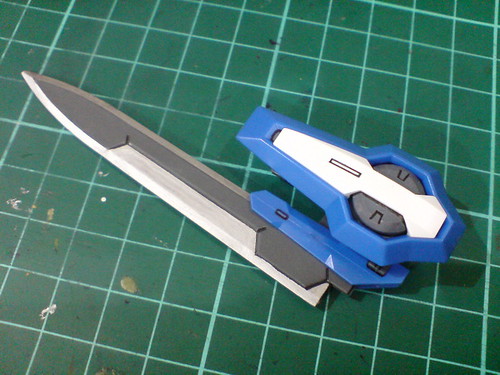
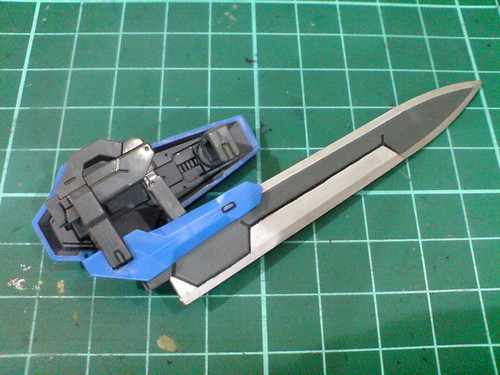
GN Sword completed.

The design of the movable components is the same as the 1/100 scale version.
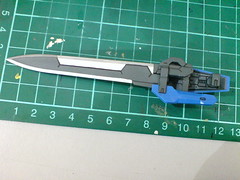
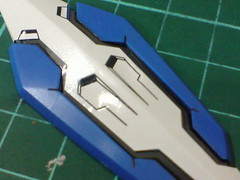
(Left) Painted details behind the shield with color that matches the gun portion is very good. ^^
(Right) The overall length of the entire weapon is about 13cm.
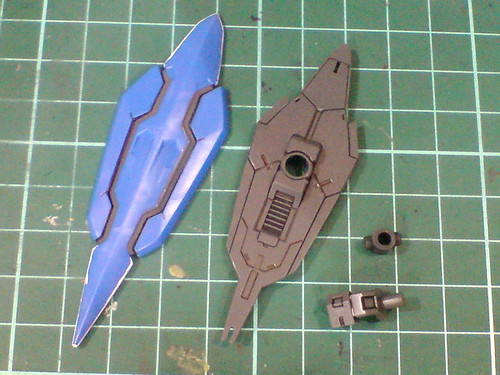
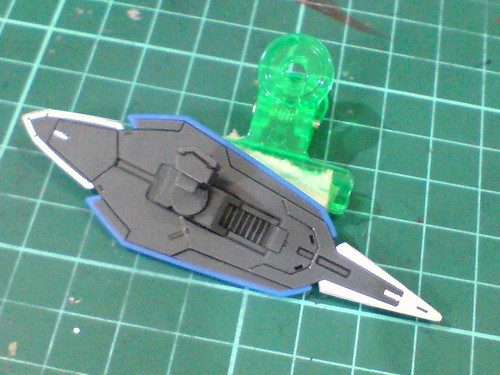
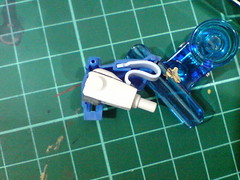
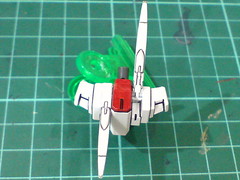
Parts for the GN Shield.
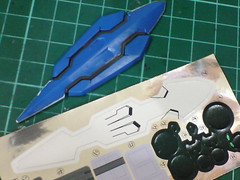
By omitting the paint work on the middle section of the shield back in Part 2, foil sticker is used for that large area instead.
The vent areas of the sticker is pressed down to stick onto the sunken surface of the shield part using cotton swap. The work is similar to that done for the chest emblem on HGUC Sinanju.
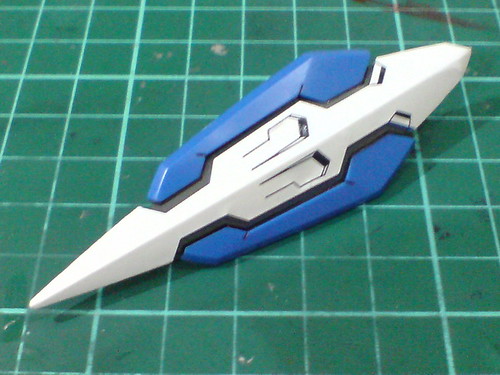
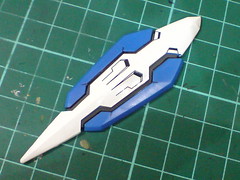
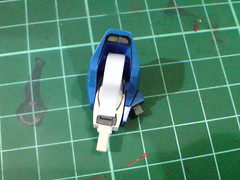
The completed GN Shield.

The "limited" white areas painted on the original blue part blends well with the white foil sticker, although it would be more appropriate to paint the two protruding pins gray to match the color of the gray part it seems. That's something I didn't manage to see back in Part 2. ^^;
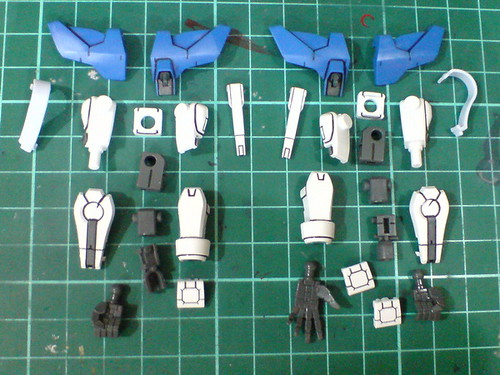
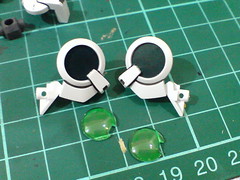
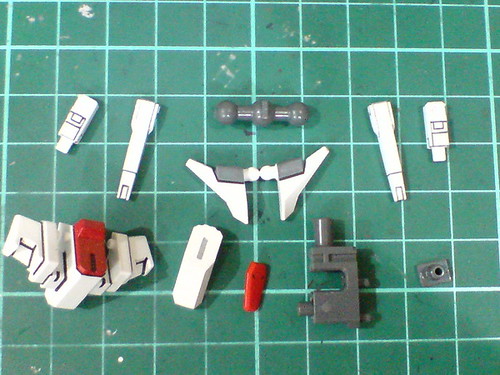
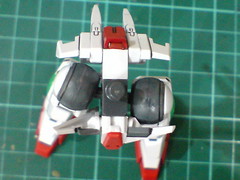
Parts for the arms and shoulder armors.

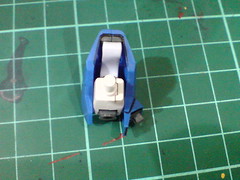
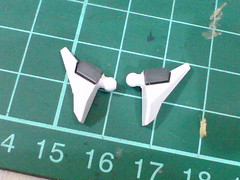
The only two soft rubber parts included in this kit, designed for the shoulders' GN Stripes are working well in complimenting the upper arm's bending action. ^^
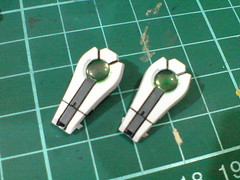
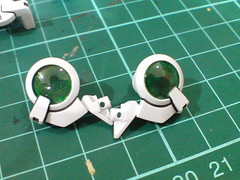
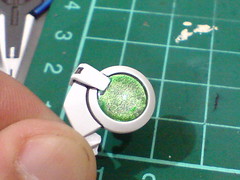
Foil sticker and then clear parts already painted using normal green highlighter for the GN Condensers on the forearm parts.
Foil stickers are used for the GN Stripes behind the forearms.
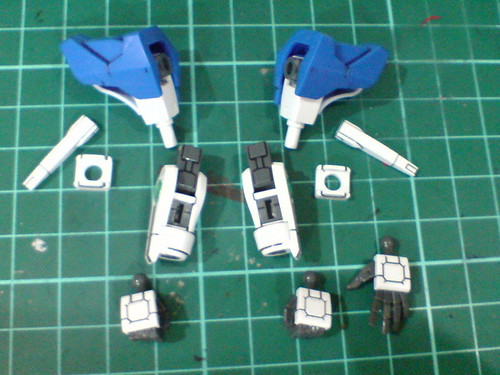
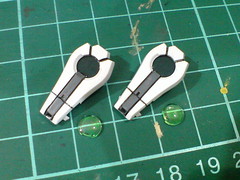
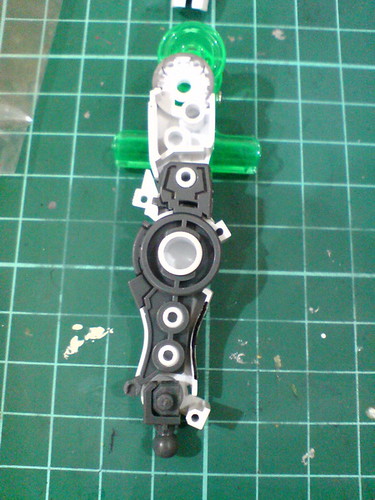
Major components of the arms before the final assembly.
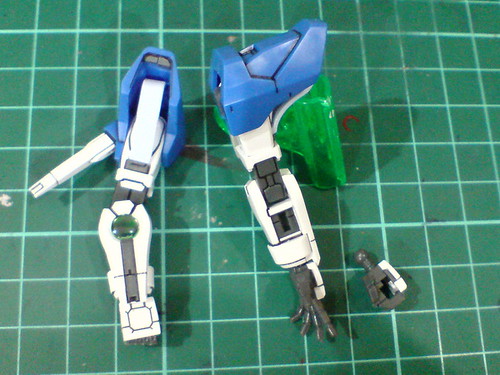
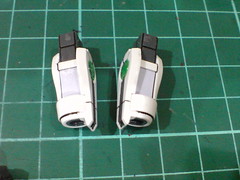
Done for Gundam Exia's arms.
Just like the 1/100 scale version, an option left spread palm is included.
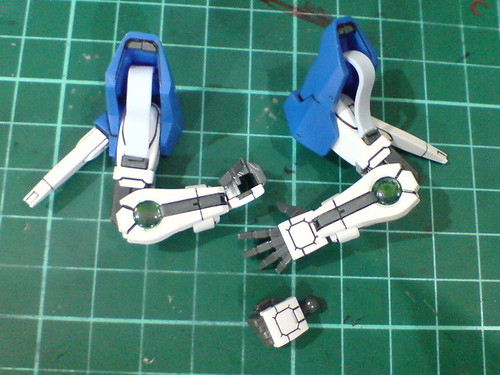
Pretty standard articulation range for the elbow joint, definitely not as flexible as the 1/100 scale version. ^^;
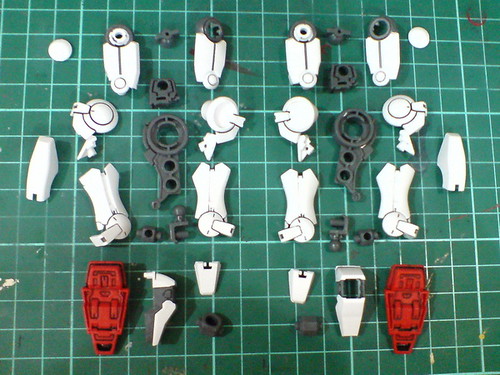
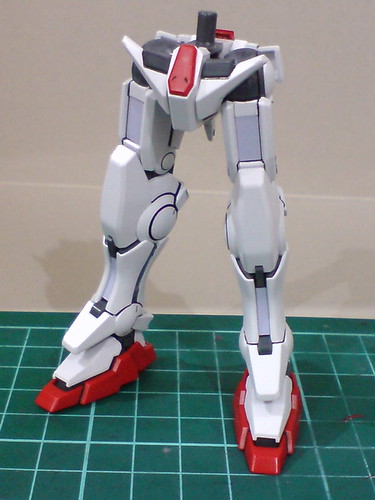
Parts for the legs.
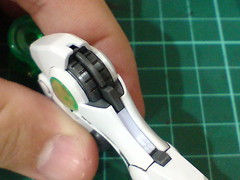
Foil sticker and then clear parts already painted using normal green highlighter for the GN Condensers on the leg parts.
Very nice outcome for the highlighter's color and the foil sticker's pigment-like pattern it seems. ^^
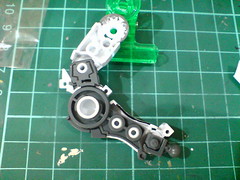
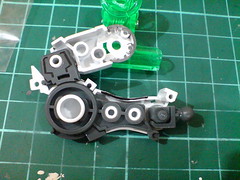
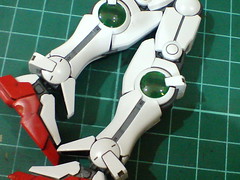
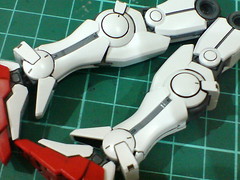
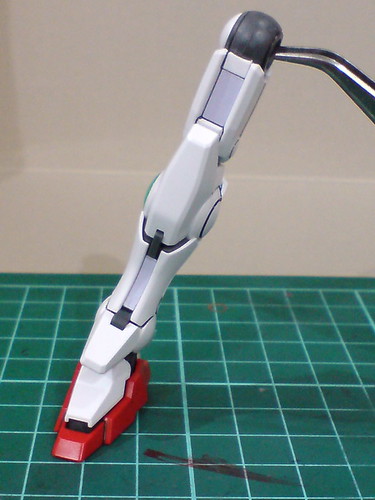
A look at the knee joint's design.
While the number of parts is significantly less than the same component on the 1/100 scale version, the flexibility of the knee joint is just about the same. ^^
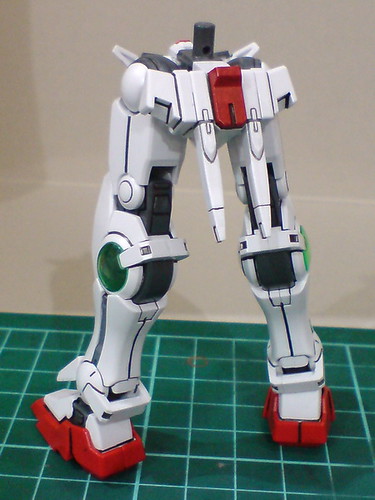
The completed legs, with the many foil stickers yet to be applied.
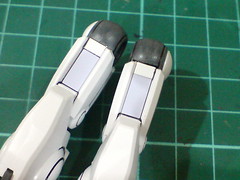
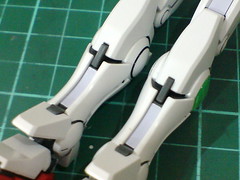
Two foil stickers for the GN Stripes on the thigh and front side of each leg.
Another two stickers for the exposing mecha portion on both sides of each leg.
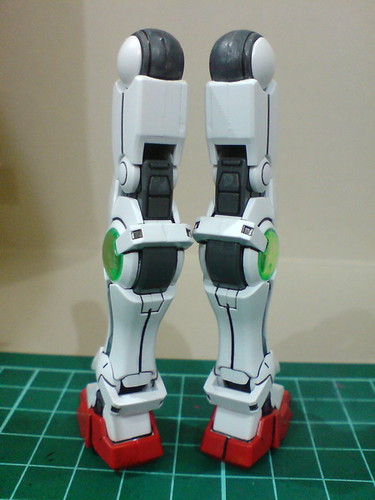
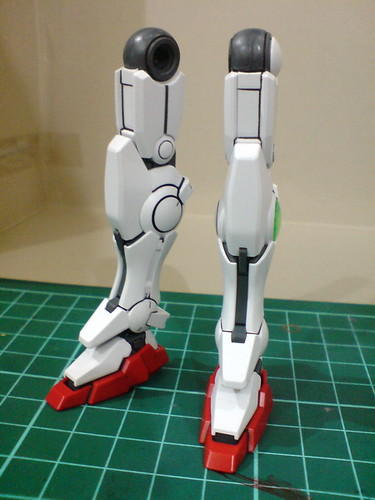
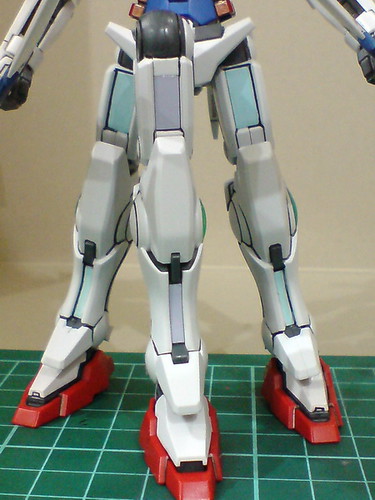
The "completely" completed legs. ^^
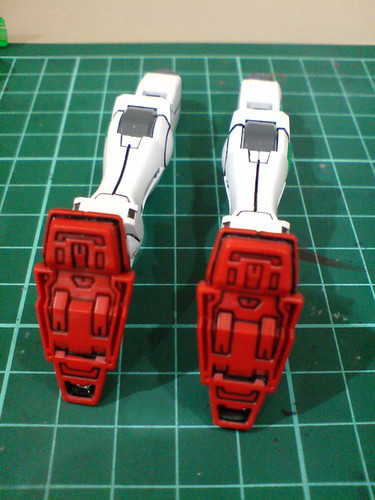
Details of the sole.

Very wide bend for the elbow. The line details of the exposed mecha area are great addition to the overall display of the leg as well. ^^
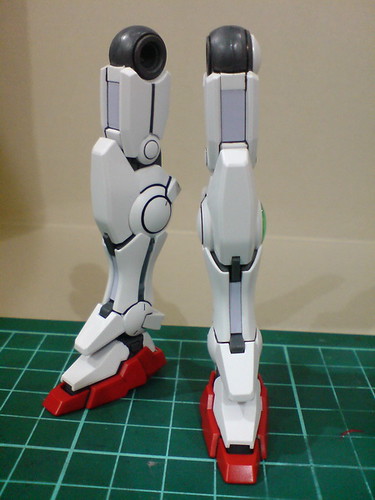
Slight degree of bending is possible for the very stiff ankle joint. ^^
Unlike the 1/100 scale version, the front portion of the foot and hip joint are immobile.
Comparison with the First Grade version.
Except for the color of the GN stripes (which resulted from my choice of painting tool used anyway), the overall design is just about the same.
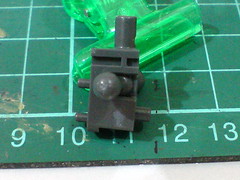
Parts for the waist.
The front skirt armor is separated to allow individual movement for the two pieces.
The very minimal connection between the joints is a smart design that allows this extra option, which can be executed with ease. ^^ Most High Grade kits nowadays are designed with this feature.
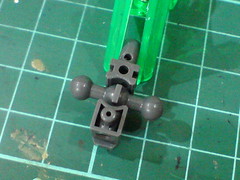

Not only are the two ball-type hip joints movable, the joint connecting them to the waist is of ball-type as well, so the crazy flexibility of the hip joint is well anticipatable. ^^
Also, I'm trying very hard here to add in something that would end with "... ception". XD
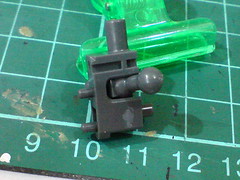
Done for the waist.
(Left) Each of the front skirt armors can be bent upward,
(Right) The beam saber mount rack can be bent upward but not to its side, so you can say that the function is just half accurate there. ^^;
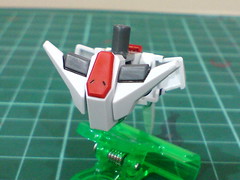
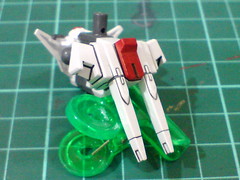
Lower body completed.

Vertical and horizontal movements are possible with the hip joint. ^^
The articulation of the arms and legs is evidently not as great as the 1/100 scale version, but the design is pretty cool. The crazy ball-type connector between the hip joints and the waist is one nice example, that one-piece leg frame that enables the knee's articulation is quite an awesome design as well. ^^
Another cool component that features similar look but very different articulation design as compared to the 1/100 scale version would be the body module, which would be covered in the next posting. ^^


2 comments:
I always amazed by the efforts you put on your gunplas, either painting or panel lining. I wish some of your gunplas displaying on my desk hahahaha. :D
Seriously, what marker did you use to colour the GN Sword? It looks so freaking awesome!
Post a Comment